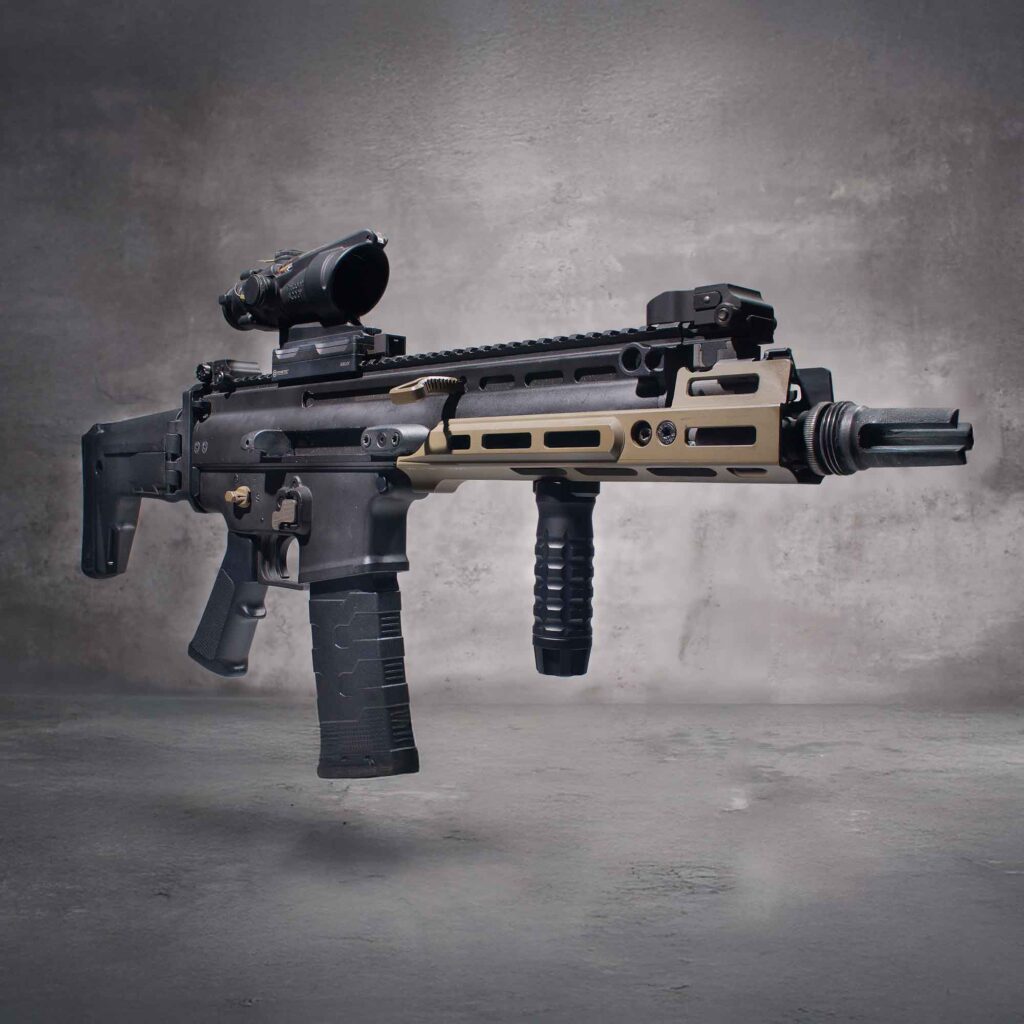
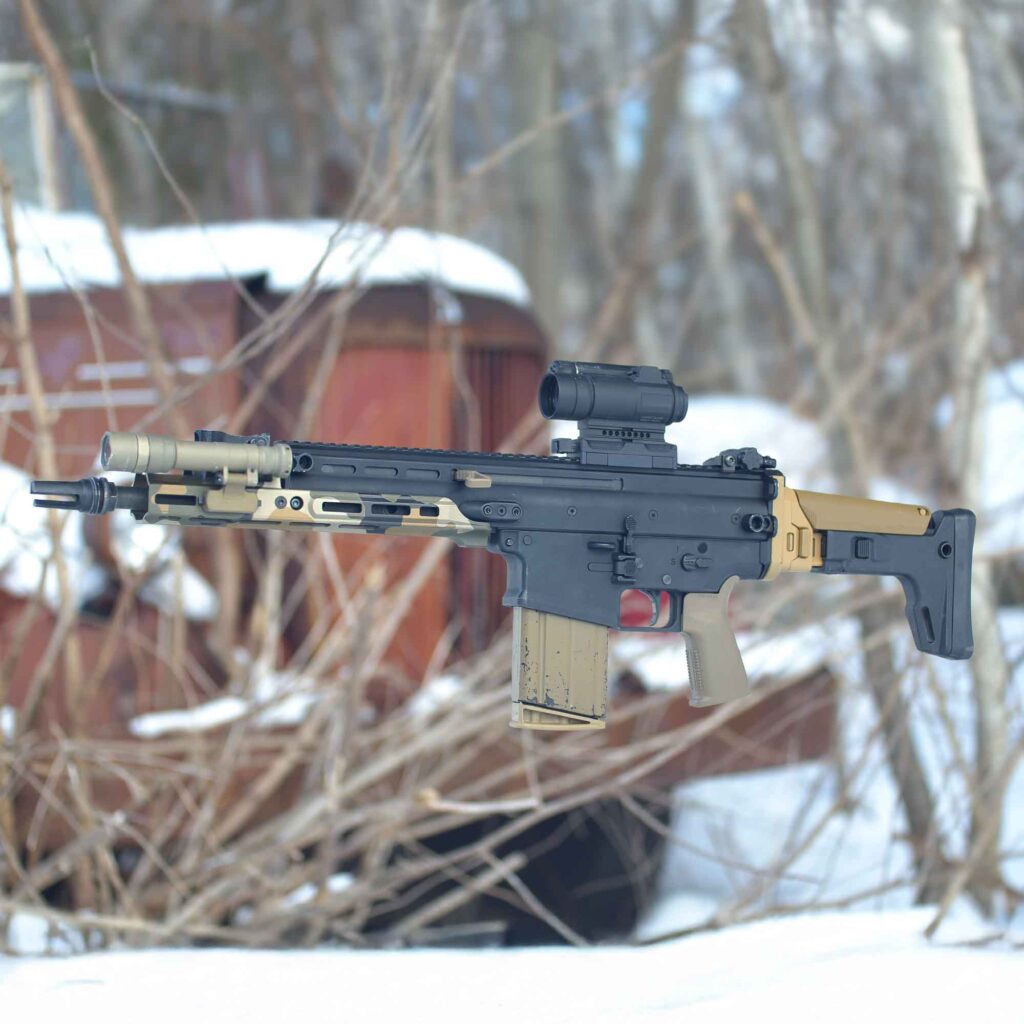
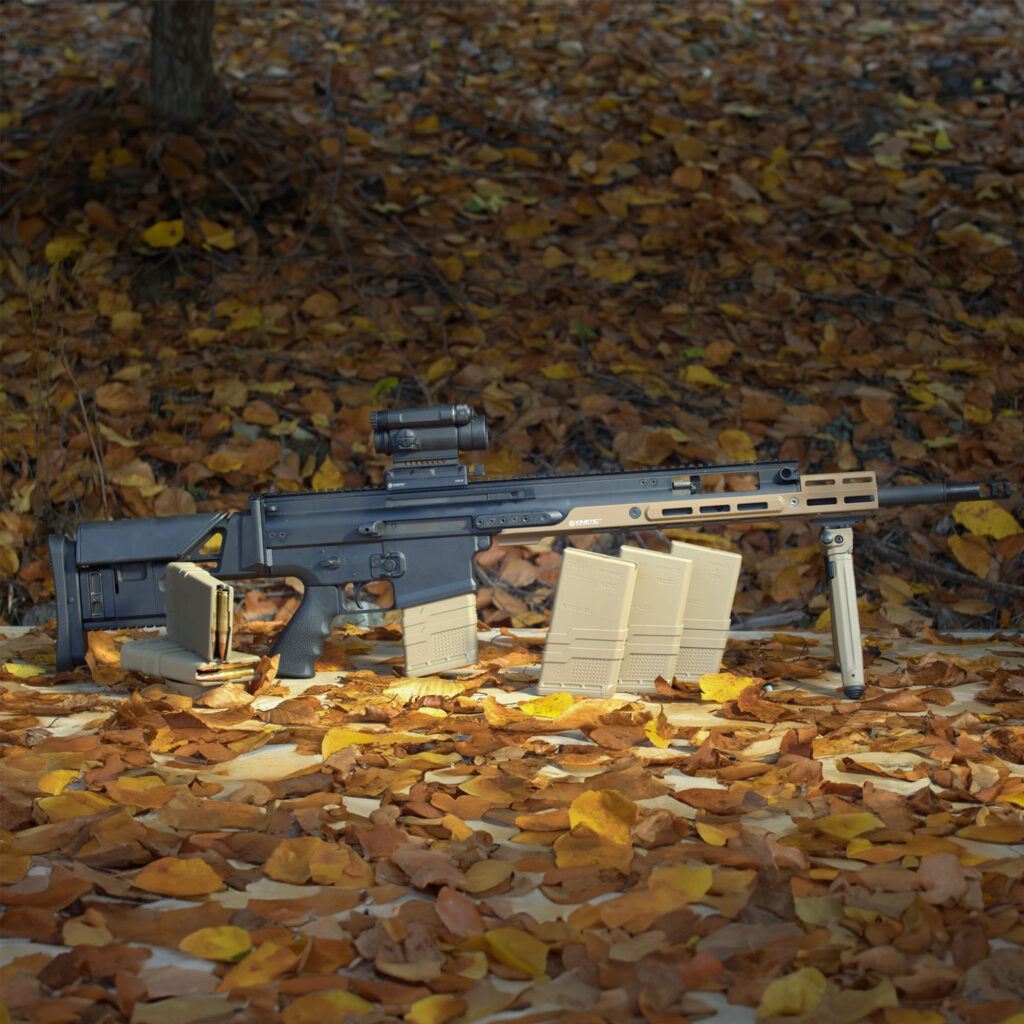
MREX20 Installation Instructions
The MREX20 installation will be the same for all models of the MREX20 family. This install is similar to the original MREX MkII, with the addition of a second bridge insert. Unlike the MkII the bridges are not pre-installed; this process will need to be followed carefully to prevent damage to the bridge and ensure proper alignment of the rail. Anyone with an understanding of general maintenance of a SCAR can successfully complete this installation on their own, and we encourage you to do so! Be sure the firearm is unloaded and all ammo is away from your workspace, we want to make sure you can enjoy your new rail!
Difficulty level: 5/10
Inside the Box:
● 1 – MREX20
● 3 – M5-0.8x12mm fasteners
● 2 – M5-0.8x8mm fasteners
● 2- Custom centering fasteners
● 2- Bridges
● 1 – T25 Torx wrench
● Vibra-tite or equivalent
Tools you will need:
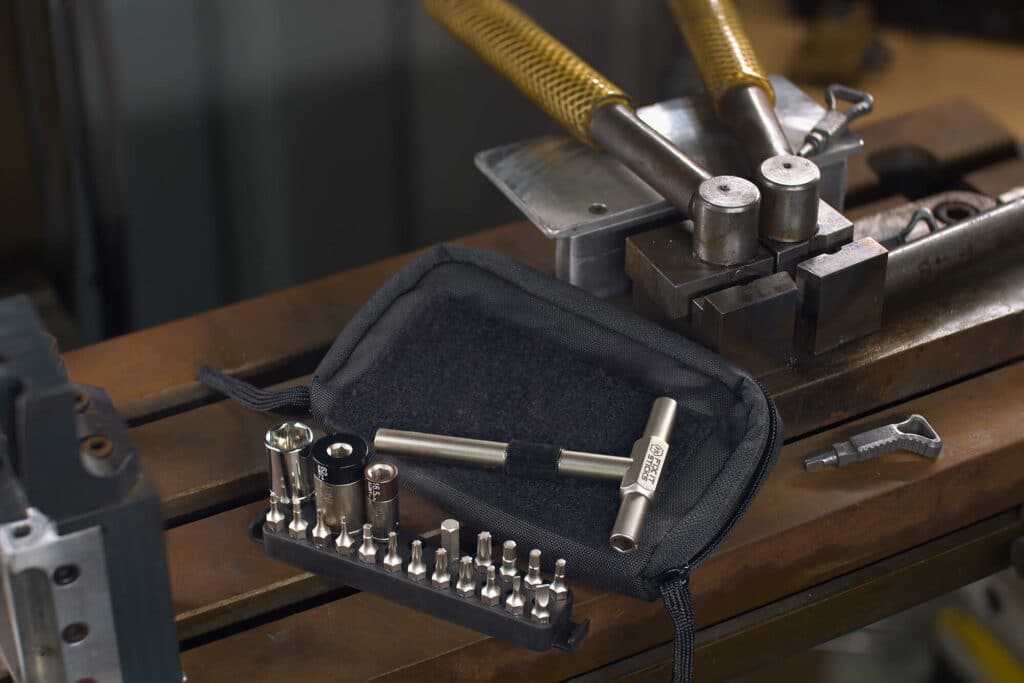
● Torque wrench + T25 bit (If you do not want to use the one provided)
● Metric 2.5mm HEX bit (not included)
● Heat gun, soldering iron, or wood burner (Optional but might help a lot)
● Tender love and care, patience & your thinking cap
The majority of this installation will be explained with the rifle turned upside down, resting on the top picatinny rail
Preparing your rifle:
1. Start by removing any and all accessories from the firearm
2. Next, remove the lower receiver, stock, buffer & spring, charging handle, and bolt carrier group assembly from the rifle.
Removing the barrel assembly:
1. Loosen and completely back out the two T25 fasteners at the front of the receiver located inside the left and right side picatinny rails (These fasteners will stay in place).
2. Loosen and completely back out the six T25 barrel fasteners (These will stay in place).
3. Next, slide the barrel assembly forward, then up and out of the upper receiver. Set aside temporarily.
Removing picatinny rail segments:
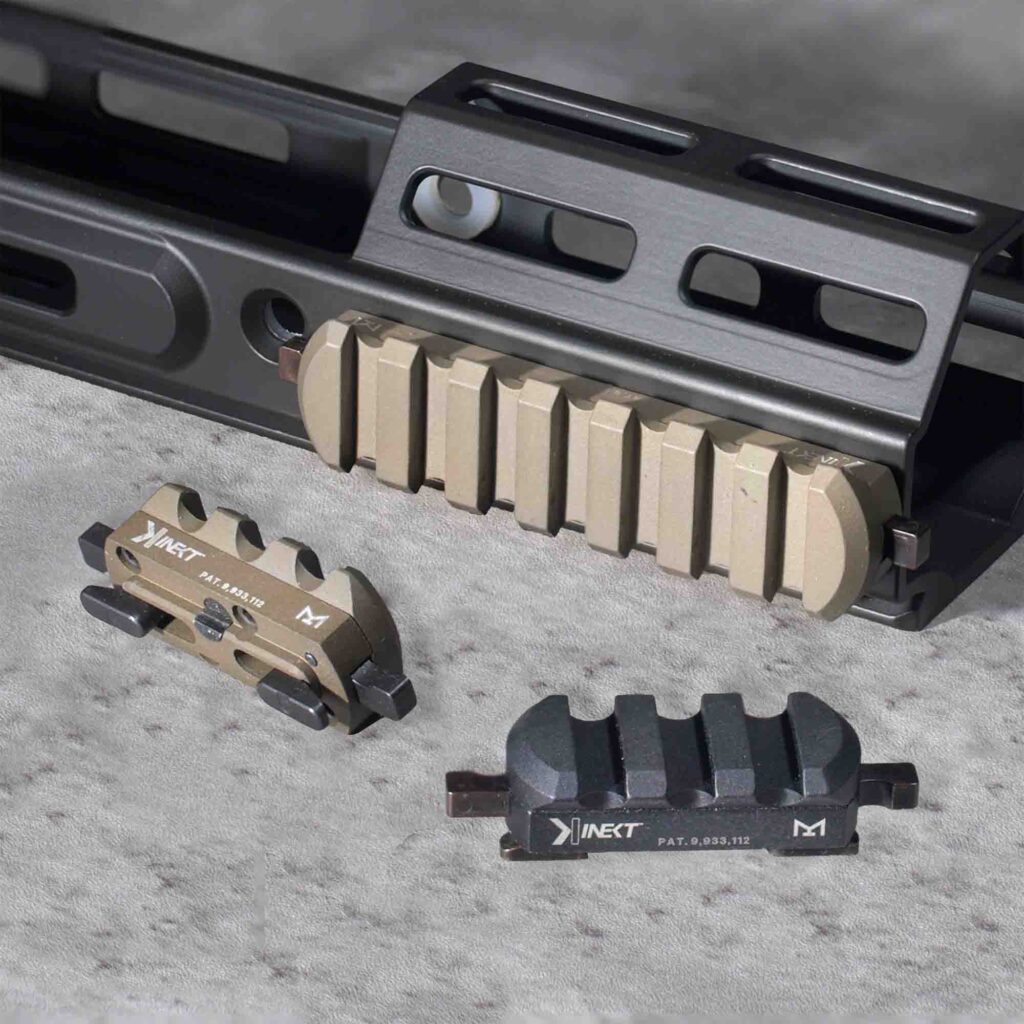
1. Remove the left and right side picatinny rails by completely removing the three 2.5mm hex fasteners in each rail segment. A bunch of screws, springs and custom nuts will fall out of the receiver. Set all components aside and keep.
2. Next remove the lower picatinny rail from the barrel by carefully applying heat to the T25 fastener under the barrel trunnion. This fastener is tight so use adequate heat and caution.
3. Remove the lower rail section from the barrel. Set aside and keep. 4. Place the barrel assembly back down into the receiver, sliding rearward into place. DO NOT tighten the barrel screws at this time! (Leaving these loose will help when installing the rear bridge in the following steps)
Bridge Installation: Note: The directional arrows engraved on the bridges will point at each other.
1. Slide the first bridge into the inner channel in the front of the receiver. Align the threaded holes in the bridge with the forwardmost holes in the receiver. The arrow should be pointed towards the rear of the firearm.
2. Take the second bridge and one custom centering fastener: Thread the custom fastener into the top of the second bridge. Tighten finger tight! This will be used as a handle to aid in the installation of this bridge.
3. With the arrow pointing towards the front of the rifle: Insert the second bridge into the opening of the receiver, just in front of the barrel trunnion nut.
4. Using the custom fastener as a handle, carefully slide the bridge forwards down the inner track until the threaded holes in the bridge are centered with the large, rear-most, holes in the side of the receiver. (With the barrel screws loose, you can flex the receiver slightly to assist moving the bridge into place)
5. Remove the custom fastener from the top of the bridge, previously installed in step 2
6. To ensure proper bridge alignment we will use both custom centering fasteners to center the bridge in the receiver and temporarily hold the bridge in place. a. Carefully, and evenly, start to thread the custom fasteners into each side of the bridge b. Once threaded use the custom fasteners as handles to adjust the bridge as necessary. c. Continue to finger tighten each until the enlarged portion of the centering fastener enters the holes through the side of the receiver d. Once both fasteners are evenly inside the holes of the receiver; tighten finger tight
7. With the custom fasteners now holding the bridge firmly in place: tighten the six barrel screws to the factory recommended 62 in/lb using a criss crossing pattern 8. Without disturbing the bridge: Remove the custom fasteners from the sides of the receiver.
Installing the MREX20:
1. Place the MREX20 down onto the rifle, ensuring all mounting holes are equally aligned with the bridges and barrel trunnion. Note: Apply a small amount of loctite to each fastener’s threads before installing
2. Install both custom fasteners into the rear bridge first. Tighten finger tight Note: If these fasteners are NOT flush with the side of the MREX20, STOP IMMEDIATELY as damage to the bridge can occur. Loosen all 6 barrel fasteners and repeat Bridge Installation steps 2- 8.
3. Install the 8mm fastener into the top of the rear bridge. Tighten finger tight
4. Install the 12mm fastener in the MREX20’s rear most mounting hole, affixing the rail to the barrel trunnion. Tighten finger tight
5. Install the two remaining 12mm fasteners in the sides of the front bridge. Tighten finger tight
6. Install the final 8mm fastener into the top of the front bridge. Tighten finger tight
7. Set torque wrench to 30in/lb and follow torque pattern below: a. Left then right rear bridge custom centering fasteners b. Rear bridge 8mm fastener c. Rear most 12mm barrel fastener d. Right then left front bridge 12mm fasteners e. Front bridge 8mm fastener
8. Set torque wrench to 42in/lb then repeat torque pattern Congrats! You now got yourself one badass Scar 20s
Download the PDF Here!


