Kinect Information Sheet
Applies to Kinect only
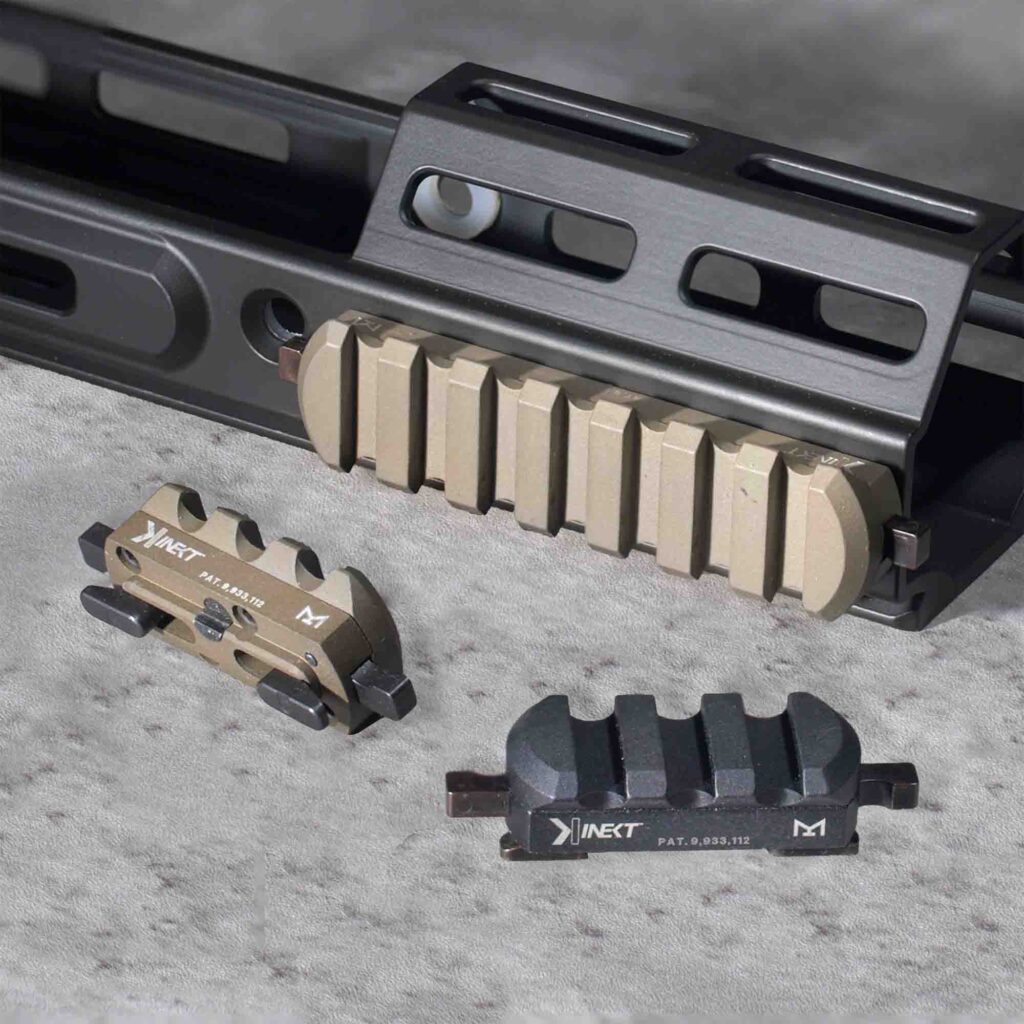
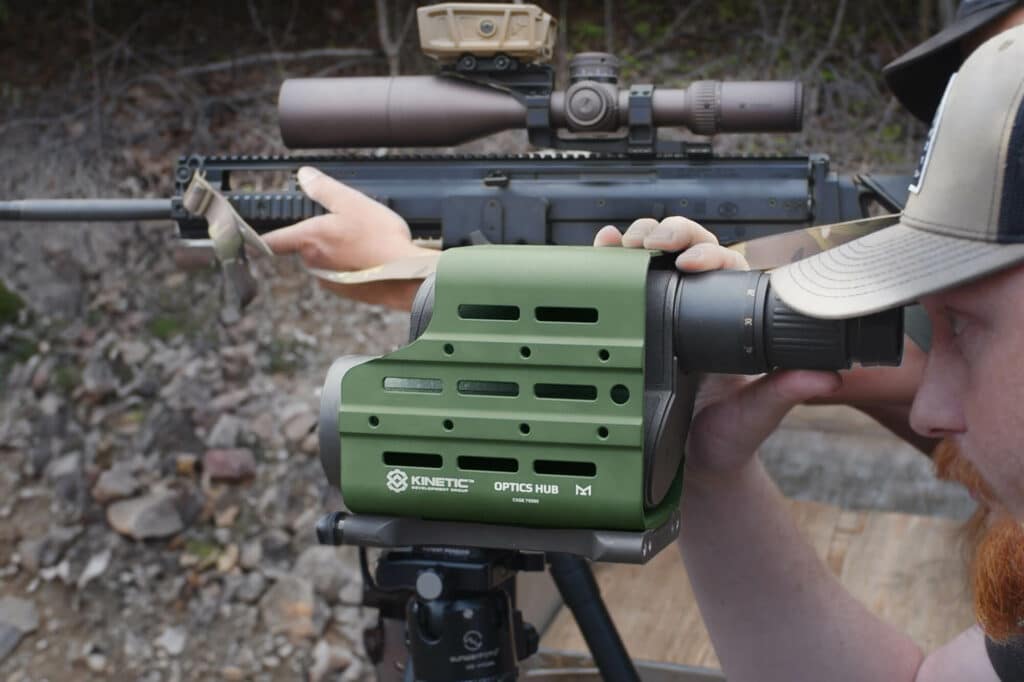
Kinect is a unique QD mounting system, different form MLOK mounts. This information sheet is designed to help understand how Kinect works, proper installation, components, and simple diagnostics to eliminate common questions & concerns.
Please read through this information guide and follow each step that pertains to you.
Installation
1. Press both buttons inwards until the corresponding wedges click and the buttons remain in the inward position. This is the open position and is ready to be installed.
2. Center Kinect over desired MLOK slot(s) then press firmly and evenly into MLOCK slot(s). Both wedges (and corresponding buttons) should deploy and spring outwards.
3. Kinect can only be installed on whole MLOK slot9s0 and not postioned hlafway between MLOK slots(s).
Removal
1. Press both buttons inward until the corresponding wedges click and the buttons remain in the inward position.
2. Evenly remove from MLOK slot(s) in an upward fashion. Do not pry!
Thing to know & Consider
1. Wedges should be activated at the same time. Pay close attention to the wedges and buttons. If only one wedge is locked inward during installation or removal, it may cause complications during operation.
2. Kinect and recoil. Wedges are spring loaded and if recoil on large caliber firearms is not managed correct it can cause the springs to compress and Kinect to disengage.
3. Kinect and bipods. Due to the spring loaded wedges, Kinect is not considered ideal for heavy bipod use. When loading into a bipod, the subsequent recoil from
larger caliber rifles can cause the springs to compress and Kinect to disengage from the rail.
4. Verify your rail! Kinect was designed to work with Magpul MLOK standards on metal rails. Fitmaen and functions on polymer or out spec rails is not guaranteed.
5. Disassembly. Never attempt to disassemble or repair Kinect on your own. Doing so will void any and all warranty coverage.
Functions Test
1. One at a time, press both buttons inwards – They should each click and remain in the inward position. (Skip if both buttons and corresponding wedges are already locked inward).
Turn Kinect over for remaining tests
2. One at a time, press the release pin next to each wedge – The wedge and button should spring outward. (Perform step one now if initially skipped, then proceed to step 3)
3. Using the tip of a pen, press the side wedge(s) – It should spring up and down freely.
4. One at a time, hold the release pin down (Flush with the base) and simultaneously press the button in and out several times – button and wedge should move freely.
5. One at a time, hold the button inward and simultaneously press the release pin several times – release pin should move freely.

Download the PDF Here!


