


Installing accessories on your firearm for the first time can seem daunting, but with MLOK, it’s easier than you might think! This step-by-step guide will walk you through the process, providing clear instructions and helpful tips to make installing your accessories a breeze.
Why learn to install MLOK accessories yourself? Because it gives you more control over your firearm setup, allows you to experiment with different configurations, and can save you money in the long run. Plus, it’s a satisfying skill to master!
Mlok Tools and Materials
Before you begin, gather the following tools:
- Appropriate Allen wrenches: The size you need will vary depending on the screws that came with your MLOK accessories.
- Torque wrench (optional, but recommended): A torque wrench helps ensure proper tightness and prevents damage to your accessories and handguard.
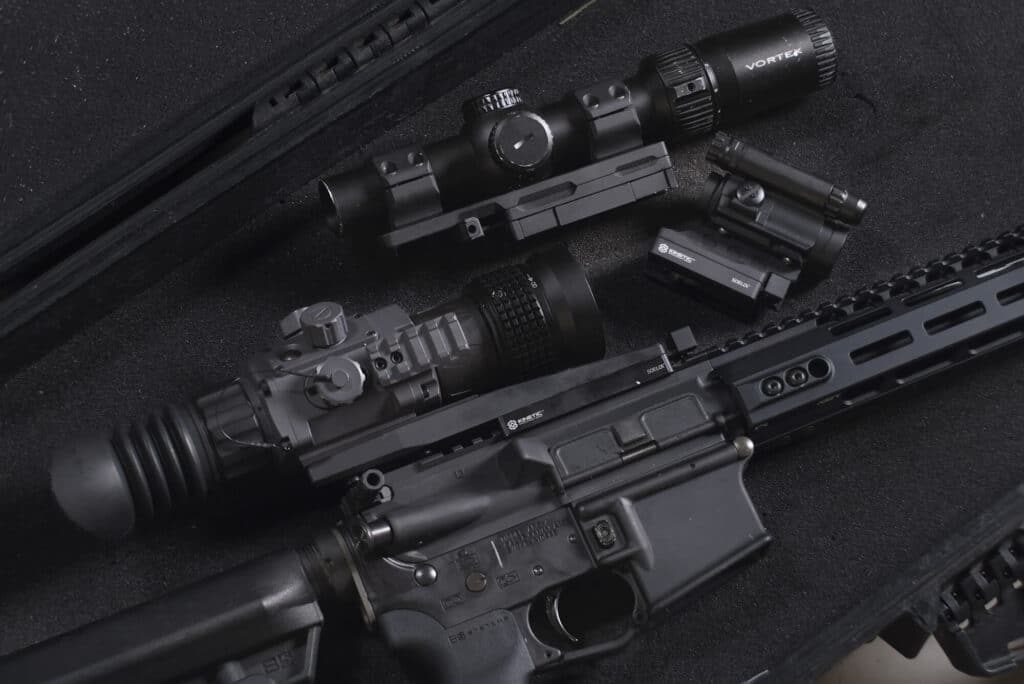
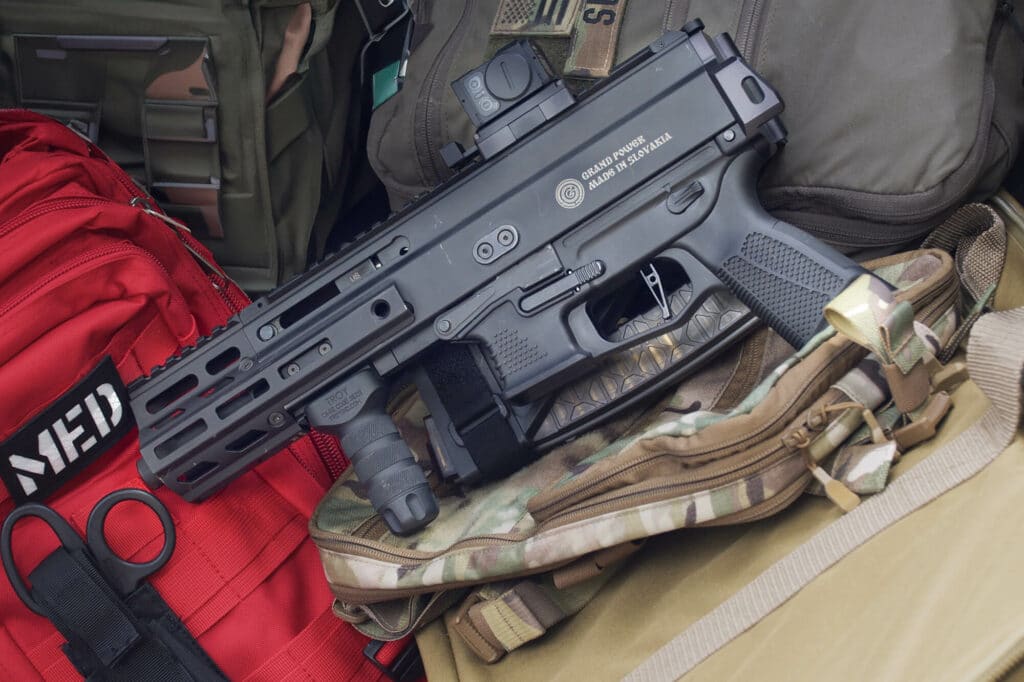
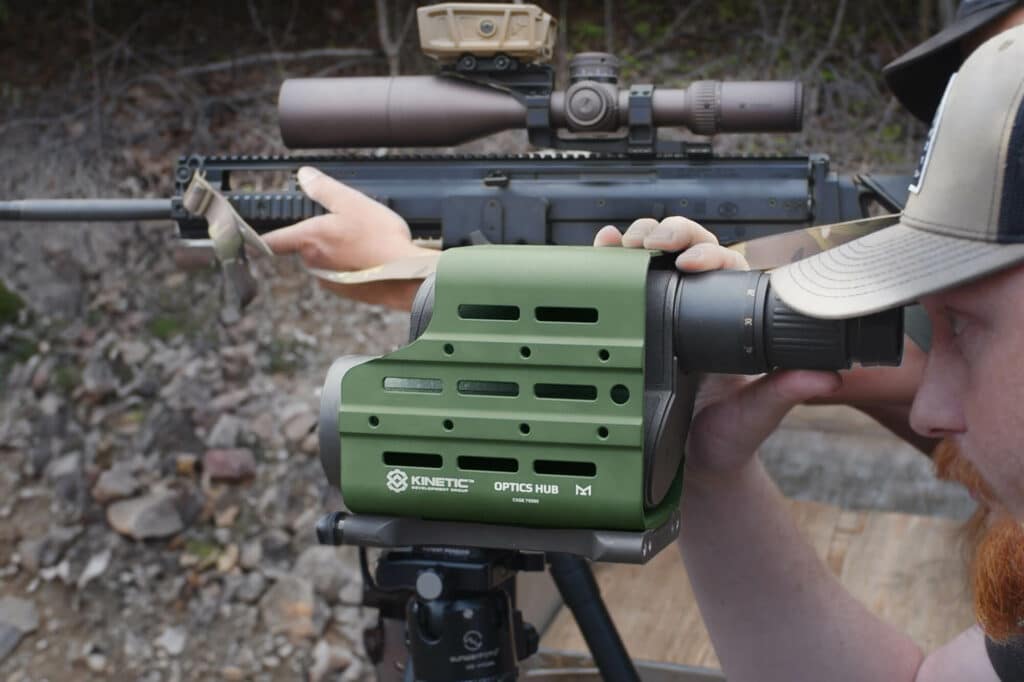
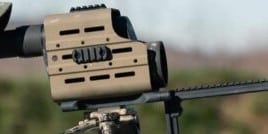
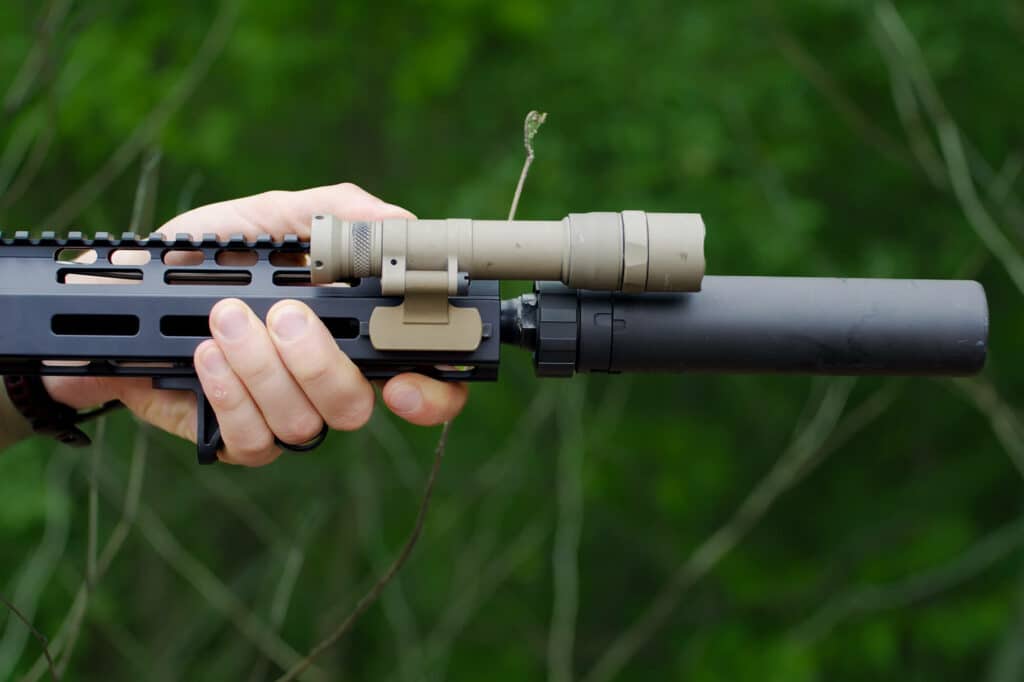
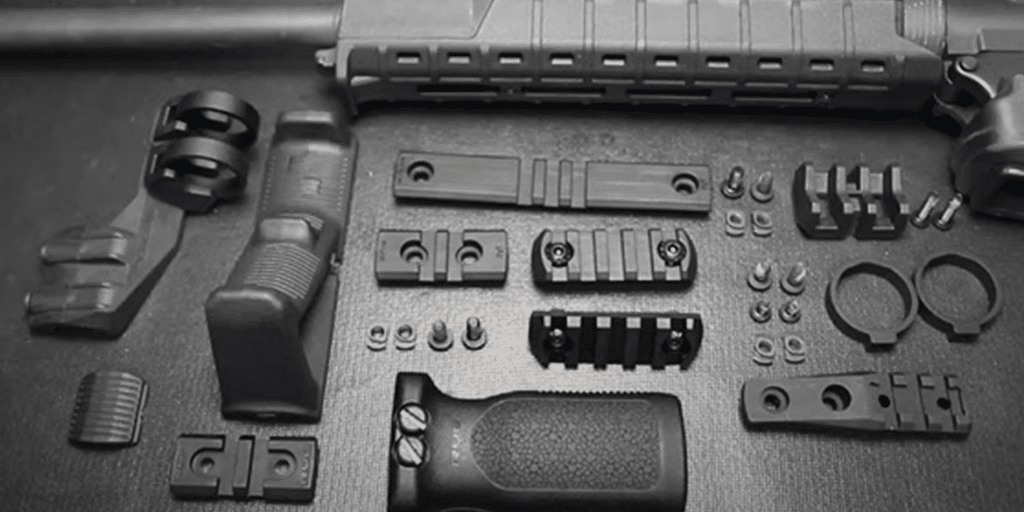
- MLOK compatible accessories: This could be anything from grips and lights to bipods and foregrips.
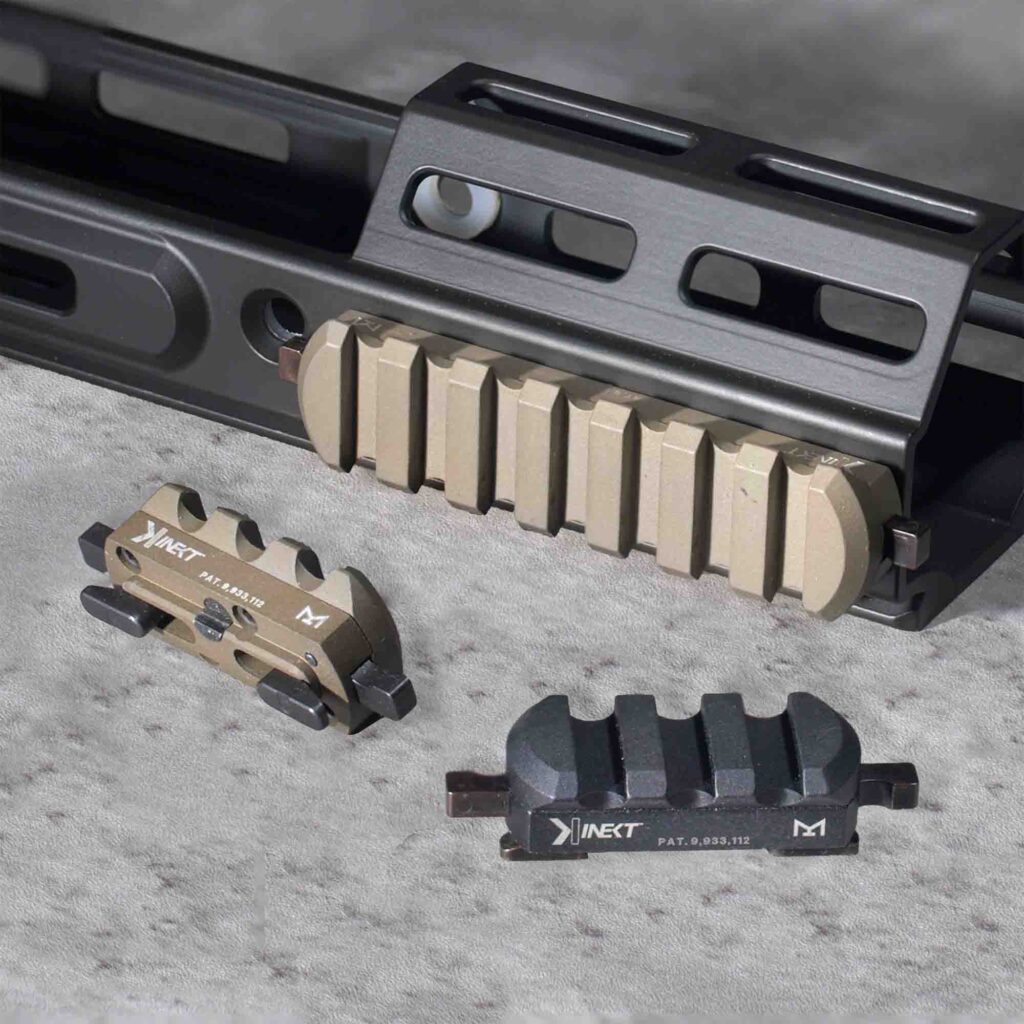
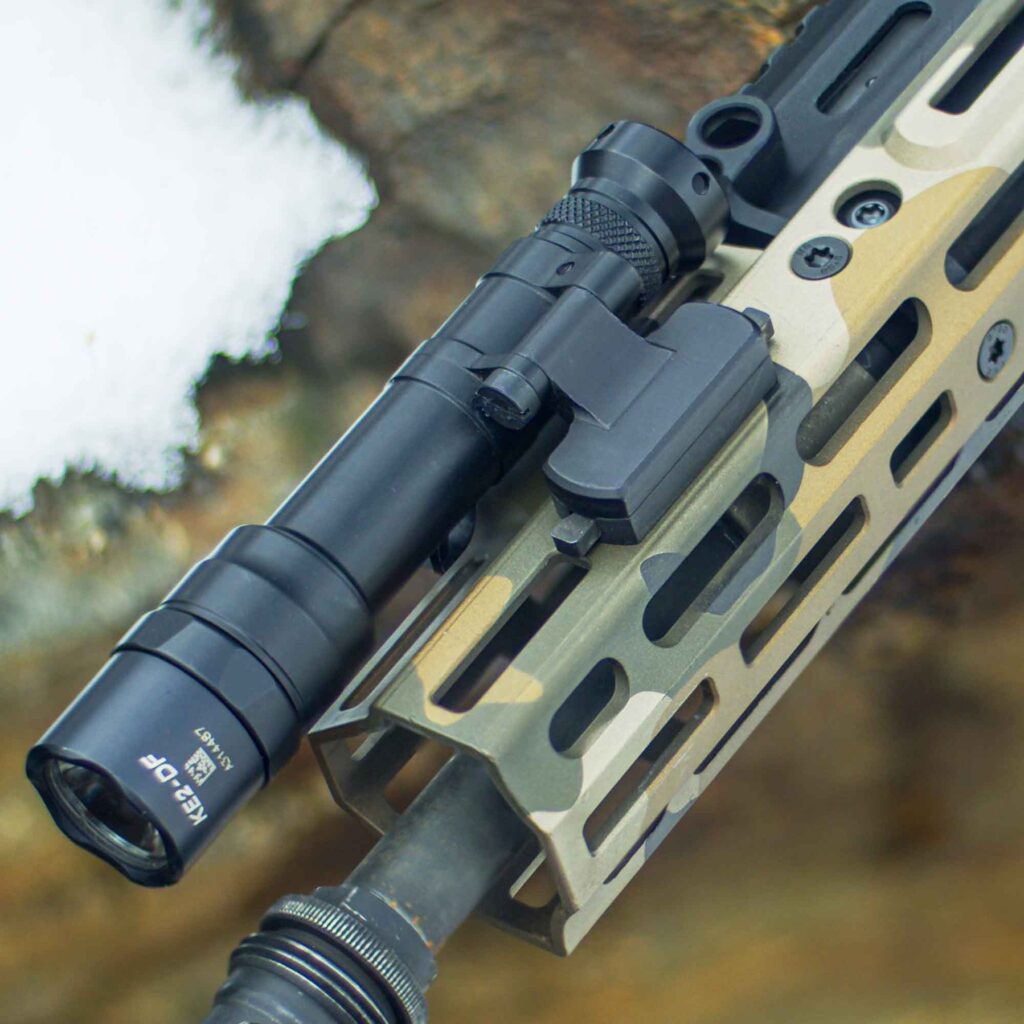
- T-nuts: These are the small nuts that slide into the slots and provide the attachment point for your accessories. Make sure you have the correct size and type of T-nuts for your accessories and handguard.
Step-by-Step Installation Guide
- Plan Your Setup: Before you start attaching things, take a moment to plan out your desired accessory configuration. Think about ergonomics, accessibility, and your shooting style. Where do you want your grip, light, or other accessories to be positioned for optimal comfort and performance?
- Position the Accessory: Place your chosen accessory where you want it on the MLOK handguard.
- Insert the T-Nut: Slide the T-nut into the corresponding slot from the backside of the handguard. Make sure the threaded portion of the T-nut is facing towards the accessory.
- Align and Secure: Align the mounting holes on your accessory with the threaded portion of the T-nut. Insert the screws that came with your accessory and tighten them with the appropriate Allen wrench.
- Torque Wrench (Optional): If you have a torque wrench, consult the accessory manufacturer’s instructions for the recommended torque settings. Using a torque wrench helps ensure that the screws are tightened to the correct specification, preventing damage and ensuring a secure attachment.
Tips for Success with MLOK
- T-Nut Selection: Use the correct size and type of T-nut for your accessory and handguard. Some accessories may require specific T-nuts, so always check the manufacturer’s instructions.
- Screw Length: Choose screws that are the appropriate length to securely attach the accessory without bottoming out in the handguard.
- Avoid Overtightening: Overtightening can damage the screws, T-nuts, or even the handguard. If you’re not using a torque wrench, tighten the screws just until they are snug.
- Troubleshooting:
- T-nuts spinning: If the T-nut spins in the slot, try using a small piece of tape to hold it in place while you tighten the screw.
- Screws not tightening: Make sure the screw threads are clean and free of debris. You can also try applying a small amount of thread locker to the screws.
Congratulations!
You’ve now successfully installed your MLOK accessories! Feel free to experiment with different configurations to find what works best for your needs and shooting style.
Need More Gear?
Need more MLOK accessories to complete your setup? Browse our wide selection of high-quality products.
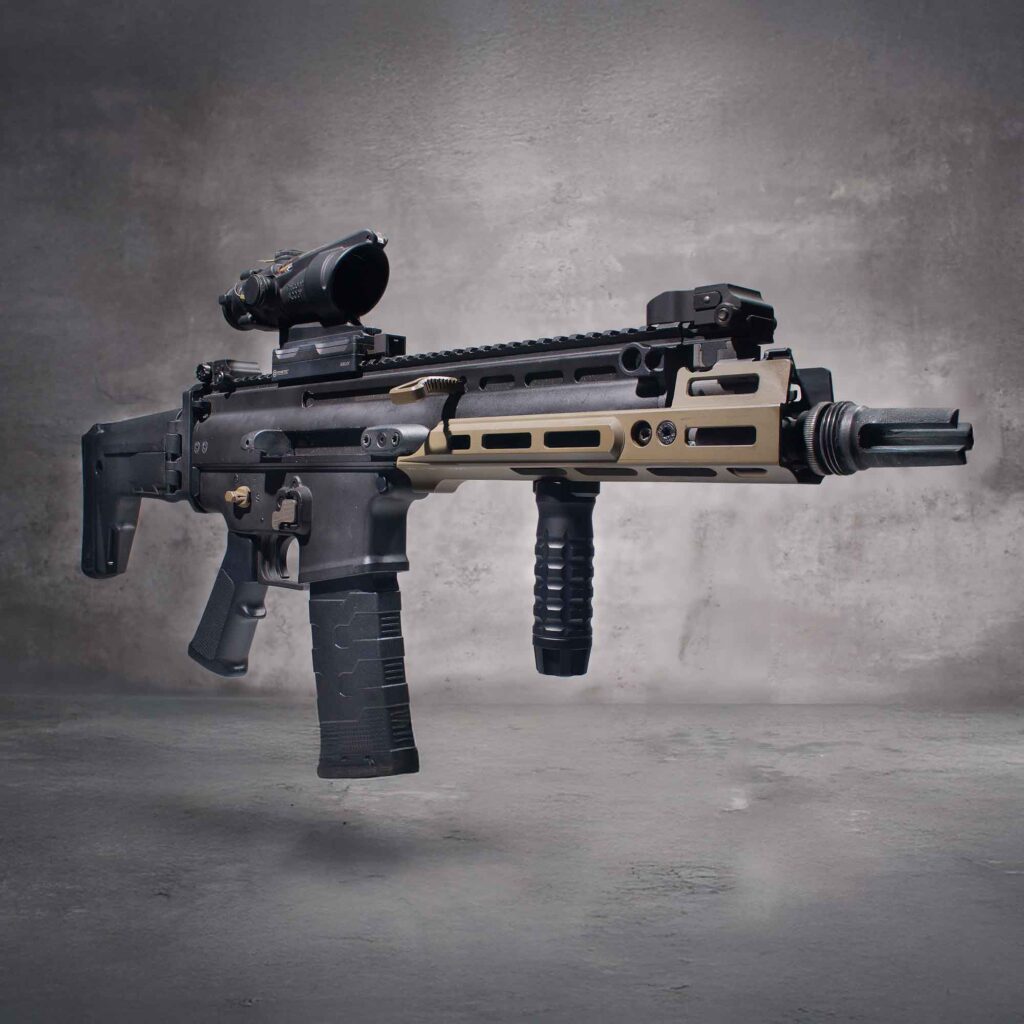
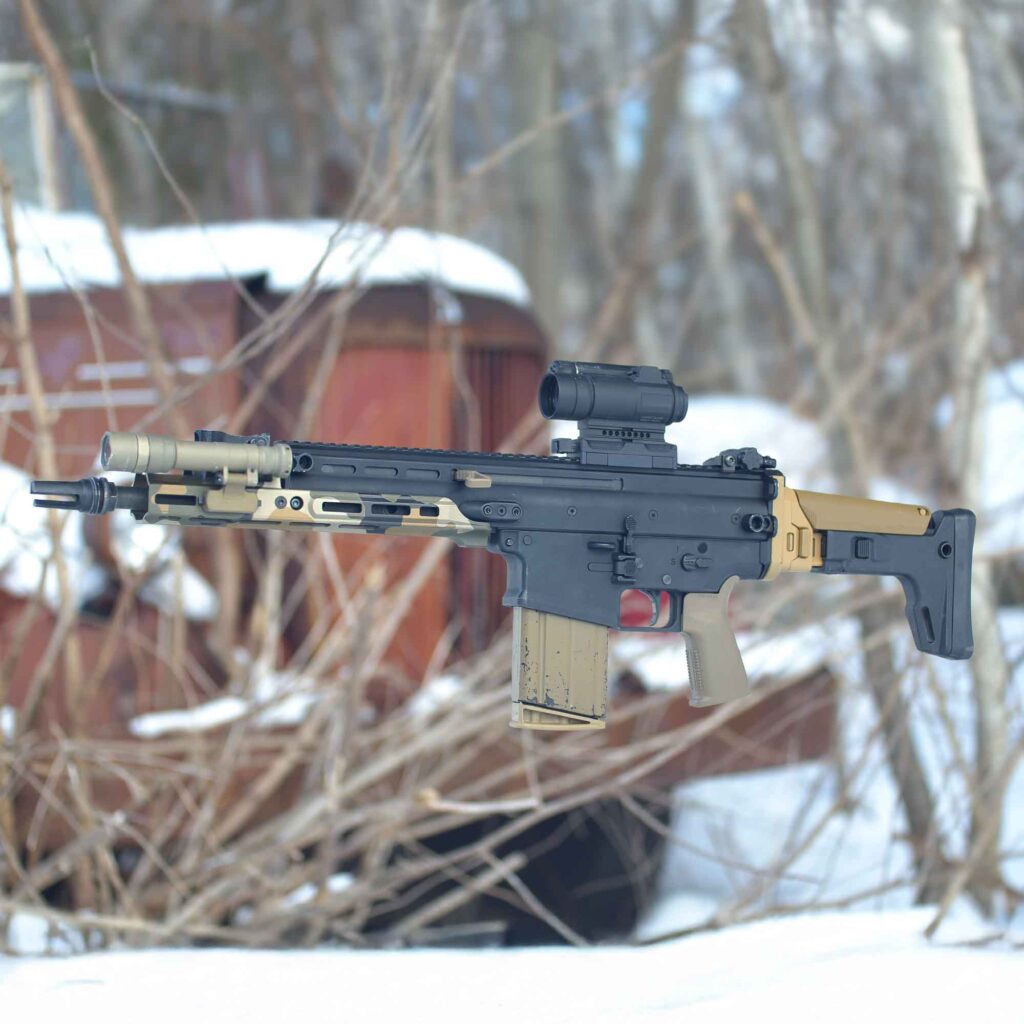
Looking for a top-tier MLOK handguard? Check out the latest offerings from KDG, designed for superior performance and customization. KDG handguards are known for their quality, durability, and innovative designs.
With a little practice and the right tools, installing MLOK accessories is a simple and rewarding process. Enjoy the enhanced functionality and customization that these accessories bring to your firearm!


