Basic Shooting Fundamentals
There are two things new shooters typically learn before ever firing their
first shot. Gun safety should always be first and usually the fundamentals of
shooting comes next. Depending on whose asked or what class you attend you’ll
probably hear several different fundamentals listed out plainly and breezed
over. This is what I aim to address. I’d venture to say that over 90% of
shooters know the four most common fundamentals are grip, stance, sight
alignment/picture and breath control. However, of that 90% how many do you
think have a complete understanding of each fundamental, what they mean, or how
to utilize them properly? Do you? These fundamentals are consistent across all
firearms whether you’re using a rifle, pistol or shotgun, and there’s even some
crossover with bows. In this article I’m going to break down each fundamental adding
some key takeaways and posing an additional fundamental that I believe meets
the modern criteria for shooting. This is by no means a one size fits all
breakdown, rather a generalized article to educate people how to shoot and the
basics to do so.
Grip / Stabilization:
Single handedly the most important fundamental in my opinion is a correct
grip. A good grip is the foundation. It’s the starting point for proper recoil
management, trigger control, sight alignment, preventing failures and more. A
solid grip is also the one fundamental that’s not situational. There are instances
where one or all other fundamentals can be ignored, going completely unused but
never you grip. So, what are some key elements to a good grip? A good grip
depends on a lot of factors like the firearm and the person using the firearm,
but there are certain takeaways that always apply. Consistency is key! Grabbing
the gun the same way every time is super important. Consistency sets the
foundation for proper trigger control, preventing malfunctions and even skills like
reloading or drawing from a holster.
High & tight is the golden rule for recoil. Get as high up on the grip as
possible and hold on tight. How tight is generally debated, you’ll hear
differing opinions such as “tight like a handshake” or “death grip the gun” but
the real answer is somewhere in the middle. A good grip should be firm and even
without disrupting the shooter or the firearm. Note that this can vary from gun
to gun. For a handgun you might want to have a tighter grip compared to taking
a 1000+ meter shot at with a rifle. It boils down to, too tight can interfere
with the trigger, cause shaking, fatigue, and more. Too loose can cause inconsistencies
with accuracy and poor recoil management. It’s a fine balance but a tight,
consistent, and even grip is the goal.
Trigger control is also part of a good grip. I want to take a second to
clarify what I think is often misunderstood about squeezing the trigger usually
because it’s been mis-explained. That is… using the tip of the finger to pull
the trigger. A lot of people end up ‘pushing’ the trigger, subsequently the gun,
because they were told to use the tip of their finger. The goal isn’t to use
the very very tip so don’t be afraid to get a little more finger over the
trigger. There is a balance though, another common mistake is caused by placing
too much finger over the trigger. This can result in a jerking or pulling
motion. Place your Distal Phalanx (the first section of your finger) on the
trigger wherever is most comfortable with that gun. A good relationship between
your finger and the trigger will increase accuracy and speed. Experiment at the
range to see what happens when different areas of your finger are used on
different areas of the trigger. Be sure to follow-through with each shot, even
when shooting fast. Two major takeaways for trigger follow-through are one:
Keep in constant contact with the trigger in between shots. The second: Have
intention when resetting the trigger. To squeeze a trigger, pull straight back
with even pressure. When the shot is fired, continue to press the trigger
rearward, then hold it. The gun will complete its cycle and the sights will realign
letting us know to release and take the next shot. Pulling the trigger should
be a three-step process: squeeze, hold, release (repeat as needed).
I’ve talked about grip so now let’s discuss stabilization and how it relates
to grip. Sometimes the gun requires other points of contact with our body and
different objects, or a combination of both. Other points of contact with our
body include a rifle stock in our shoulder or using an arm and knee for support.
Stabilizing objects include bipods, bags, barricades, slings, etc. Part of a
good grip is how the firearm interacts with these elements too. The more points
of contact used to stabilize the firearm the better. Stabilization is also a
natural byproduct of a good firing position so let’s discuss stance and fire
positions next.
Stance / Position:
A good stance or position is important for accuracy and recoil management. It’s
also important for preventing fatigue and injury. I did want to limit ‘stance’
to only standing upright, so I decided to include ‘position’ because the rules
apply to barricades and other objects. We don’t always get the luxury of
engaging targets standing stagnant and perfectly upright, so the fundamentals
of a good stance need to apply to all firing positions. I believe a good stance
can be boiled down to three main principles. It’s important to know that one or
two might not apply in certain situations.
One, get wide. Widen your stance, offset your feet, spread your legs (wink seductively). When possible, get low.
This will help your center of gravity and the ability to transfer energy during
recoil. Once wide we want to consider where our hips and shoulders are in
relation to the target. Do your best to square up with the target and in line
with the firearm.
Two, lean in. Leaning forward helps absorb the recoil from unarguably every firearm.
Leaning into barricades and bipods will also help absorb recoil and stabilize both
the gun and the shooter. Keep a strong back and lean from the hips, put the
weight of your body behind the gun.
Three, dig in. Curl your toes like you’re trying to hold onto the earth’s
surface. You’re the only thing between the gun and the ground, don’t let the
gun drive you into it. Engage your muscles to dig into the gun or into that
position. Much like your grip though, digging in is a fine balance between too
much and not enough. We don’t want to tense up because it can lead to shaking
and fatigue. You should feel relaxed in your position while still maintaining
control of that firearm.
Breath Control:
Breath control is an interesting one because to a degree we have zero
control over our breathing, yet we have total control (confusing I know). I
think it’s important to pay attention to how breathing is affecting us as the
shooter and not so much affecting our shooting. It’s more important to
understand basic breathing techniques that can calm us down and slow one’s
heart rate instead of focusing on when, during a respiratory cycle, to pull the
trigger. It’s far too common for someone to get dizzy or even pass out because
they’re too focused on breathing slowly or they’re over-excited and breathing
erratically. The speed at which we exchange gases determines how our bodies
function and our mental status. How we think and process information, heart
rate, movement, vision, and speech are all affected when our oxygen levels are
outta whack. Proper breath control is important for all shooters in all
situations from the hunter with deer fever, to the police officer engaged in a
high-speed chase. It’s important to stay calm during both these situations and
breath control is the gateway to success.
Don’t want to take a shot mid inhale or mid exhale as this can greatly
affect accuracy. Instead, break the shot when there is a pause in your
respiratory cycle. When is that exactly? I’ve heard after an inhale; I’ve heard
after an exhale. One’s breathing-to-shooting cadence will change depending on round
count and several other factors. I don’t want to dive crazy deep into
breath control because I believe in order to be proficient it takes a lot of
conscious thought and understanding of one’s body. Breath control requires a
manual override of our brain’s automated response to stimuli and sometimes that
can be very counterintuitive or uncomfortable. Figure out what works for
you by focusing on your breathing regularly throughout the day, paying
attention to how your mind and body react.
If you would like to learn a few breathing techniques, here is an awesome
link to a podcast with timestamps, and a few articles written by medical
doctors who study breathing and how to control breathing to optimize mood and
performance.
It’s a great link!
How
to Breathe Correctly for Optimal Health, Mood, Learning & Performance –
Huberman Lab
Sight Picture:
Sight picture is very commonly misunderstood by new shooters and often
confused with sight alignment. The differences between the two are straightforward,
it’s in their names. Sight alignment is how your sights are aligned in relation
to the target, while sight picture is what you’re focusing on while aiming.
Both alignment and picture share a symbiotic relationship with one another, and
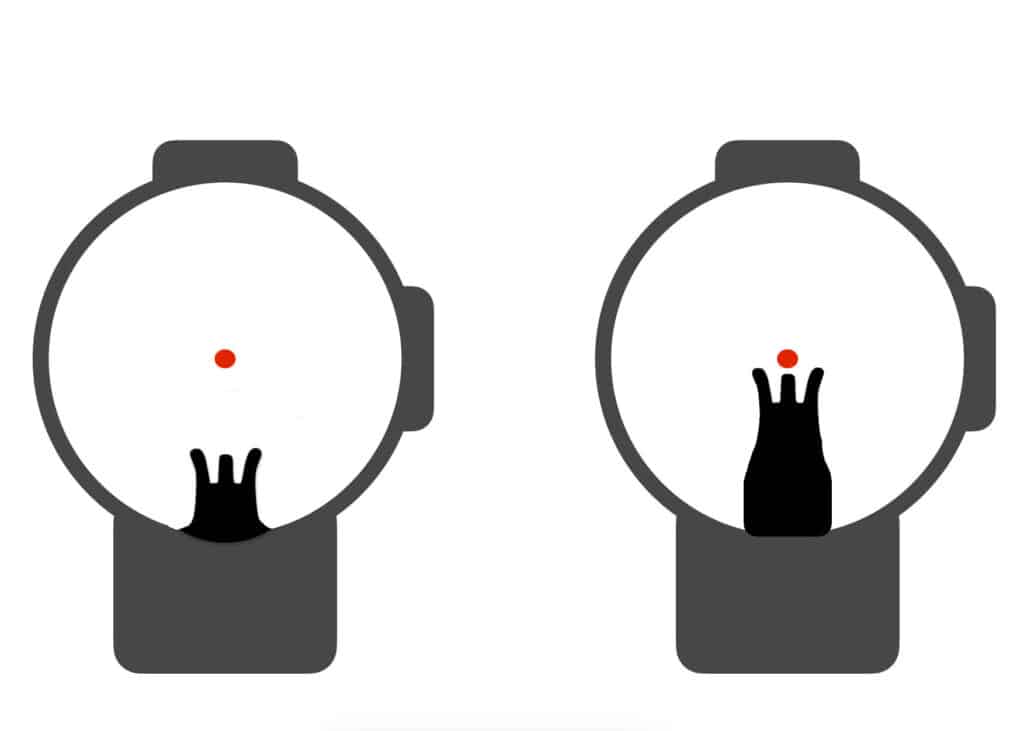
both are required to aim. For pistol iron sights a good slight alignment is
when the rear notches and front notch are evenly spaced and perfectly level
along the top edge of the sights. With a scope, a good thing to look for is an
even shadow around the edge of the glass. This lets us know that we are looking
perfectly straight down that weapon or through that optic. You may have heard
the phrase “front sight focus” which is basically a fun way of saying proper
sight picture. Using the same pistol iron sight example, a proper sight picture
is focusing on the front sight post while letting the target and rear sight
blur. When using an optic, ‘front sight focus’ is essentially the same
except now shifting focus to the reticle of that optic.
Proper sight alignment is the starting point for aiming. If your sights
aren’t aligned evenly, how can you expect to hit your target? When everything
is inline it will reduce or eliminate the optic illusion known as parallax.
Parallax occurs when the reticle is in a different focal plane than the target,
and the best example to describe parallax is a straw in a glass of water. The
portion of the straw that’s inside a glass of water appears to be misaligned
with the portion of the straw sticking out of the water. This optical illusion
can have a big effect on our shooting because where we are aiming might not be
where the bullet impacts.
Setup:
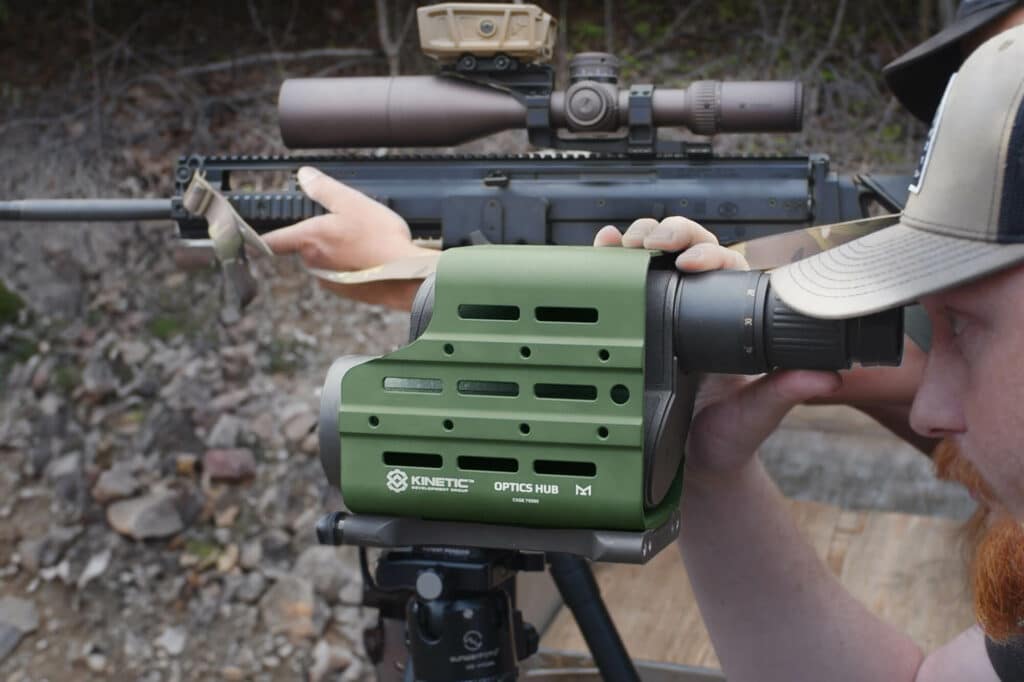
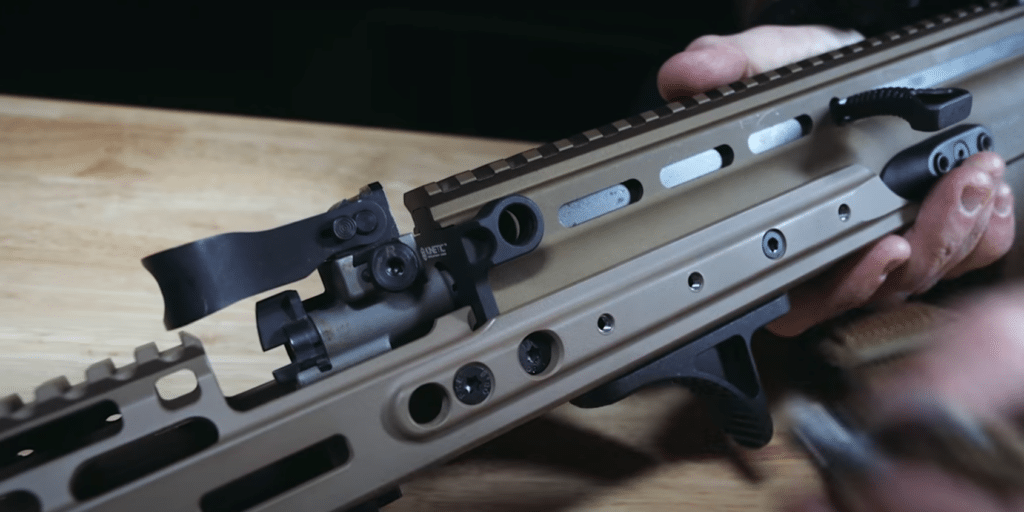
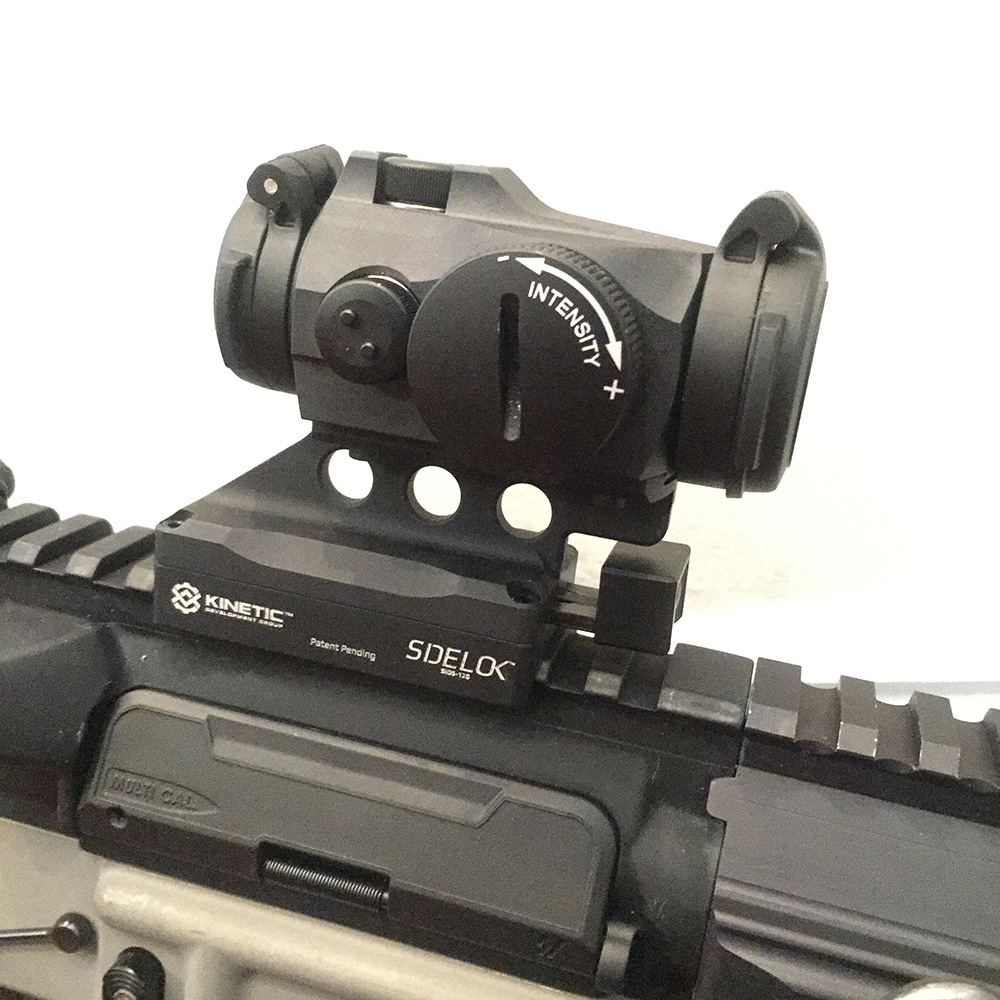
My addition to the fundamentals of shooting is setup. Correctly setting up your
firearm and a good firing position is an essential and continuous process. It
can be as simple as tossing a limiting-plug into a shotgun tube before hunting
or it can get very complex with mission driven firearms. Properly setting up
your firearm tailors that gun to you & you alone and ensure you have the
ability to perform all other fundamentals. What are some things we should
consider?
The stock should be adjusted to control recoil, allow proper sight
alignment, and have control over the functions of the firearm without strain.
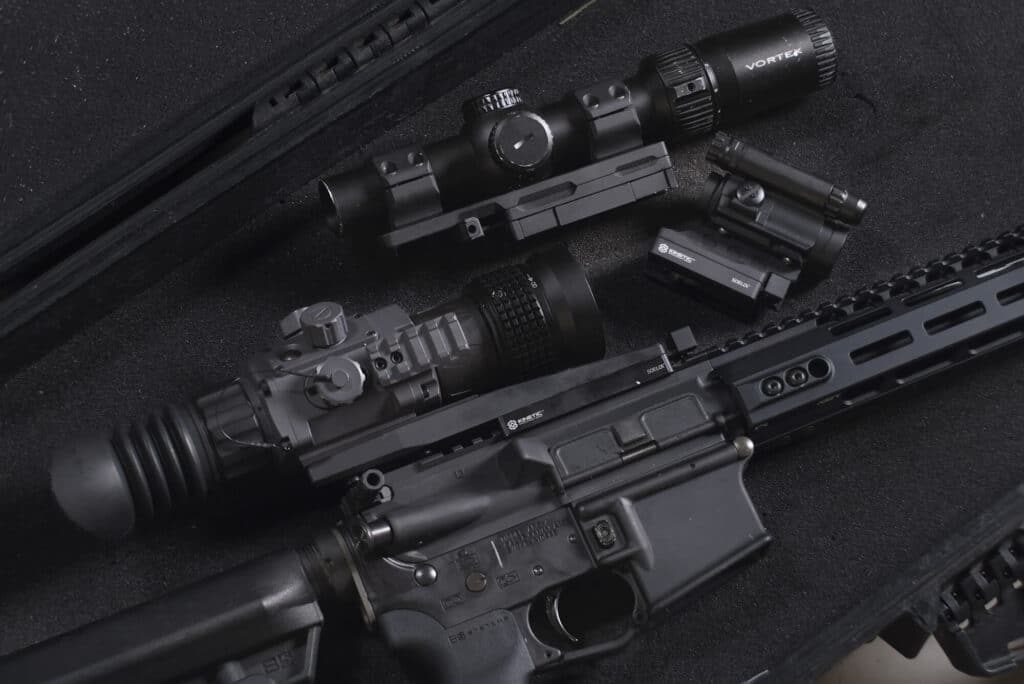
The optic is a big one because there are a lot of adjustments that can be made.
The optic should be leveled and at a comfortable yet functional height so the
reticle can be used as designed. Take note of things like brightness, zoom and
parallax settings as these may need to be adjusted throughout the course of
fire. Controls shouldn’t interfere with a good grip or the overall
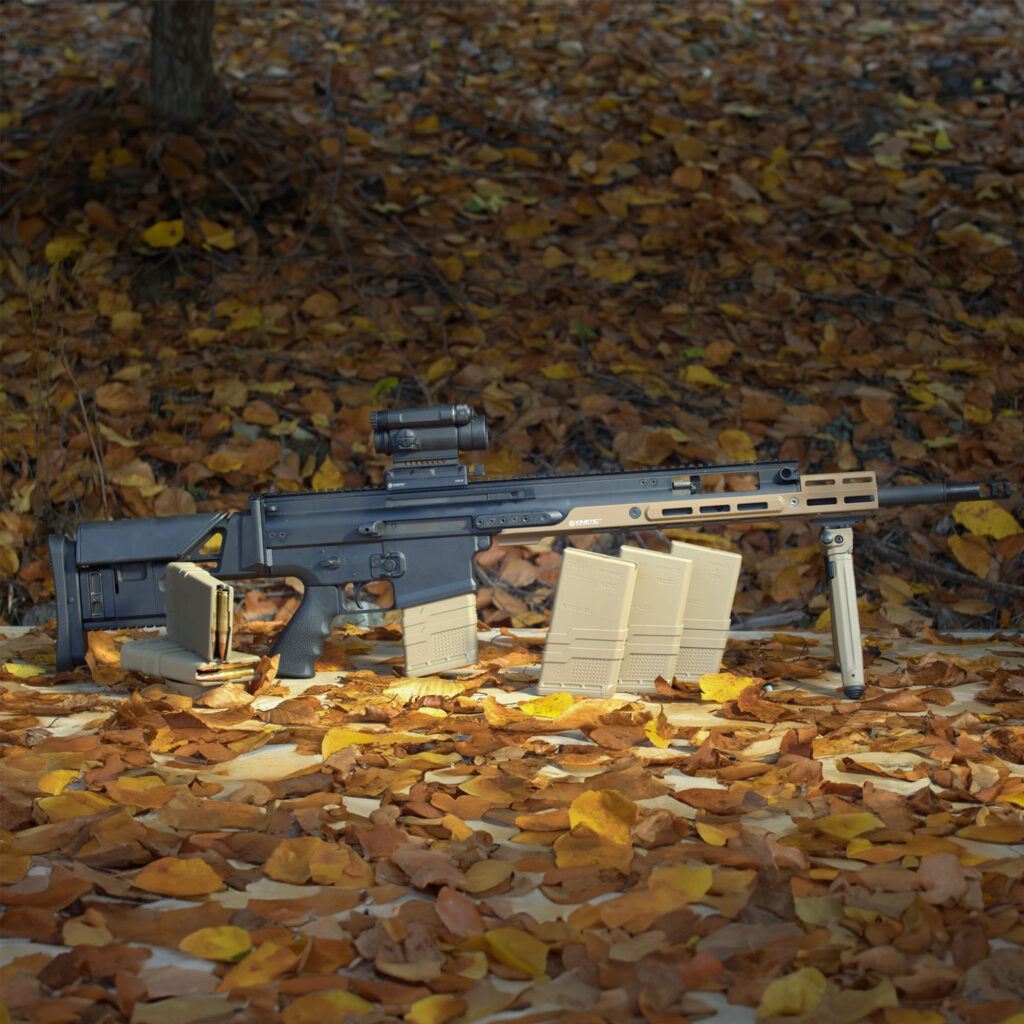
function of the gun. Bipods need to be far enough forward to stabilize the
weapon but not so far forward that it’s out of reach, requiring unnecessary
movement.
To detail every firearm type with every possible accessory would make this
blog hundreds of pages long and extremely boring. As I’ve said time and time
again the most important thing is to build the gun for your needs. The best
piece of advice I can give you is to experiment. Try configurations with
different accessories in different places. Figure out what’s comfortable and
works best for you, then test it. When buying accessories and upgrades be sure to
buy quality products from reputable brands. Firearms are lifesaving (and
taking) tools that we don’t want to fail when it matters most. As a tool, a
firearm should not be overly complex in its setup. A carpenter’s hammer has two
functions, it hits nails on one side and pries nails out with the other. If a hammer is simplistic in its design so should
a
gun.
When fundamentals go out the window:
A few times throughout this article I’ve mentioned that some fundamentals
are dictated by the situation. In certain instances, some fundamentals will be
ignored or used at different times throughout the engagement. In other situations,
all the fundamentals are equally important. I want to give two hypothetical
examples. Now knowing the fundamentals of marksmanship, it’s important to understand
when to use them.
Scenario 1: A law enforcement officer knocks on the front door of a
house. The door swings open and there is an individual pointing a gun right at
the officer. Like it’s second nature, the officer draws his gun from the
holster and engages the individual, firing several rounds rapidly to end the
threat. The officer then proceeds to jump on the radio and calmly call for
backup and medical support while securing the scene.
In this first scenario, grip is the primary fundamental. The officer was
able to draw this gun from the holster quickly and end a threat just feet from
him. Then he gets on the radio and clearly communicates to dispatch and the
other officers on duty. In situations like this the office doesn’t have time to
evaluate his stance or proper sight alignment. This breath control was
irrelevant during the actual engagement but important for clear communication
afterwards. His grip in conjunction with his gear setup allowed him to draw the
gun with proficiency, shoot quickly and control recoil. His breathing allowed
for good communication and information processing after the shooting, while his
stance and sight picture were completely
irrelevant.
Scenario 2: During a precision rifle competition, the last target of
the competition is 1200 meters away and the competitors only get 1 round to
engage a 12×12 inch target. The shooter gets comfortable in the prone position
and rests his rifle on a bag. He then proceeds to collect ballistic data,
adjusts his scope, level his rifle and aligns his sights. After a few breaths
he switches his rifle from safe to fire and a few seconds later he takes the
shot. What seems like a lifetime goes by until the target falls in his
crosshairs and the shooter recovers to claim his winning
prize.
In this scenario all the fundamentals are key. The rifle is set up for this
exact shooter in this exact situation. The shooter builds a good firing
position where he’s comfortable and in control of the gun, then uses the tools
at his disposal to continually set up his rifle accordingly. He spends time
focusing on his breathing, sight alignment and trigger press, following through
with his trigger press until the target falls. Each fundamental was checked off
giving the shooter the ability to take the winning shot.
Closing Arguments:
Throughout this article I’ve broken down the basics of each
fundamental of marksmanship. Like I said in the opening paragraph this is not a
one size fits all because the fundamentals are not a one size fits all, these
are just a few key takeaways to focus on when shooting. As you continue to
develop your skills you will start to refine each fundamental and take notice
of what works for you. Some of these skills we’ve just discussed don’t stop at
the muzzle. If you have ever played sports, you will notice that a lot of what
I discussed in some way shape or form also applies to sports. Breath control is
one example of something that can be applied to all aspects of your life. I
hope I have quelled some common confusions and got you thinking about shooting
differently. As always, build a gun that fits you and your needs, experiment,
and train.
Jay


