GENERAL PURPOSE BUILD (PART ONE)
When it comes to rifles, there’s a lot of great options out there. Many are purpose-driven such as hunting rifles, competition guns, personal defense weapons (PDWs), or maybe just historical family heirlooms. Many of you reading this probably have a collection that checks most of those boxes. I believe that in everyone’s collection, even if that collection is just one, there should be a go-to option that does a little bit of everything well enough to get a passing grade in whatever task you require of it. Today I’d like to walk you through my thought process that combines accessibility along with practicality. That said, let’s talk about what may go into your general purpose rifle.
Barrel Length
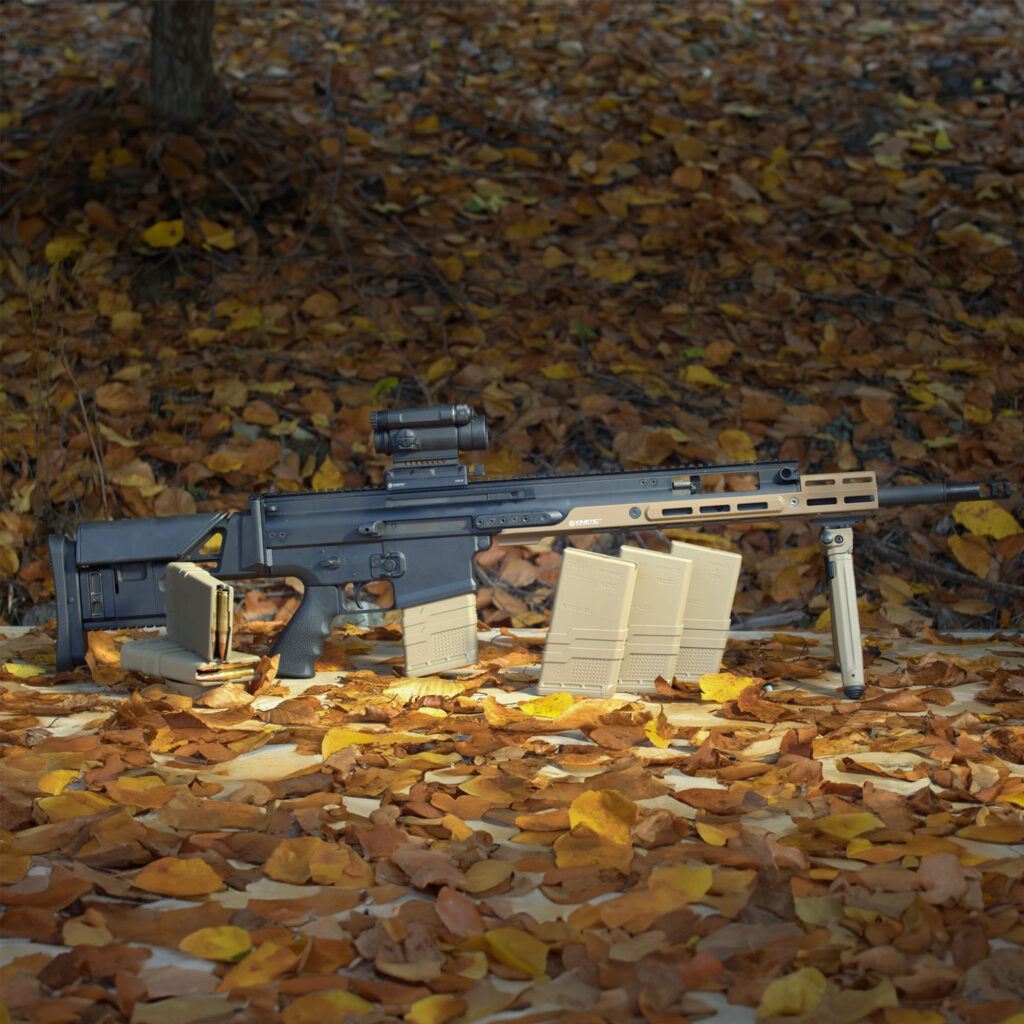
Barrel length is going to be the foundation on which we build our rifle. Unfortunately, it is not as simple as just selecting the length you want and going from there. The National Firearms Act (NFA) requires you to apply for a tax stamp and register certain classes of firearms under a certain barrel length. Whether or not you choose to go this route is a personal decision, so to keep things simple I am going to start this theoretical build with a 16 inch barrel.
Barrels that are 16 inches in length and are chambered in 5.56/.223 are very common in today’s firearms market (as are complete uppers). Not only does this grant easier access to begin a build, but it also means that replacement parts will not be difficult to find and aftermarket support will be plentiful.
Compared to barrels that are 10-12 inches in length, you may lose a bit of maneuverability in close quarters but you will also gain performance in terms of ballistics when trying to reach out to longer range (this is also impacted by your ammo, twist rate, etc. but that is a conversation for another day). By budgeting how much weight your rifle carries, and how balanced that weight is, the extra length will be trivial in the grand scheme of the build.
Handguard
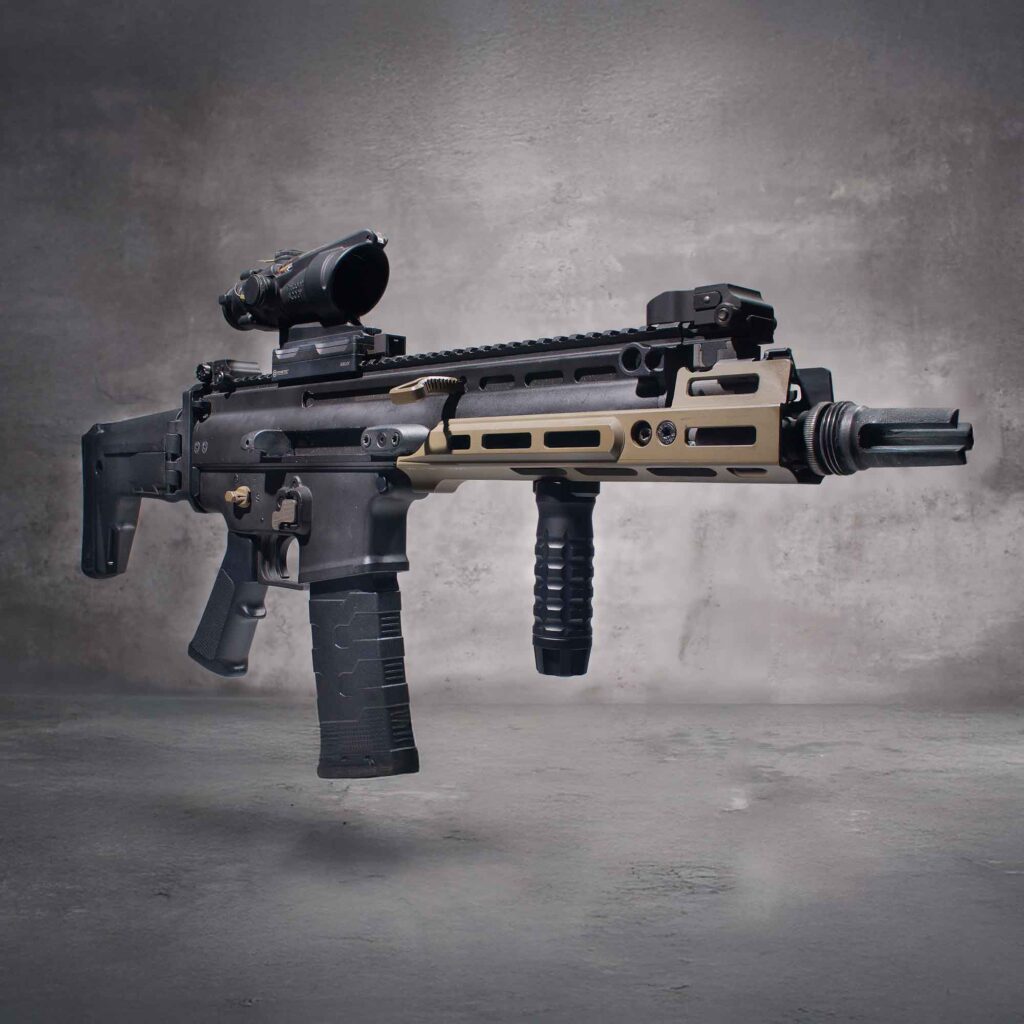
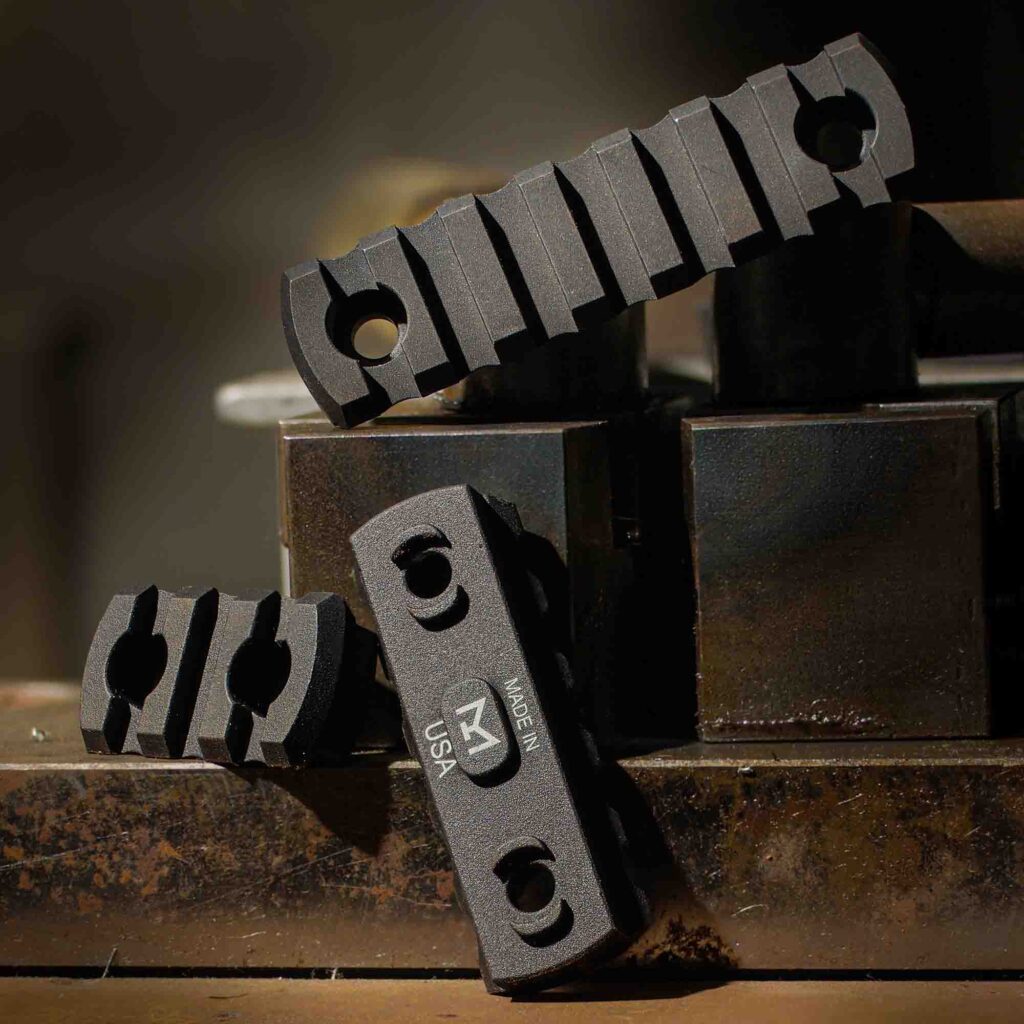
Handguards are ultimately personal preference, although they should be selected with certain factors in mind. The first factor we are going to look at is weight. As much as I love quad rail style handguards, they do add unnecessary weight. While it may not come in the form of actual pounds of difference, this is one of the areas we can cut down on overall weight very easily. Think of it in terms of a budget. If you wanted to build a rifle that is less than 10 pounds (unloaded), how much of that weight do you want to use up in that handguard? Probably not a lot after factoring things like lights, optics, mounts, grips, etc.
After assessing weight, how durable is your handguard? The modern MLOK mounting system is available in both polymer and aluminum materials. Beyond that, you can even consider the grade of the materials used. Ventilation is a key factor here as well. After a long day at the range, especially in hot summers in some states, your handguard is going to get hot. Having a handguard that can quickly shed heat is crucial to keep your rifle operational and comfortable to utilize.
Illumination
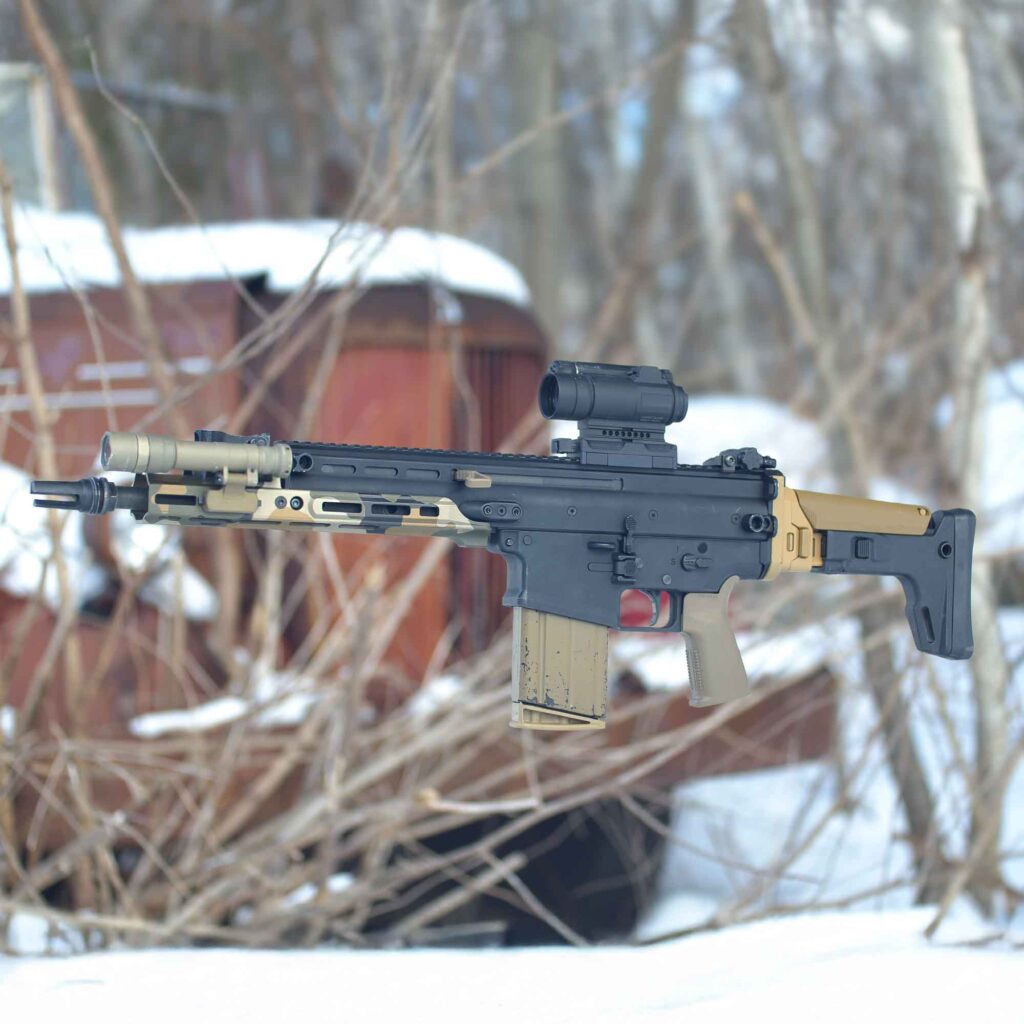
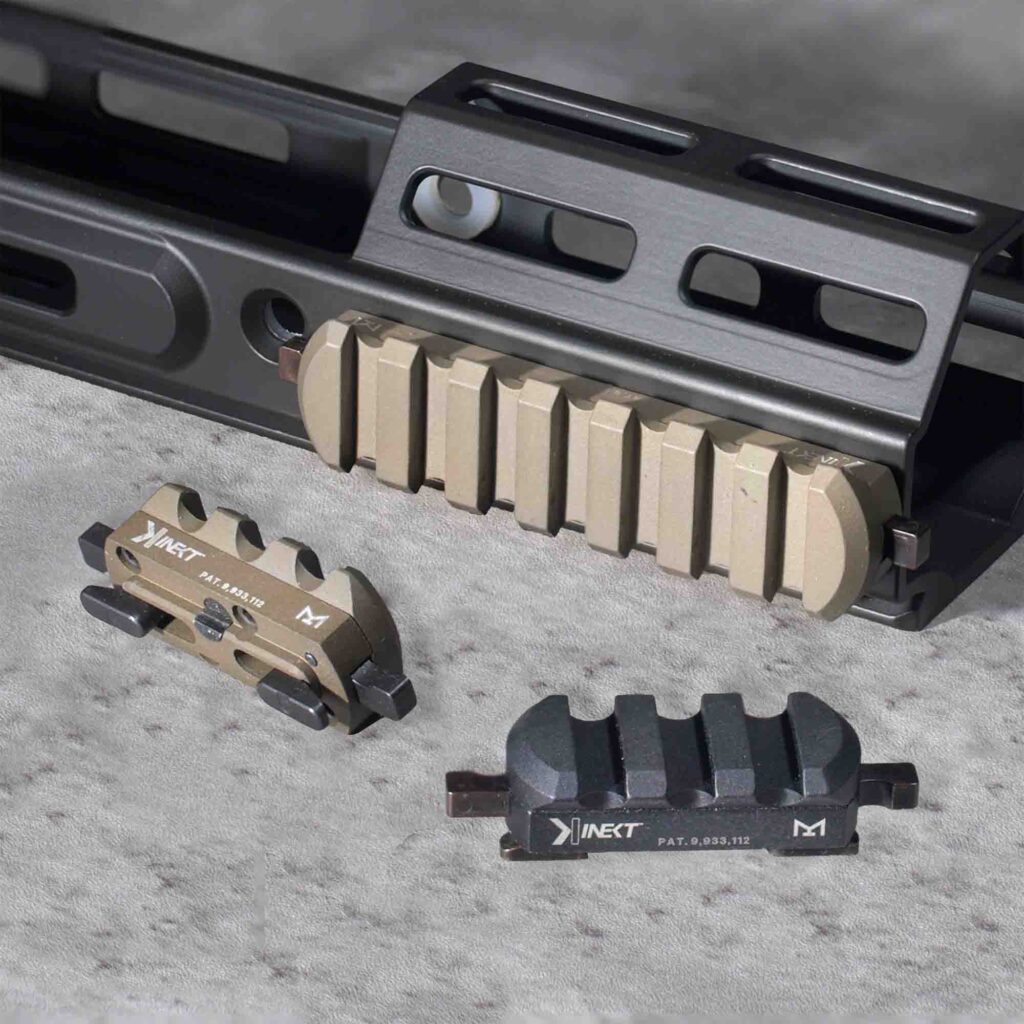
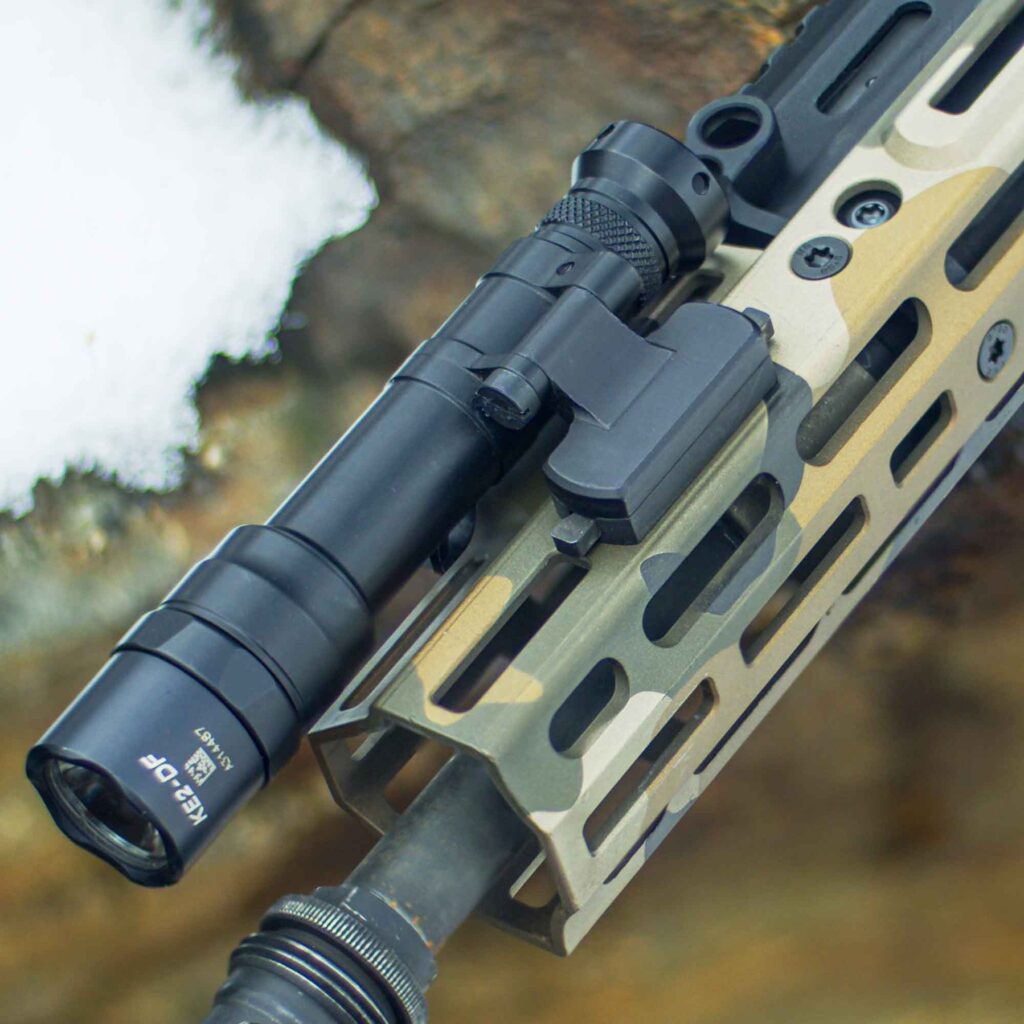
A light source is what I consider to be the only true non-negotiable upgrade on duty/defensive weapons: illumination. I personally believe that it is absolutely essential to be able to positively identify your intended target at all times. I don’t care how many times I repeat “ounces are pounds” in this post. Light source. Period. There are a great number of companies that make incredible weapon mounted lights (WML). Cloud Defensive, Modlite, and Surefire are the big three that come to mind. They all offer lights that have a great deal of throw and/or spill depending on what your environment calls for. While they do run on the higher end of pricing, I believe they are worth it without a doubt. One of those lights is far better than three cheap lights you’d find at Walmart. If you feel the need to buy three cheap lights, there are options for quick detach mounts available for most models, enabling you to move your top tier light around as you wish instead.
Optic(s)
Red dots and holographics serve their purpose very well. In a CQB environment they allow you to quickly acquire your target while also benefiting from being on the lighter weight end of the spectrum. They also tend to run on commonly accessible batteries such as AAAs or CR2032s. A quick trip to most retail stores with $20 will have your optic running for years. The downside is that you can only see as far as your eyes will allow you to. Your rifle can reach 500+ yards with the common .223/5.56 caliber ammunition (depending on your barrel length) but good luck clearly seeing half that distance with a 1x magnification optic.
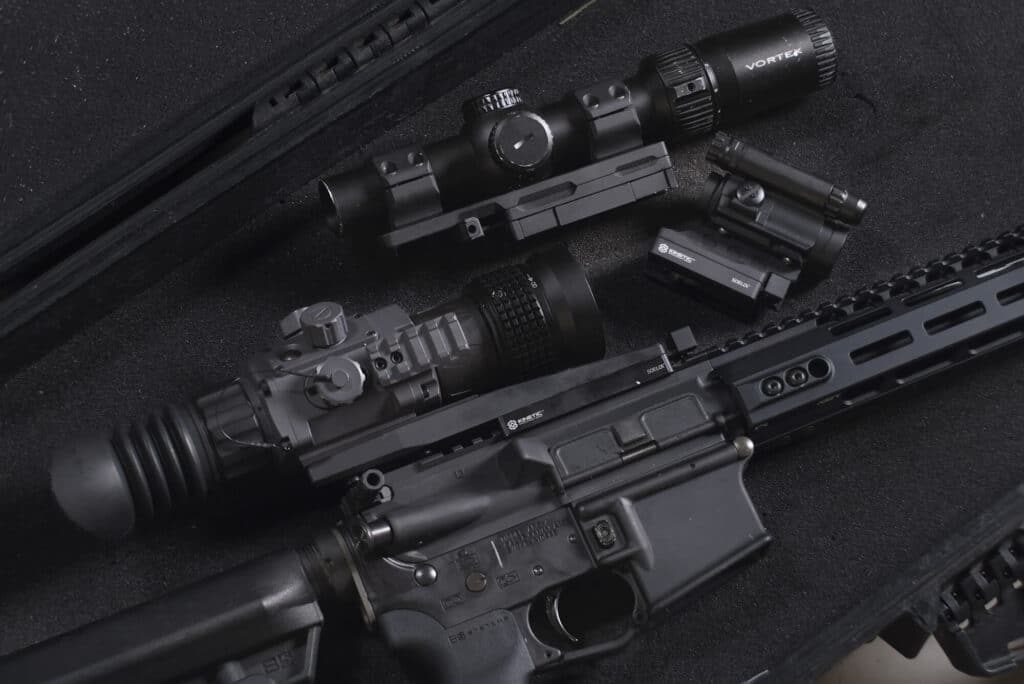
This is where I will pose the argument that some form of magnification should be used on a general purpose build. This seems to be becoming more common with the most recent rise of low power variable optics (LPVOs). Having an optic that can match a 1x magnification dot, while also being able to multiply visual distance adds a level of versatility that should not be ignored.
Another option is an ACOG + RMR combo. Having an RMR piggy-back on an ACOG allows you to rapidly switch between magnifications completely hands-free. This keeps both hands on your rifle, maintaining stability and keeping you ready for your course of fire. Just be sure to zero both optics at appropriate distances. The RMR can be utilized for CQB and scanning an area while having your magnified option less than 2 inches below. Should you choose a fiber-optic ACOG that will be one less battery to worry about and the RMR weighs next to nothing.
A more budget friendly option would be to look into a flip-to-side or flip-up magnifier. There are several different options on the market in different price ranges. These are another great option as many already come available with a quick detach mount built in. If you are someone who really loves their red dot or holographic and does not want to invest in a whole new optic set-up, this is a good way to go. With all set-ups, just keep mount heights, height over bore, parallax, and zeroing in mind.
Back-Up Iron Sights
I’ve seen this argument go both ways in terms of being “required”. To me, it really boils down to how much trust you put in your optic not to fail. Usually when utilizing red dots and holographics, there is generally no reason not to have them. I guess if you’re really counting those ounces they can be looked at as optional, but if you have the real estate for it, why not? Things start to become more complicated when you add the magnified options I went into above. The ACOGs have short eye relief while LPVOs and magnifiers battle for space on the back end of your upper receiver where your rear iron would be. Without QD style mounts, you potentially won’t have quick access to them anyway. This one is user-preference and task-oriented in my opinion.
Sling
Not the most exciting topic in the world, but it is a very important one. Slings keep your rifle within arms reach when not in use. They free up your hands to do other things such as provide medical aid to a teammate or to put the dinosaur chicken nuggets in the microwave. I highly recommend going with a two-point sling over a single-point sling. Single-point slings ultimately just tether your rifle to you. The idea behind it is to have a freely-moving rifle that is easy to manipulate, but you can do pretty much everything and more with a two-point sling.
There are more and more slings on the market that have the ability to quick-adjust between longer and shorter lengths when mounted. This enables you to have a more loosely fitting sling where dynamic movement is required, but can also cinch down tightly for trying to make precise shots at longer range.
Another often overlooked purpose is they add an additional point of contact between you and your rifle. Holding your rifle unsupported, while aiming, you have four points of contact. Both your hands, your shoulder pocket, and your cheek. Adding a two point sling to the picture adds two points of contact (depending how you look at it. I prefer to have my sling mounted at the QD point closest to the receiver on my support side, and the other mounted on the outside of the sling on my dominant side. I feel that this allows me more free movement with the muzzle end of my rifle while my support hand does not have to compete for space in the area the front QD is usually located.
Using this rear QD choice, it keeps my rifle from wanting to twist outward away from my body when I am just allowing it to sit across my torso. I am able to freely and comfortably handle my rifle when in use, or when resting. The benefits of a sling so massively outweigh any reason you could come up with to go without. To me, a good sling is a requirement.
Stock & Grips
These are going to be entirely user preference. The only reason I bring them up is because there is such a broad range of them on the market. Another reason is because a lot of them have built-in storage compartments. This is a big one when it comes to monitoring the weight of your rifle. These compartments are fantastic for keeping spare batteries and small tools so that you always have the appropriate means to deal with small malfunctions with optics and lights.
When choosing a stock, you want to look for something that provides a good cheek-weld. This means you can comfortably utilize your cheek as a point of contact to stabilize the rifle while firing. You should also be able to do so comfortably at the proper height while being able to see through your optic of choice. You may also want to consider that some of the “minimalist” stocks can also introduce a snag-risk in that their shape enables them to unintentionally hook onto clothing, equipment, seat belts, etc.
Pistol grips are probably the most simple subject in this post. They are entirely user-preference. Maybe you like ones with finger grooves or maybe you prefer them without. Some are rubberized while others are polymer. Just as before, compartments are convenient but they also provide an opportunity to add unwanted weight. Vertical foregrips and angled foregrips are in the same vein as pistol grips in that personal preference will dictate your decision. Find out what works for you and decide if the weight is worth it.
Conclusion
At the conclusion of this post, I hope that at the very least I made you think about what you may want in a “general purpose” rifle. Something that can do almost everything well, despite not really specializing in any given task. It may not be ideal for room clearing, but it is not as cumbersome as an 18” to 20” barrel. At the same time, going with a 16” barrel makes life easier in that you do not have to jump through hoops with paperwork, welders pinning your muzzle device to meet legal barrel lengths, and the fees associated with either.
The goal here is to easily customize a rifle that can serve you in differing environments while staying lightweight and durable. You are going to get out of it what you invest into it. I’d personally rather have only one rifle that can do some of everything very well, than have a broad collection or a handful of cheap “good enough” rifles.
I’ll be back with Part Two to this post, to talk more specifically about things like tape switches, triggers, and other parts you could consider adding to changing out with your build. In the meantime, feel free to reach out to us and let us know what you think. Did we miss something? Is there something else you’d like us to talk about? We want to hear from you.


