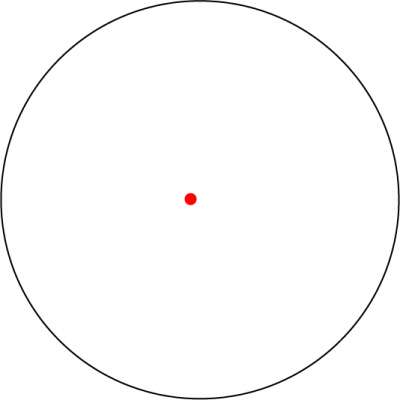
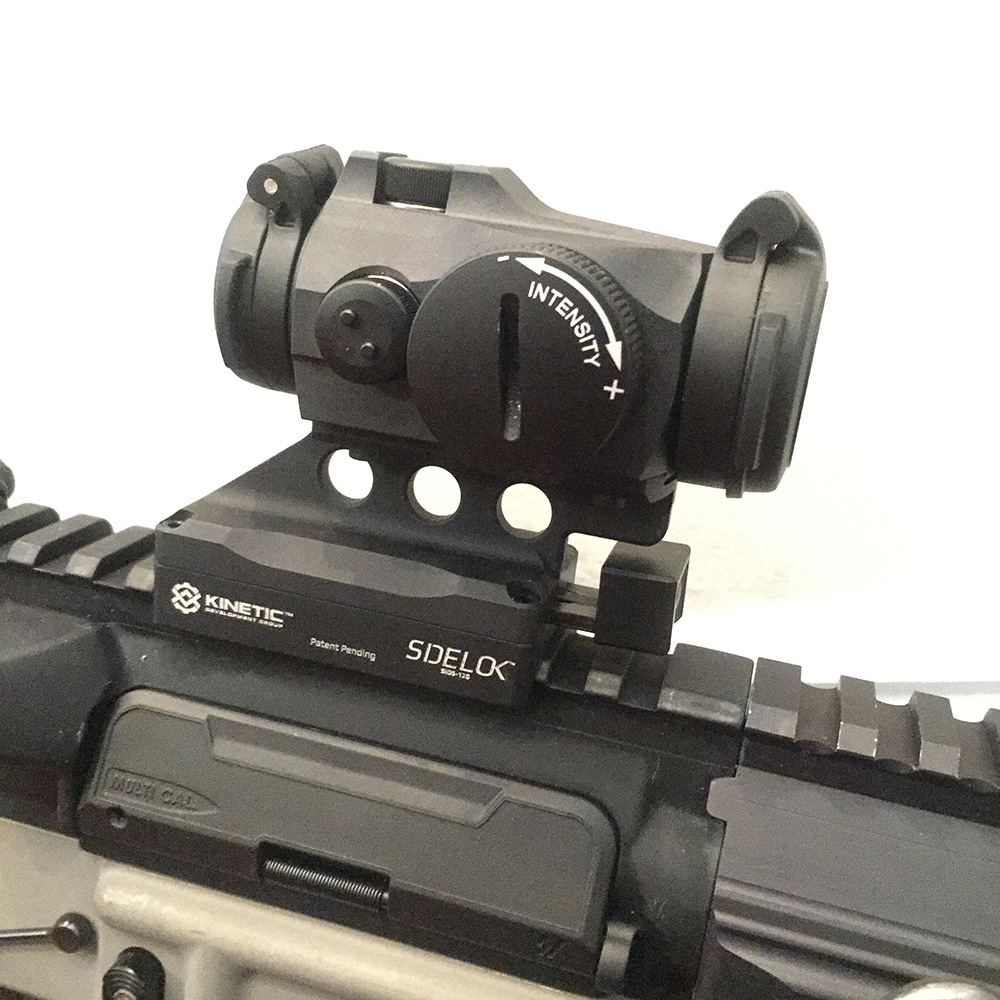
This post is going to be a short, beginners guide to red dot sights. The purpose of this article is to explain red dot sights, how to use a red dot, and offer some training techniques that I have found very helpful for myself and others. This article is meant for beginners but that doesn’t mean someone with a bit more experience can’t gain something from this post too. As part of KDG’s effort to provide educational and informative content I wanted to write this as a prerequisite to Red Dots 101. This article is geared towards rifle mounted red dot sights but also applies to pistols, so without further ado what is a red dot sight? A red dot is a non-magnified electronic aiming device that typically uses a small LED laser to emit a dot-style reticle used to aim a firearm. “Red Dot Sight” is a blanket term much like AR. They can range in size and shape, be offered in other colors such as green or yellow, and can even have more complex reticle options than just a single dot.
(Some terms and phrases are feature after the article)
Why are red dot sights so popular and how do you use one? Hands down red dot sights are the easiest sighting / aiming option to use. They are often more durable than magnified scopes, they’re typically smaller and lighter, less expensive and because of the simple reticle they typically boast a very long battery life. A red dot sight is great for many applications and for shooters of varying skill levels but there are some common misunderstandings, especially for beginners. So how exactly do you use a red dot sight? Used completely independently from other aiming devices it’s really as simple as point & shoot (once you’re zeroed of course).
Both eyes open. For the most part you want to use a red dot sight with both eyes open, there are some exceptions to this rule but for the purpose of this article, we want to use a red dot sight with both eyes open. Unlike a scope, you don’t close one eye and look through the housing of the optic to see the dot on your target. This can be a very tricky concept for beginners to overcome because it involves a shift in focus that can take some getting used to. Most birds are near and far sighted, meaning they can focus on two different objects at two different distances at the same time. Humans can only visually focus on one thing at a time, and we tend to blur out the rest. When shooting you want to focus on the target that’s farther away rather than the optic right in front of your face. The key to both eyes open is ignoring the optic as a whole and focusing on your target, allowing the dot to appear on your target.
Training Tip: Stand in front of a mirror holding your hand out in front of you with one finger pointed up. With both eyes open, focus on the tip of your finger. Notice how your reflection in the background is blurred? Now shift focus to your reflection. As your beautiful face comes into focus, your hand should come out of focus and become blurry. This is how you use a red dot with both eyes open. If done correctly, your brain will almost completely ignore the optic and solely focus on your target farther away. However, your brain can’t totally ignore that bright red dot inside the blurred-out optic, so our wonderful brains will superimpose that bright dot onto wherever we’re looking at!
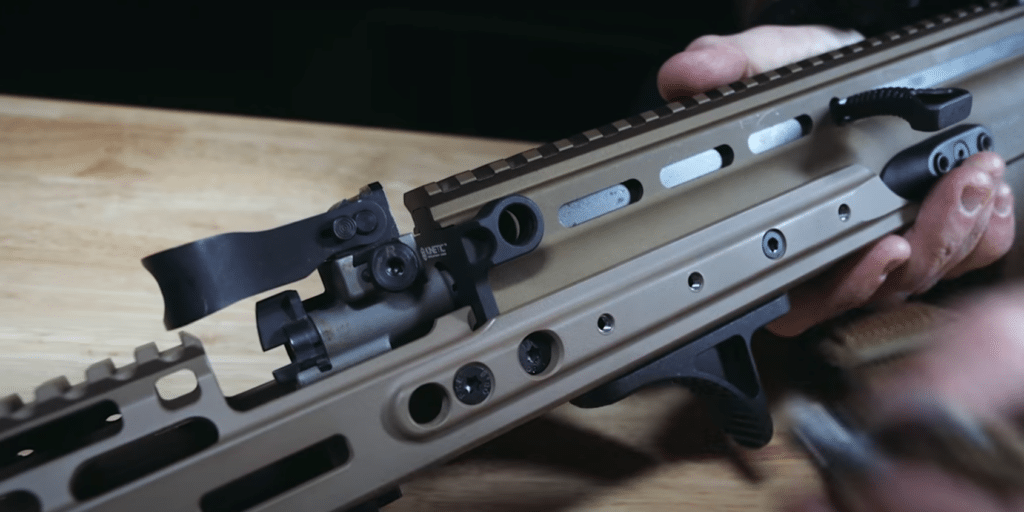
Now that you understand how humans visually perceive different fields of focus, where should you mount your red dot sight on top of your gun? Depending on your gun, you might not have many mounting options but for argument’s sake we’ll just stick to talking about ARs and modern rifles that offer plenty of mounting real estate for different optics. There is a common trend to mount red dot sights as far forward on the receiver as possible, which I think can aid in the misuse of the sight. Two of the main arguments for mounting so far forward are one, the ability to use other optics such as magnifiers or even night vision, which can be a very valid argument if it applies to you. The second main argument being the ability to use both eyes open more effectively. This is where I call bullshit. Having a red dot closer to your face doesn’t impede your ability to ignore the optic while focusing on your target, in fact I’d argue the opposite. Repeat the last training exercise except this time move your finger about 2 inches from your eyeball. Is your finger more or less blurred compared to when your army was fully extended? There are some issues with running a red dot an inch or two from your face however. Your perception of the dot’s size, accuracy (to a degree), injury and the impeded ability to use helmets, night vision, and gas masks are a few downsides. The answer to where should you mount a red dot is, wherever you feel most comfortable. This is your firearm, and you should mount your optic wherever suits you and the needs of your firearm the best. Don’t let some basement warrior on Reddit tell you that your red dot is mounted in the wrong location!
Training Tip: For new shooters, I find it’s often easier to not only use but to get used-to using a red dot sight when it’s as far back and close to your face as possible. As you continue to practice finding and using that red dot more effectively than start to inch it forwards little by little until the optics is in a location that you’re most comfortable with.
Tracking with a red dot is the ability to maintain a visual on the dot while transitioning between targets. Tracking doesn’t necessarily mean while your feet are moving but also when you’re stationary, switching from one target to another. This is a difficult skill that can really only be utilized to its fullest potential once you have the ‘both eyes open’ skill from earlier down pat. Once you can maintain a constant visual on the dot while focusing on your surroundings, it opens the doors to shooting on the move and engaging targets like you’re John Wick. The best way to describe tracking is exactly like how someone would use a laser pointer to play with a cat.
Training Tip: Pick a wall in your house, preferably one with a lot of clutter like pictures or maybe even a wall that has a bookshelf. This is important as it will allow you to focus on something that you’re familiar with in relation to the dot (instead of focusing on the gun or optic). Stand as far away from the wall as possible. With both eyes open, aim your unloaded firearm at the floor below the wall and find the dot. Start to move your gun so that you make small circles with the dot, constantly keeping the dot in view. Move up the wall while focusing on the different pieces of clutter. You should see the dot as it moves around the wall but not the optic. Remember, the point of this exercise is to imagine you’re using a laser pointer.
Training Tip: This next tip is my absolute favorite and one I regularly include in my training regimen. It’s so important I wanted to make it its own topic. I call it ‘Blackout Training’. Blackout Training is super easy and extremely useful for a number of applications, as you too will see if implemented in your training routine. All you have to do is practice in a dark or very dimly lit room. Practicing in the dark, or in a blackout condition, eliminates all other distractions and lets you solely focus on the dot. This is super useful for; finding the dot effectively, focusing on the dot instead of the optic, and tracking the dot as you move (obviously be careful as to not walk around and injure yourself in the dark). Blackout Training is super useful when getting familiar with your gun and gear. It can be used to build muscle memory and develop different skills like reloads and pistol transitions without distraction. The best part about it (like my other tips in this post) is that it’s free! If nothing else, I hope this easy little training technique makes its way into your regimen. I’d love your feedback about this article and please share any other tips and tricks that have helped you develop better shooting habits.
– Jay –
Other terms and phrases associated with RDS, that might be useful: (In no particular order)
RDS vs Red Dot (dot) vs Optic: I reference these a lot above and wanted to make a clarification between them. Dot refers to the reticle itself that’s being projected. The Optic refers to the housing or the unit body that encases the glass and emitter. Red Dot Sight (RDS) is the unit as a whole… if that makes any sense.
MOA: Or Minute of Angle, is a unit of measurement for a circle. It roughly equals 1 inch (1.047 inches) at 100 yards. This is the size of the dot that you perceive so a smaller MOA translates to a smaller dot. MOA compounds so if a 1 MOA dot is roughly 1 inch at 100 yards, then it’s also roughly 2 inches at 200 yards. The same applies as the size of the dot increases, for example a 3 MOA is 3 inches at 100 yards and 6 inches at 200 yards and so on. The brighter the emitter setting on your optic, the larger the dot will appear so setting your brightness to an appropriate level in relation to ambient light conditions is important. The MOA you choose for your firearm can have varying effects but for the most part a 2 MOA (or there about) will suit most needs.
Parallax: This is most commonly associated with magnified optics but relevant with RDS too (especially when using a magnifier). Parallax is an optical illusion that occurs when the reticle is in a different focal plane than the target. Now what the heck does that mean? Best way to describe parallax is a straw in water. Picture a clear glass of water with a straw half in and half out of the water. Have you ever noticed that the portion of the straw that’s inside a glass appears to be misaligned with the portion of the straw sticking out of the water? That optical illusion is essentially parallax, and it can have a big effect on your shooting because where you’re aiming might not be where the bullet impacts. Parallax has a greater effect as distance increases. Most RDS claim to be parallax free but the more glass and lenses you add to an optic, the greater effect parallax can have. This even applies to eyeglasses, just something to note!
Height Over Bore: This is a height measurement taken from the center of the optic to the center of the barrel (bore). Knowing your height over bore can help identify where you aim and where the bullet impacts depending on the distance from your target. Next time you’re at the range, test your point of aim vs impact at varying distances to see the effect your height over bore has on your setup.
Zero: As I’m sure many of you already know, is the process of truing your sights to a target at a specific distance. Optics sit at varying distances above the barrel (height over bore) and when a round is fired the bullet’s flight path has a slight arch, much like a football. During that arch the bullet will align with your sight at 2 points, on the way up and on the way back down, giving you a 2 distance zero measurement (i.e., 25-300 meter zero or 50-200 meter zero). Knowing your zero in combination with your height over bore allows you to make accurate shots at varying distances.
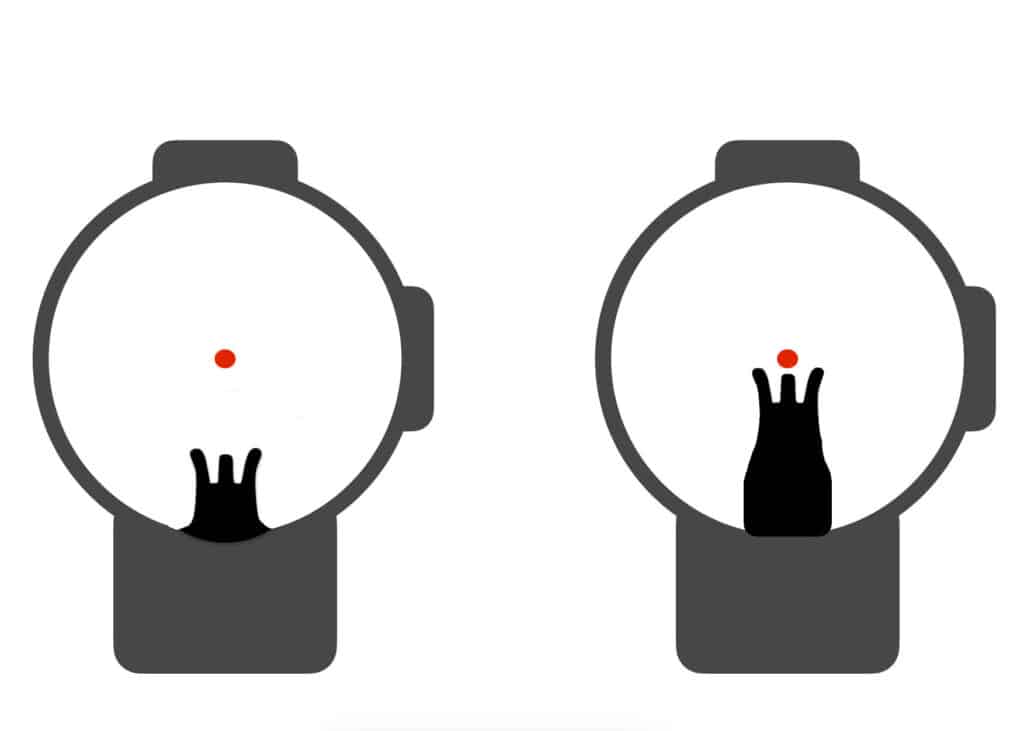
Co-witness: Is the alignment and placement of iron sights in relationship to your red dot sight. Absolute Co-witness means the aiming point of iron sights is directly in the center of the red dot sight. Lower 1/3 (or Lower ¼) Co-witness the iron sights are visible in the lower portion of the red dot sight. Both allow you to view your iron sights without removing the red dot sight in the event of an electronic failure.
Open Emitter vs Closed Emitter: The emitter is the little LED laser that emits the dot. Closed emitters are the most common; they typically consist of two lenses, with the emitter completely encased inside the optic housing between both lenses. Open emitters have a single lens, and the LED emitter is not encased inside the housing at all, rather it’s exposed to the elements and open air. Two prime examples are the Trijicon MRO is a closed emitter, while the Trijicon RMR is an open emitter. Like anything, there are pros and cons to both, and it boils down to application and preference.
Point of Aim vs Point of Impact: Simply put; where you’re aiming compared to where the bullet impacts the target. Bullets don’t fly in straight lines like lasers do, so point of aim and point of impact can vary slightly depending on distance and other variables.
Bird: A government created spy robot designed to bled into society. Why else can they focus on multiple objects at varying distances??


