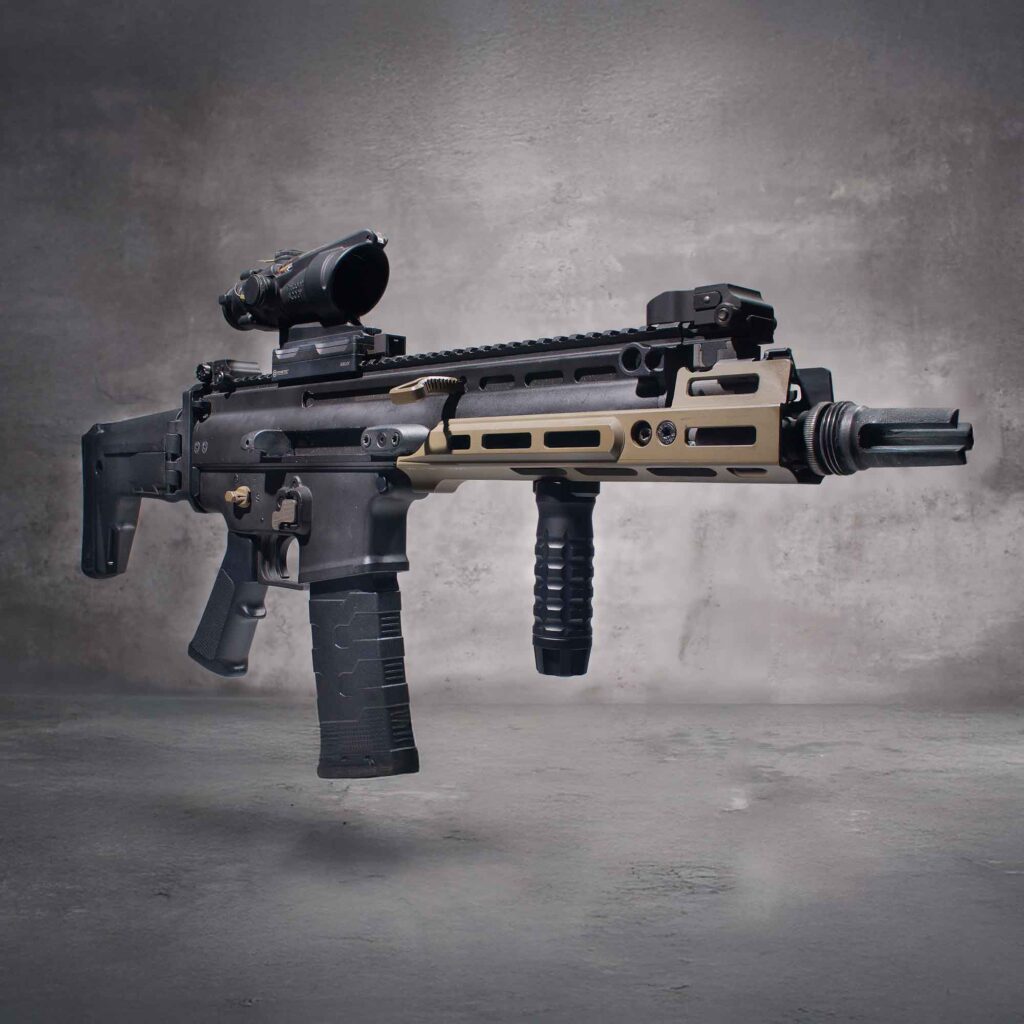
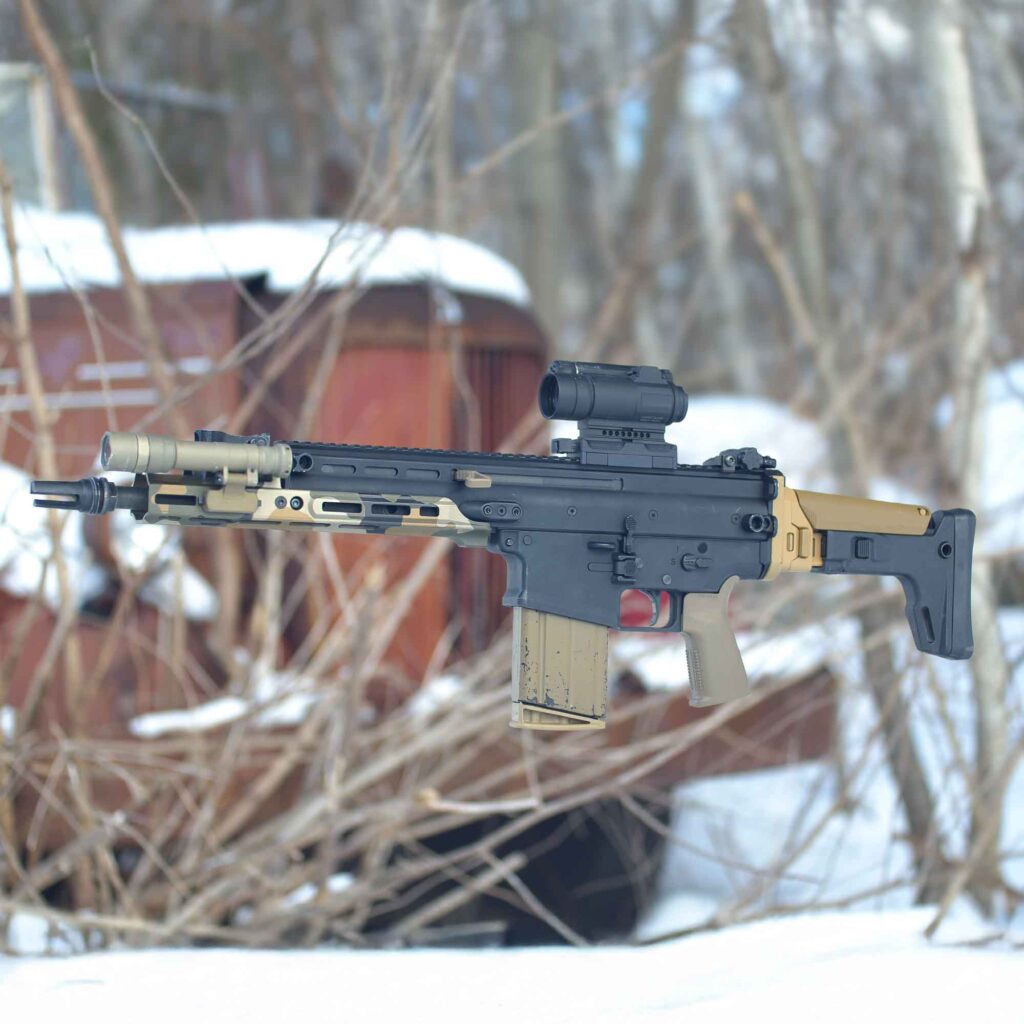
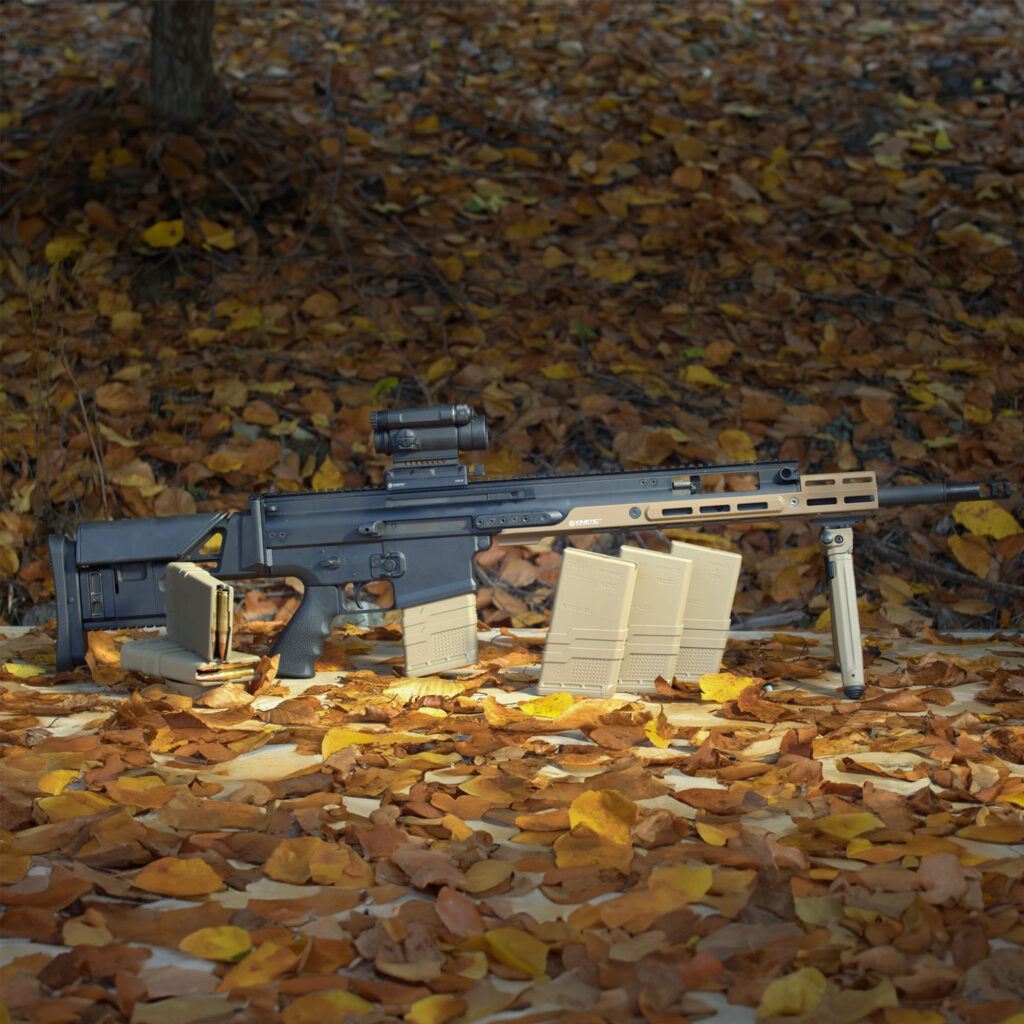
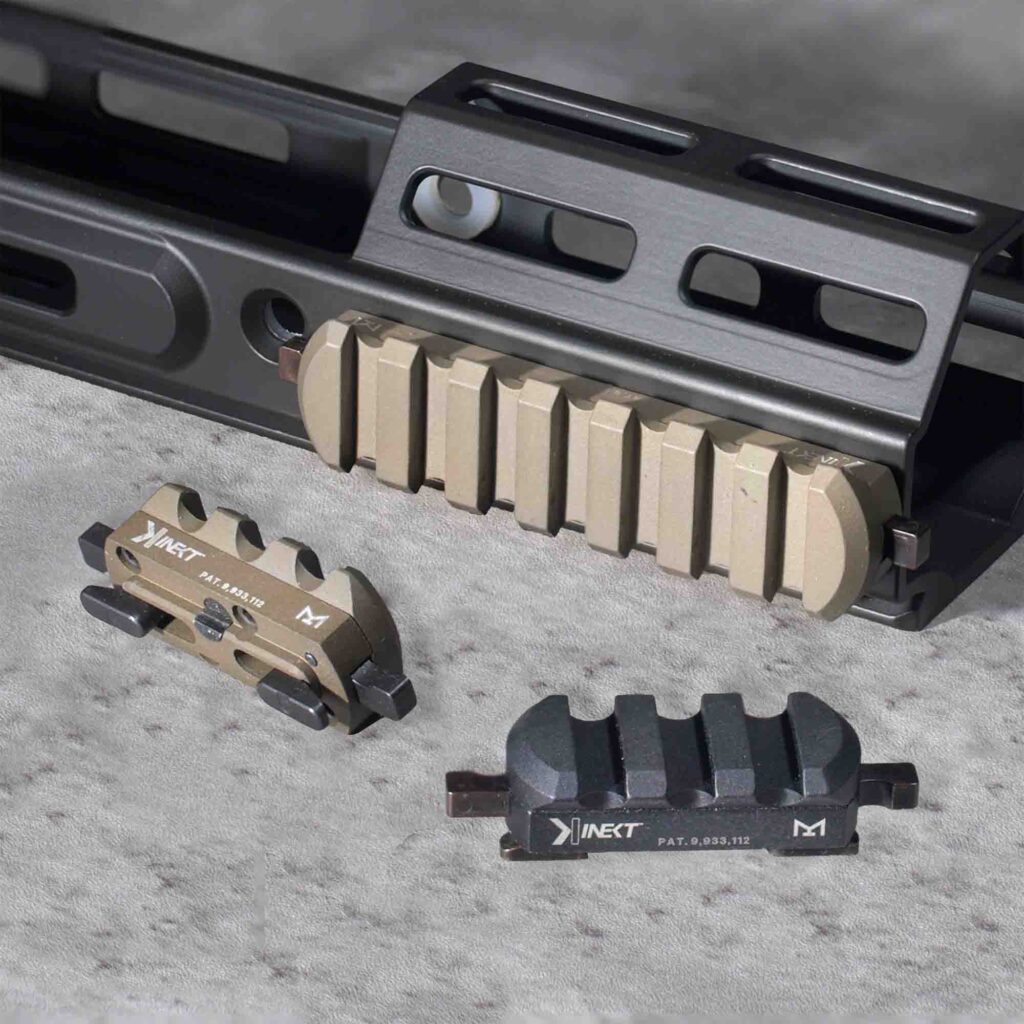
SRX3 AND SRX6 INSTALLATION INSTRUCTIONS
We highly recommend completely reading through these instructions before and during installation.
Difficulty level: 7/10
The Stribog Reviser Extension (SRX3 and SRX6) are a bit more complicated to installation than other rails offered by KDG. Don’t worry though, these rails were designed so that they can be installed by you with just a few common hand tools. Take your time. Go slow. Think things over. You got this!
*Safety: Before starting, be sure the firearm is completely unloaded, and all ammo cleared from the workspace. We want to make sure you can enjoy your new rail!
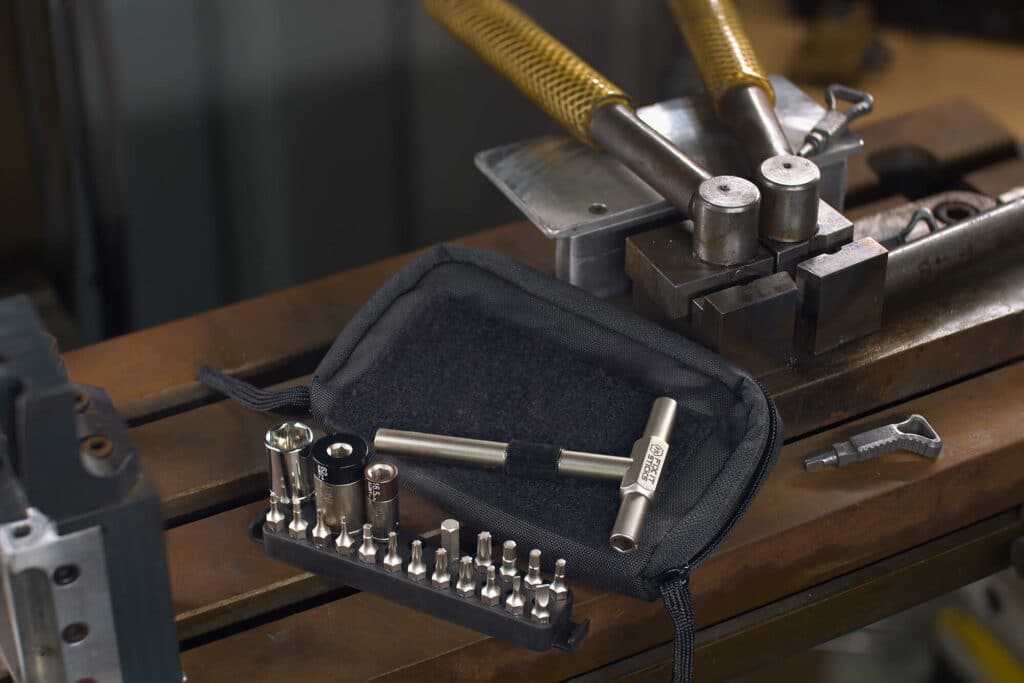
Prior to installation it is important to get familiar, and gather all the components that will be needed in the steps ahead. Let’s go ahead and do this now!
Blue Loctite (or equivalent) |
Gun lube |
3/32nds roll punch |
soft hammer |
2mm Hex, T20, T25 drivers (bits may vary depending on hardware availability)
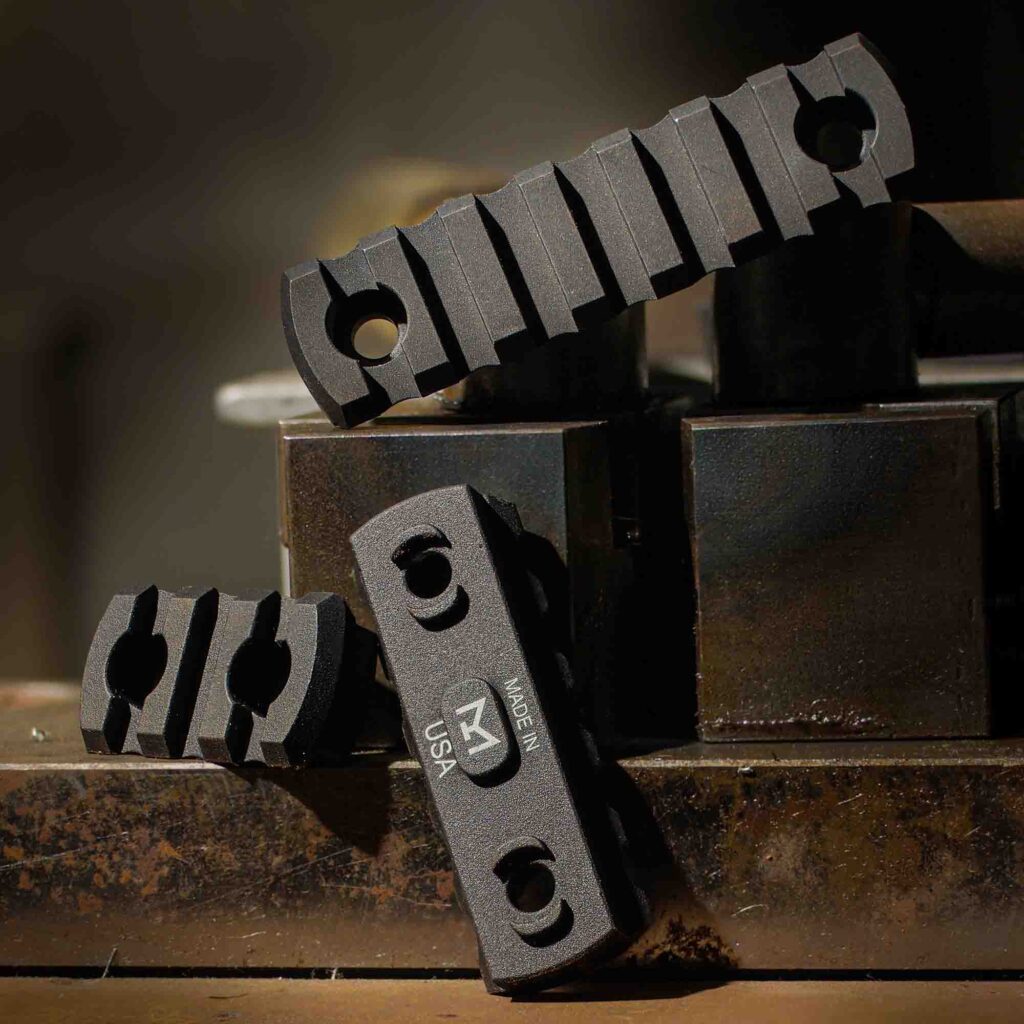
SRX3/SRX6 components: (From left to right – smallest to largest)
– Clamps x2
– Bridge insert x1
– Receiver Extension x1
SRX3/SRX6 Hardware: (From left to right – smallest to largest)
– Clamp screws x4
– Bridge Screws x4

– M-Lok hardware x2 Figure 1 *Hint: Notice the hardware, there are 3 different sizes of each rail components and 3 different sizes of each hardware type. They will be installed in order from smallest to largest components and from smallest to largest hardware type.
*Note: Receiver Extension is also referred to as ‘Rail’ throughout the following instructions.
Installation Steps:
1. Remove the barrel thread protector: Set aside and keep. a. If applicable: Remove suppressor and/or muzzle device. Re-install during step 6 or after step 10. *Hint: Remove any and all accessories from the firearm such as lights, lasers, grips and rail covers. Reinstall after step 10 when the SRX3/SRX6 is completely and firmly attached to your Stribog.

2. Remove the front sight: Take a small punch (or nail) and gently tap out the front sight retaining pin. Remove the front sight, detent, and detent spring. Set aside and keep.

3. Install Clamps: Press the Clamps firmly into the ‘forward most’ M-Lok slot on the left and right sides of the receiver. Both Clamps should sit complete flush, flat, and even on the receiver. You may need to gently tap them into place.

4. Insert the Bridge into the front of the Receiver: Apply a small amount of gun lube to the long bridge taps then insert the Bridge into the front of the receiver. The two long sides on the Bridge will be oriented side by side at the 3 and 9 o’clock positions. Be sure the Bridge is complete inserted and sitting flush with the front of the receiver. The Bridge will not insert, if not oriented correctly.

5. Fasten the Clamps to the Bridge: Apply a small amount of thread locker to each of the small clamp screws and insert into the side of the clamp. Tighten each to 10in/lb. *Hint: If you have a suppressor, depending on the attachment method of the suppressor you will want to consider attaching it now. Before the Rail goes on, but after the Bridge is installed. A suppressor may increase the difficulty of the next step, overall installation process and aftercare procedures.

6. Preparing the Rail for install: Loosely install the M-Lok hardware in the mounting hole at the very rear of the rail. The M-Lok T-nuts should both be hanging inside of the rail. It is imperative the M-Lok hardware is loose in the rear mounting holes for the next step. M-Lok hardware loosely installed.

7. Installing the Rail: —This is the most difficult part of the install! — Be sure the MLok hardware is loose! — Install the rail by sliding it down the sides of the receiver until in position. Be sure the rail is completely flush and seated onto the receiver. The rail should be aligned with the front sight notch, the Bridge, and rear M-Lok slots of the firearm.

* Hint: Use the M-Lok hardware as mini handles to gently guide the rail down the receiver to avoid scratching the firearm.
8. Fastening the rail: Starting with the medium sized Bridge screws, apply a small amount of thread locker to each then insert into the forward mounting holes of the rail located at the 1, 5, 7 and 11 O’clock positions around the rail, roughly halfway down the rail. Tighten evenly in a crisscross pattern to 30in/lb.

9. Fastening the rail continued: Tighten the rear most M-Lok mounting screws. Be sure the M-Lok T-Nuts have rotated correctly and are secured behind the M-Lok slots inside the receiver. Tighten to 30in/lb. Be sure you cannot pull up on the rail’s ears to avoid snagging.
10. Install corresponding SMX3 or SMX6: Rotate onto the barrel threads clockwise hand tight. – Sold Separately –

*Safety: Step 10. is extremely important! Failure to attach SMX, suppressor, or another type of muzzle extending device may result in series bodily harm or death. The Stribog Receiver Extension, once properly attached to the firearm, extends the overall length of the receiver past muzzle. Failure to attach a Stribog Muzzle Extension or other such device may expose body parts and firearm accessories to hazards in front of the barrel.
1. Aftercare: It is important to check all fasteners for tightness regularly. Depending on the Model rail you have combined with the model Stribog you have, there might not be access to the clamp screws. It is also important to check these occasionally for tightness.
2. Aftercare: To avoid unnecessary ware of the components we recommend limiting the removal of the Stribog Receiver Extension as much as possible.
Congratulations!
See, that wasn’t too bad! Now that your SRX3/SRX6 is installed go grab some ammo and head to the range. Be sure to show off and send us some cool photo of your build.
Download the PDF Here!


