MREX MkII Installation Instructions
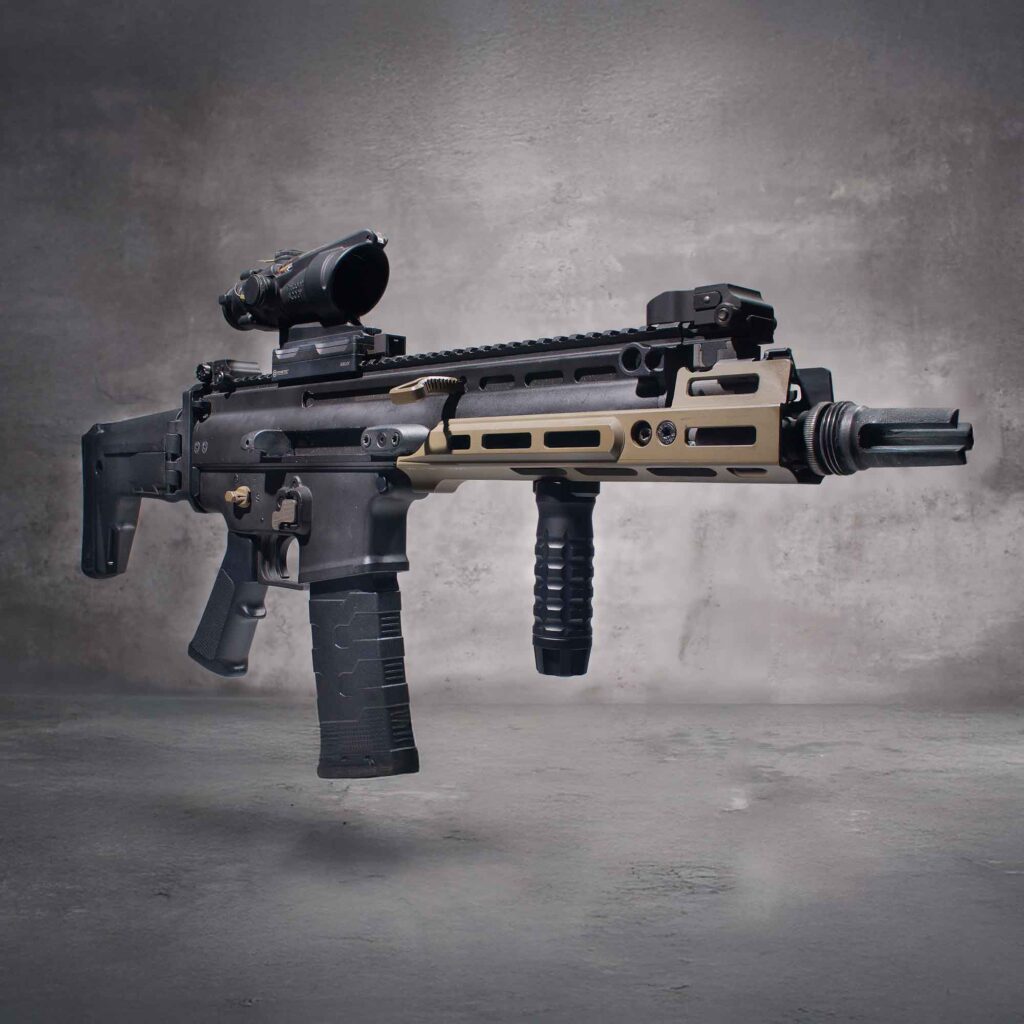
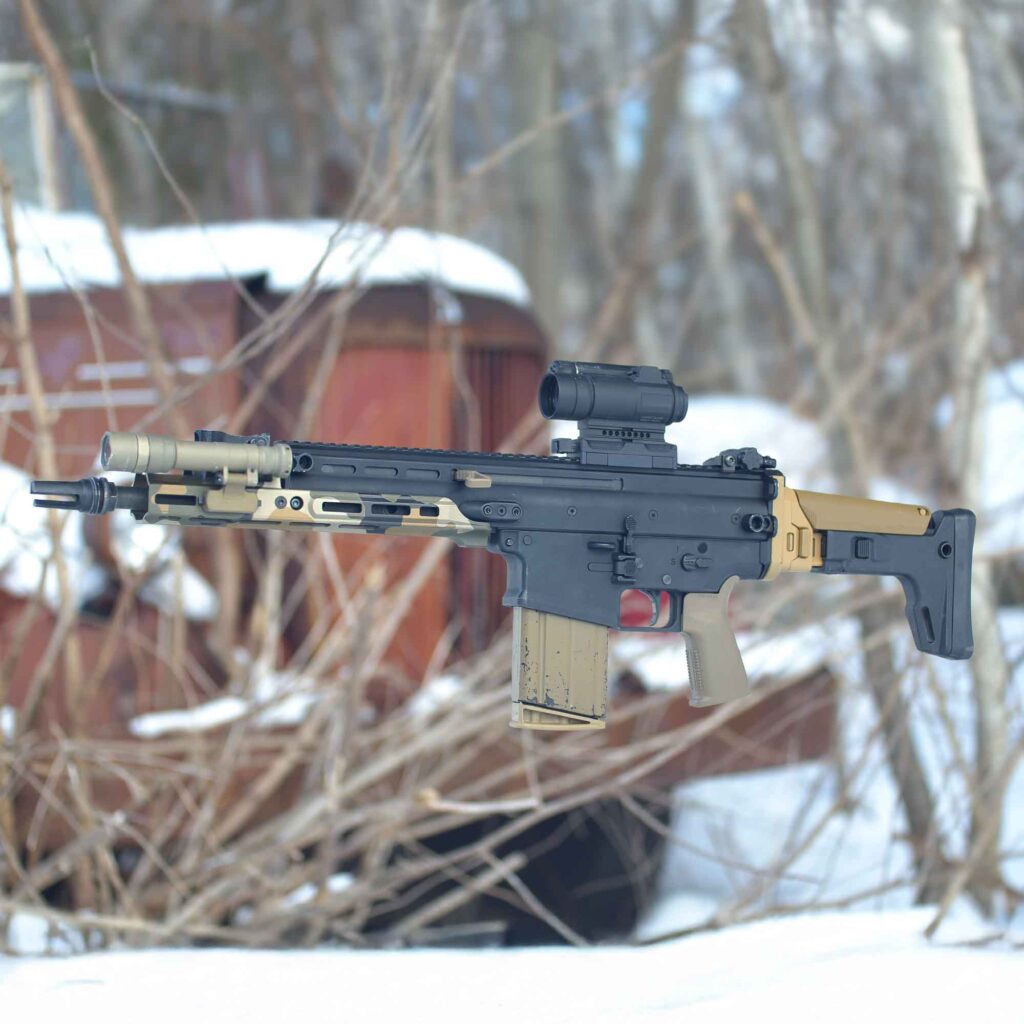
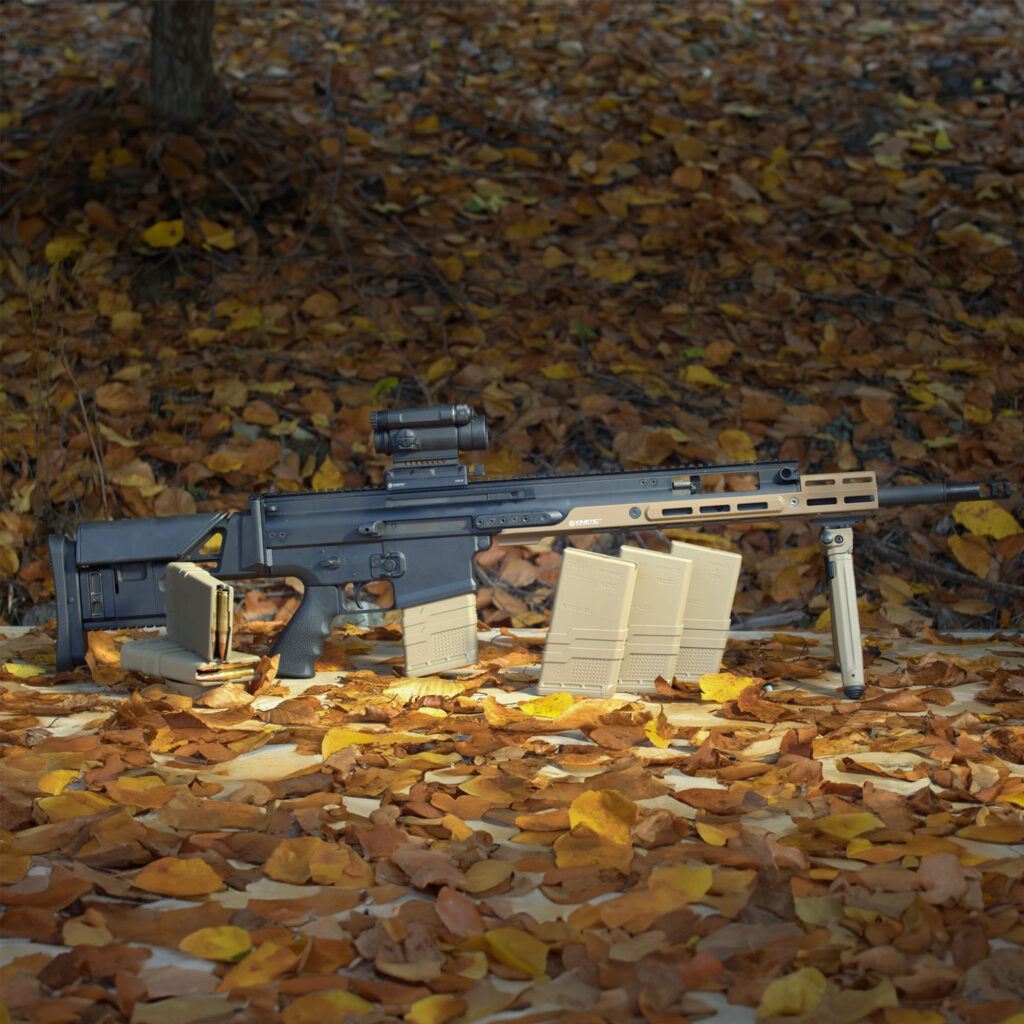
The MREX MkII installation is a simplified version of the original MREX. Anyone with a basic understanding of general maintenance procedures of a Scar, can successfully complete this installation on their own. Be sure the firearm is unloaded and ammo is away from your workspace. There are plenty of internet aids to assist with this installation.
Difficulty level: 5/10
Inside the Box:
● 1 – MREX MkII rail with pre-installed bridge. (Do not remove the bridge insert)
● 3 – M5-0.8x 10 mm fasteners
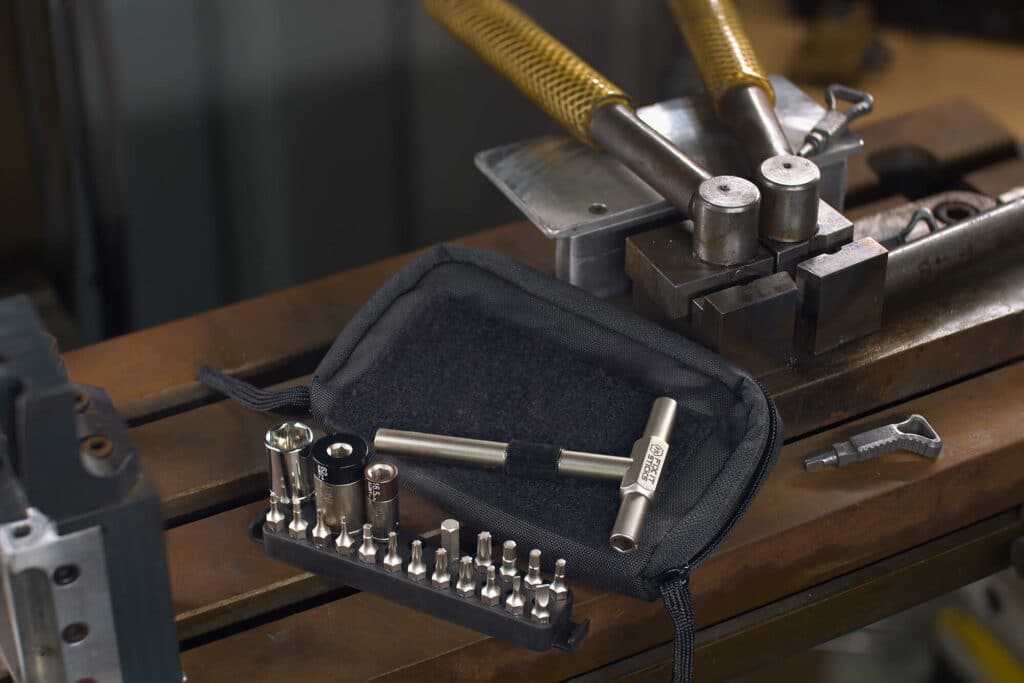
● 1 – T25 Torx wrench
● Vibra-tite or equivalent (If not in the box, then the hardware comes pre-applied with a VC3 Thread locker) Tools you will need:
● Heat gun, soldering iron, or wood burner (Optional but helps a lot)
● Torque wrench with T25 bit (If you do not want to use the one provided) ● Metric 2.5mm HEX bit
● Soft hammer
● Tender love and care + your thinking cap
Preparing your SCAR rifle:
1. Start by removing the lower receiver, stock, buffer and spring, charging handle and bolt carrier group.
2. Remove the left and right side front picatinny rail segments: There are two 2.5mm hex head fasteners and four T25 fasteners that will need to be removed. Set all components aside and keep.
3. Remove the barrel assembly: Loosen and completely back out the four T25 fasteners holding the barrel in place (these will stay in place on the firearm).
4. Next slide the barrel forward, then up and out of the upper receiver.
5. Remove lower picatinny rail from the barrel: Carefully apply heat to the T25 fastener under the barrel’s chamber and carefully remove the fastener and rail section. (This fastener is tight, use caution to avoid stripping)
6. Remove the OEM bridge inserts from the upper receiver. Set aside and keep.
Installing your MREX MKII to the barrel assembly:
1. Take your stripped factory barrel assembly and place it inside of the MREX rail. Line up the rear attachment slot of the MREX rail with the barrel extension screw block under the chamber.
2. If applicable, apply a small amount of vibra-tite to the provided T25 torque screw, and fasten the MREX rail to the barrel assembly. Tighten to 60 in/lbs. (it sometimes help the installation to keep this fastener relatively loose and torque later)
Attaching the MREX MKII / barrel assembly to your receiver:
1. Now that your barrel and MREX rail are attached, slide the whole assembly back down into the upper receiver. The MREX / Barrel should slide into place and the front bridge should line up with the remaining mounting holes forward on the rail.
2. Tighten the barrel assembly with the factory four T25 screws. FNH recommends tightening the barrel to the factory installed 62 in/lbs in a crisscross pattern.
3. Install the final two MREX T25 screws, attaching the bridge insert with the upper receiver. Tighten to 50 in/lbs. (Now’s the time to tighten the lower MREX T25 if left loose from earlier)
4. Your MREX rail is now installed on your SCAR! 5. Now just put together the BCG, scarging handle, buffer and spring, stock and lower receiver back on and presto presto you got yourself one cool Scar.
Download the PDF Here!


