
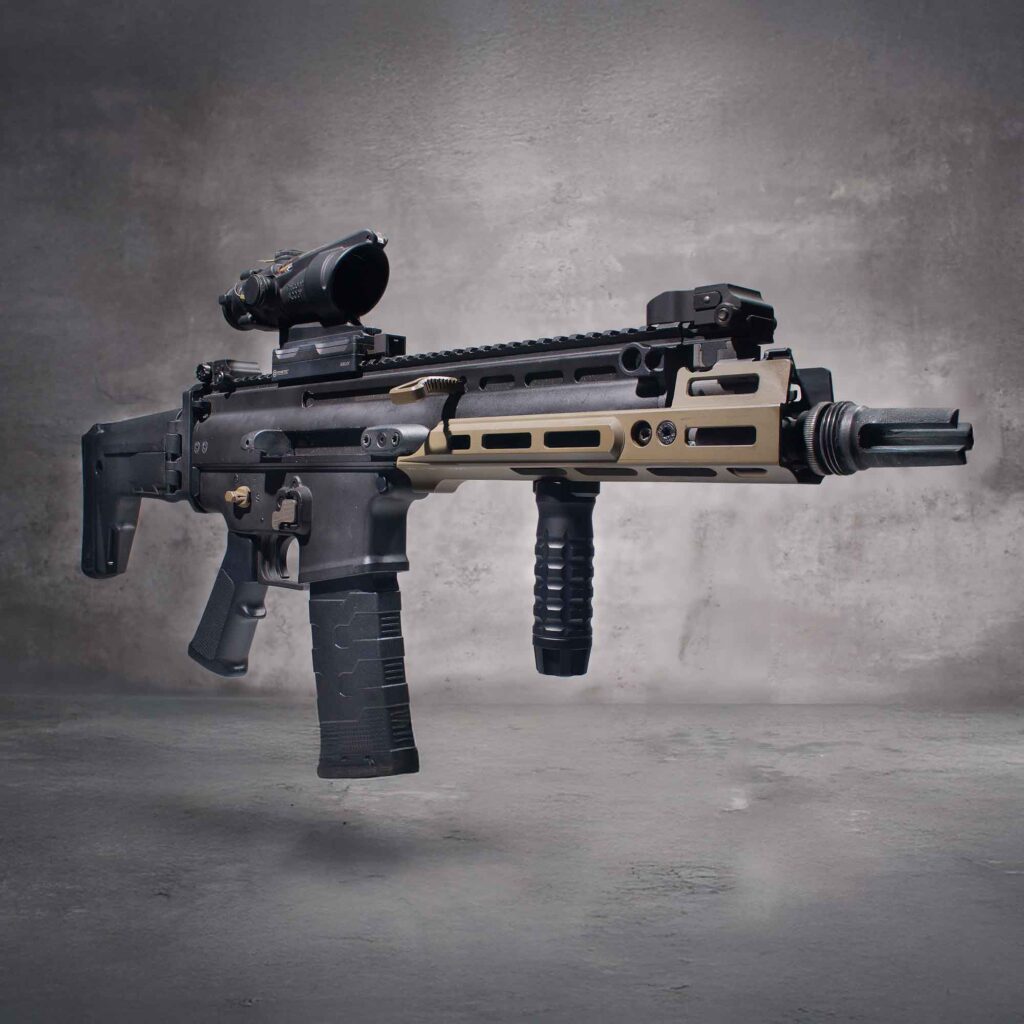
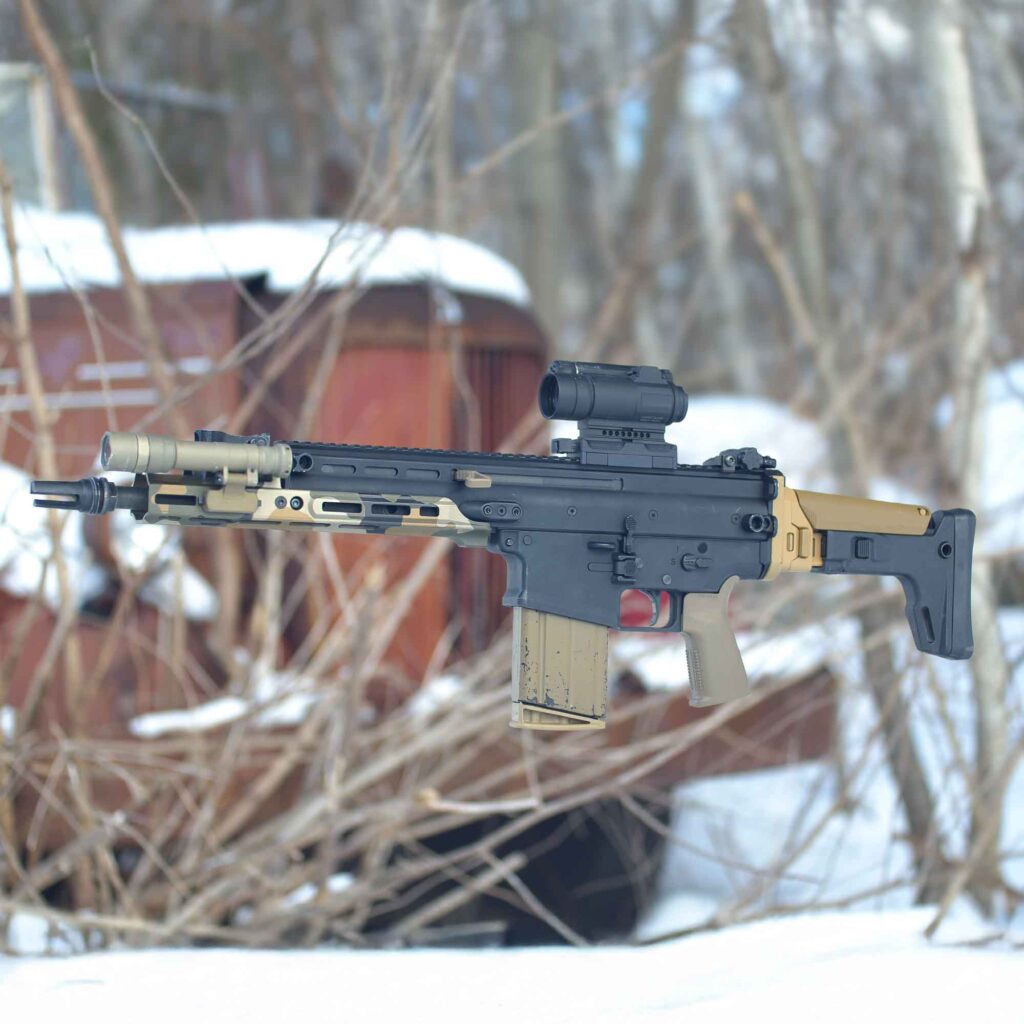


This write-up provides a step-by-step guide for installing the Kinetic Development Group (KDG) MREX MkII 15P Rail. We will break down everything from the disassembly of your upper, removal of the factory parts, installation of your new KDG Parts and reassembly of your FN SCAR 15P.
Disclaimer: This process involves disassembling a firearm component. Always ensure the firearm is unloaded and clear before starting, and follow all safety precautions.
Inside the Box:
➔ 1 – MREX15 MkII rail
➔ 1 – M5-0.8x 6 mm fasteners
➔ 1 – M5-0.8x 10 mm fasteners
➔ 2 – M5-0.8x 14 mm fasteners
➔ 1 – T25 Torx wrench
➔ Vibra-tite or equivalent (If not in the box, then the hardware comes pre-applied with a VC3 Thread locker)
Tools you will need:
Pro Tip: The KDG FN SCAR FIX IT STICKS has all the correct tools and torque limiters
➔ Soldering iron, or wood burner (Optional but helps a lot)
➔ Torque wrench with T25 bit (If you do not want to use the one provided)
➔ Metric 2.5mm HEX bit
➔ Gun mat and small containers for hardware (recommended)
Part 1: Disassembly of the Factory Rail and Barrel Assembly
1. Safety Check– Ensure the firearm is unloaded and make sure all ammo is removed from the workspace.
2. Separate Upper and Lower– Depress the takedown pin and remove the lower (cerakoted lower may stick and will require a gentle bump to be removed) .
3. Rear Plate Removal- Slide the rear adapter plate off.
4. Buffer system removal- Remove the recoil spring and buffer
5. Remove Bolt Carrie- Push the charging handle forward, locking the slide in plate. Your Blot Carrier will effortlessly slide out the back of your receiver. Now disengage the slide and charging handle and remove the charging handle. Next be sure to remove the slide from your receiver.
6. Remove Factory Handguard Side Panels- We will now take our soldering iron to heat up the 2.5MM screws holding the side rails in place. Be sure to heat up and remove one screw at a time. (it may take up to five minutes per screw with the soldering iron). Use the 2.5mm Hex key to remove the screws holding the side panels. There are two screws on each side. (As you remove the screws,
clamp plates may drop out from the back of the rail; set them aside.) Use the T25 Torx bit to remove the 2 captured screws towards the muzzle of your 15P. Now the side panels are free and can be removed.
7. Remove Barrel Assembly- Use the T25 Torx bit to remove the screws holding the barrel trunnion. (Pro Tip: The screws must be completely backed out to avoid contact with the barrel and prevent it from sliding out.) Slide the barrel assembly forward and lift it out of the receiver.
8. Remove Factory Bridge Piece- Use the soldering iron to heat the factory Torx screw that attached the rail to the barrel trunnion for 4-5 minutes to break the strong threadlocker (loctite). If done incorrectly or too fast, the screw may strip.Once heated, remove the factory Torx screw and the rail assembly.
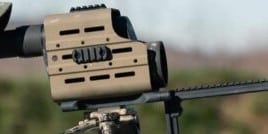
Part 2: Installing the KDG MREX MkII 15P Rail
1. Install KDG Bridge Piece- Locate the KDG bridge piece in your hardware pack. Note the arrow engraved on it—it should point towards the muzzle (forward). Slightly spread the receiver open and slide the bridge piece into the groove at the front of the receiver.
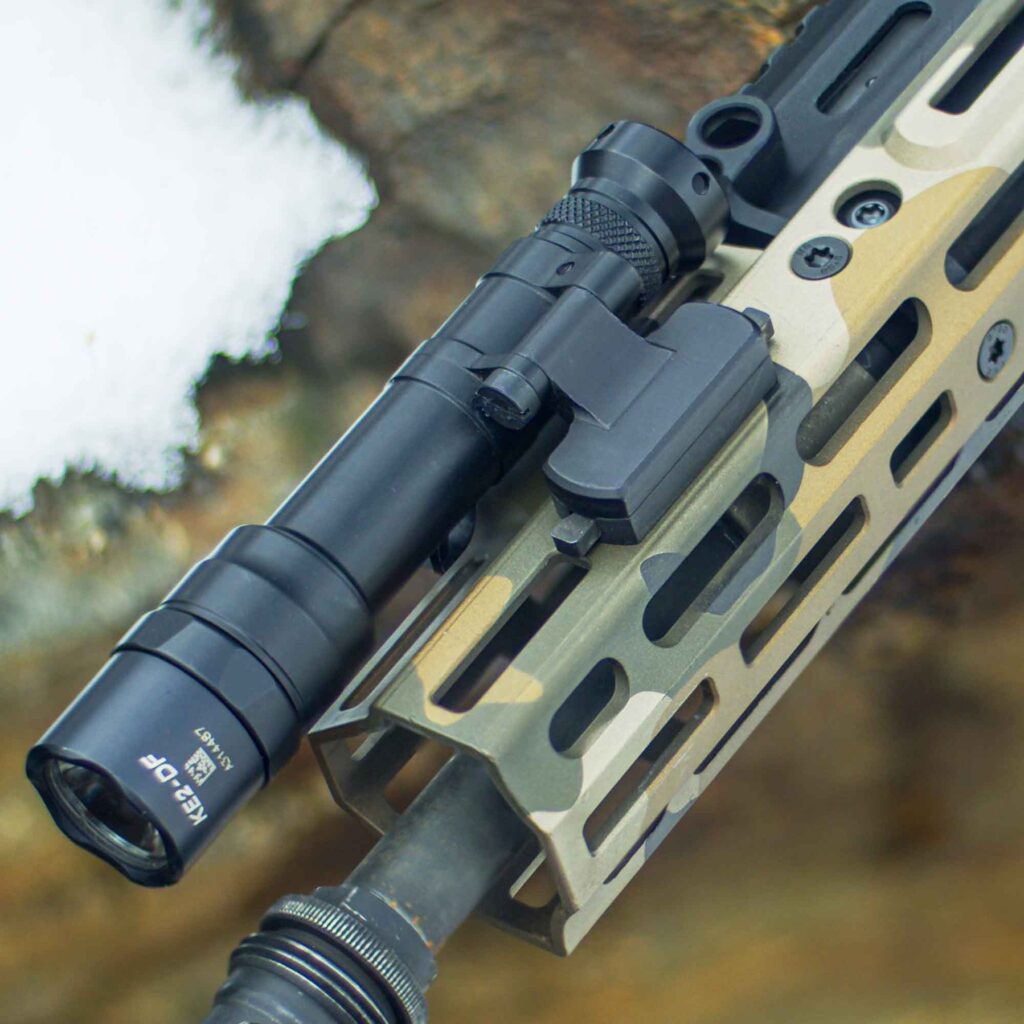
2. Install MREX MkII 15P Rail- Place the MREX rail over the barrel assembly. The rail should slide directly over the receiver. Ensure the holes on the rail align with the screw holes on the bridge piece. 3. Secure the MREX Rail- Start with the M5 10MM screw, which will go into the trunnion. Next use the 2 x M5 14MM Screws, one on each side of the rail. Lastly use the M5 6MM Screw to connect the rail to the KDG bridge. All these Screws should be torqued to 40-62 in-lb.
Part 3: Reassembly
1. Reinstall Barrel Assembly- Drop the barrel assembly back into the receiver. Ensure the barrel screws are fully retracted so they do not catch on the barrel as it slides into the receiver. Tighten the barrel screws in an alternating pattern to hand tight, then 16.5 in-lb and finally 62in-lb.
2. Reinstall Bolt Carrier and Charging Handle- Insert the Slide into the receiver and install your charging handle. Push the slide all the way forward until it locks into place. Now insert your bolt carrier into the receiver. Finally insert your buffer spring.
3. Install the rear adapter plate- Be sure to press down on the buffer pad to ensure the rear plate adapter will slide on with eases
4. Join the upper and lower receivers- Finally Slide your upper and lower together and push the takedown pin in.
Congratulations, your 15P is now ready to go to the range!