
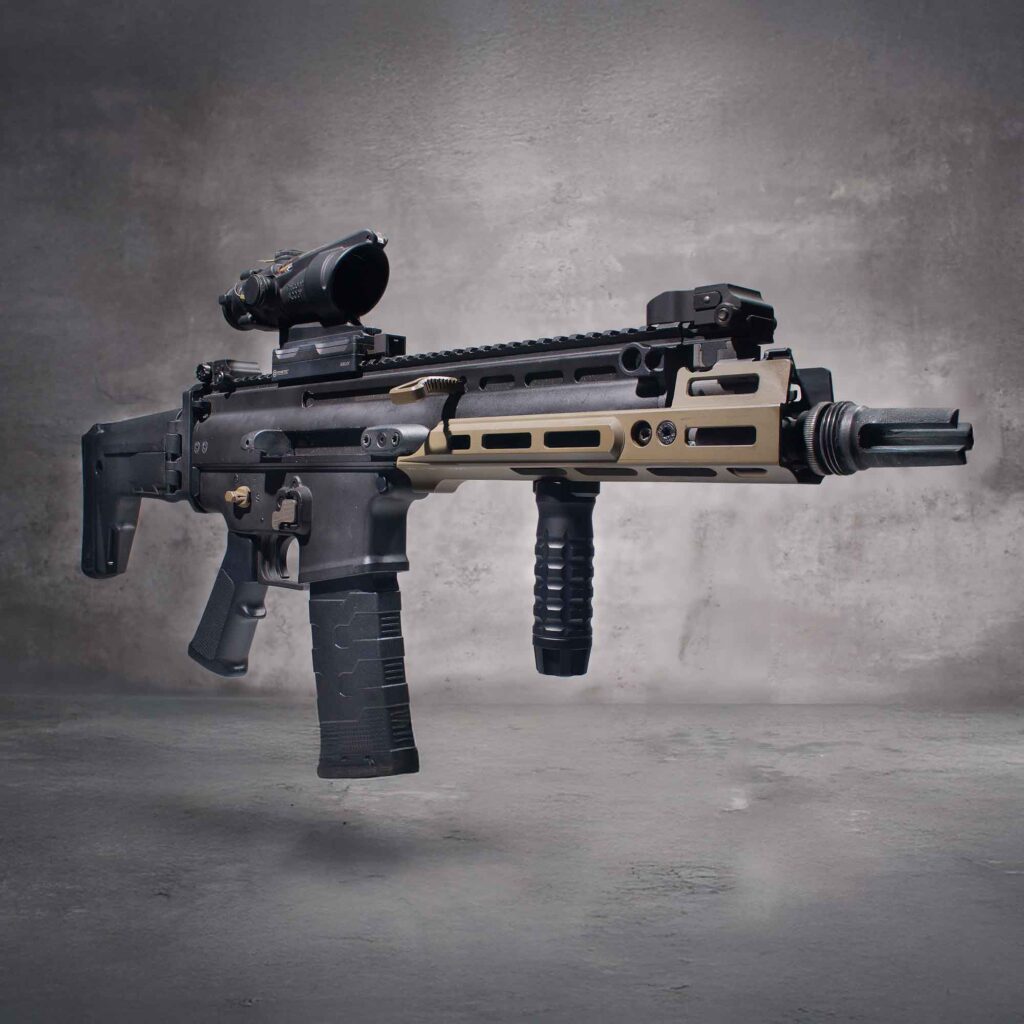


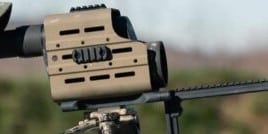


You’ve chosen an advanced Garmin device for your firearm, and a quality MLOK Garmin Mount to pair with it. That’s a great start! But even the best gear needs proper installation to perform optimally and securely. Whether you’re mounting a Garmin Xero C1 Pro chronograph or another compatible unit, a correctly installed M-LOK mount ensures your device stays put, delivers accurate data, and withstands the rigors of use.
This guide will walk you through the essential steps for installing a typical MLOK Garmin Mount, and highlight how innovative systems like Kinetic Development Group’s (KDG) Kinect™ can make this process remarkably simple.
M-LOK 101: The Foundation of a Secure Attachment
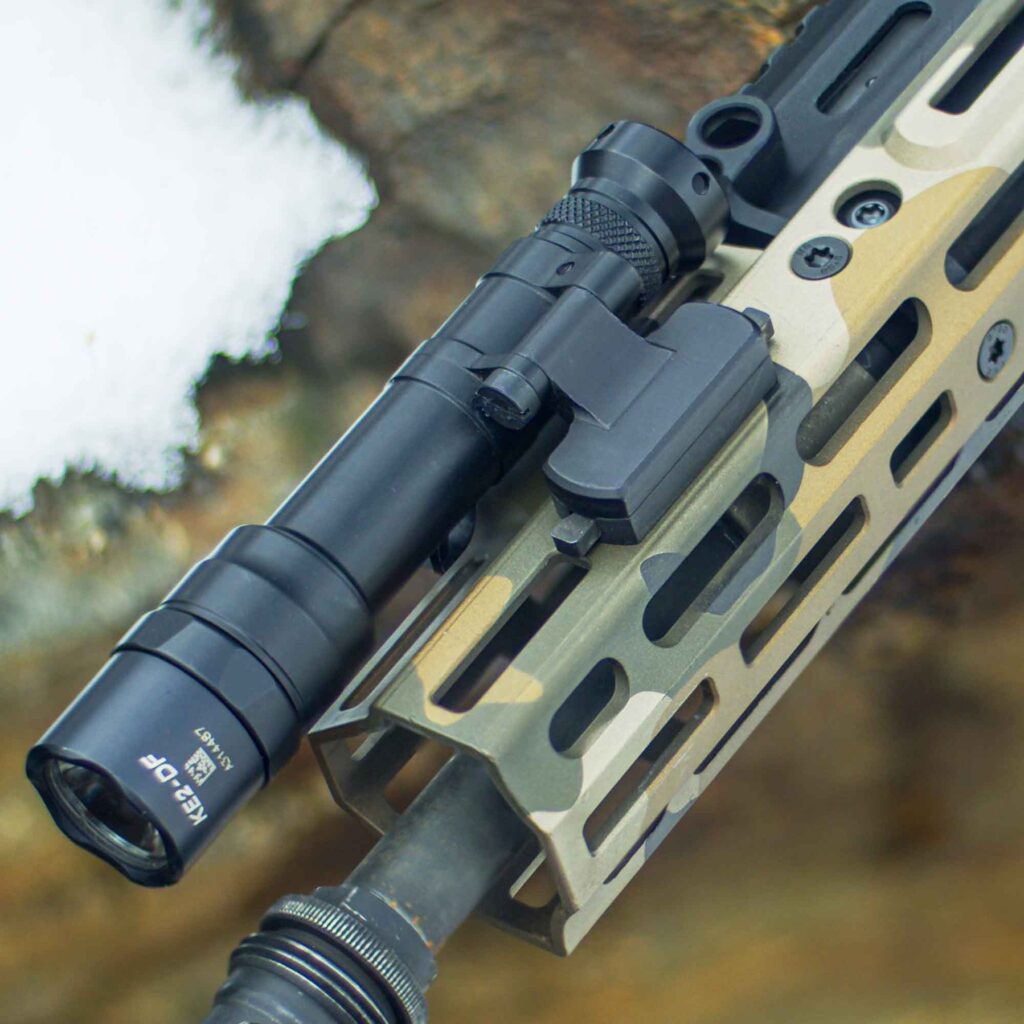
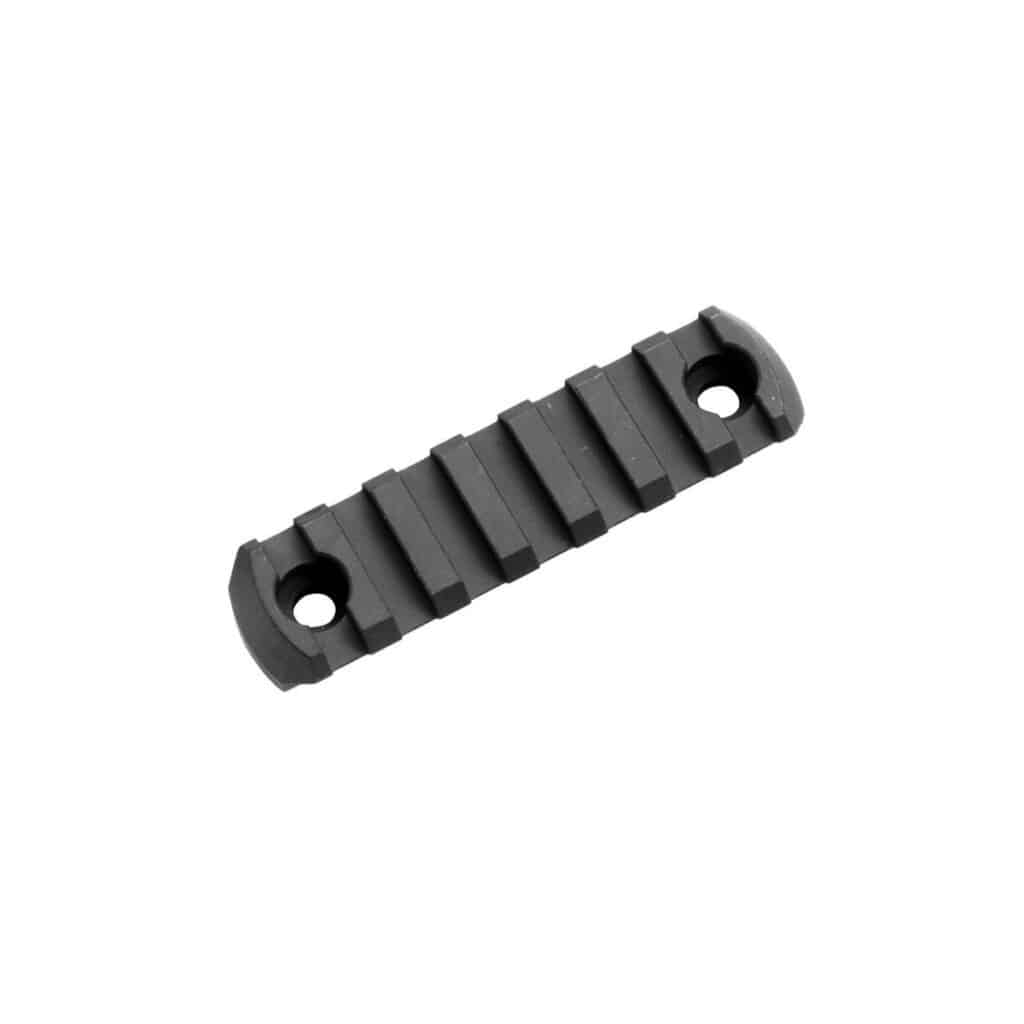
Before diving into installation, let’s quickly recap what makes the M-LOK system so effective. Developed by Magpul, M-LOK allows for direct attachment of accessories to a negative space mounting surface (the slots). Key features include:
- Direct Attachment: Accessories mount directly to the handguard, creating a strong, rigid interface.
- T-Nuts: These specialized nuts are inserted through the M-LOK slot and then rotated 90 degrees, camming into place to lock the accessory securely.
- Versatility: The system is lightweight, low-profile, and widely adopted across the firearms industry, offering a vast array of compatible accessories.
Understanding these basics helps appreciate why a proper M-LOK installation is so robust.
Installing a Standard MLOK Garmin Mount: The General Steps
For many standard M-LOK accessories, including some MLOK Garmin Mount designs, the installation process will involve a few common steps and usually a tool like an Allen wrench:
- Preparation is Key:
- Ensure you have a clean, well-lit workspace.
- Gather your tools: the correct size Allen wrench for your mount’s screws and potentially a torque wrench if a specific torque value is provided by the mount manufacturer.
- Clear the M-LOK slots on your handguard of any dirt or debris.
- Strategic Positioning:
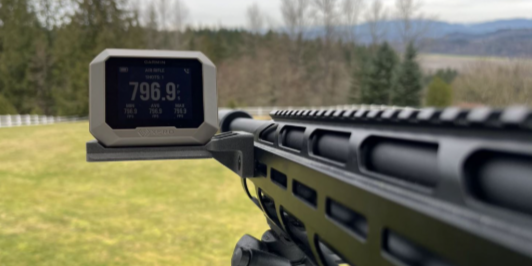
- Determine the best spot for your Garmin device. For a chronograph like the Xero C1 Pro, consider clearance from the muzzle and any other accessories. For a GPS, think about visibility and accessibility.
- Temporarily place the mount (with the Garmin if possible) to confirm positioning before fully tightening.
- Attaching the Mount:
- Loosen the screws on your M-LOK mount so the T-nuts can be rotated.
- Align the T-nuts so they are perpendicular to the M-LOK slot, allowing them to pass through.
- Insert the T-nuts into the desired M-LOK slots on your handguard.
- Ensure the accessory is seated flush against the handguard. Begin tightening the screws. As you tighten, the T-nuts will rotate 90 degrees (parallel to the slot) and clamp the mount to the inside of the handguard.
- Tighten screws to the manufacturer’s recommended torque specification. If no spec is given, a general rule is “snug plus a quarter turn.” Be careful not to over-tighten, as this can damage the screws, T-nuts, or your handguard.
- Final Verification:
- Once tightened, give the mount a firm tug to ensure there’s no wobble or play.
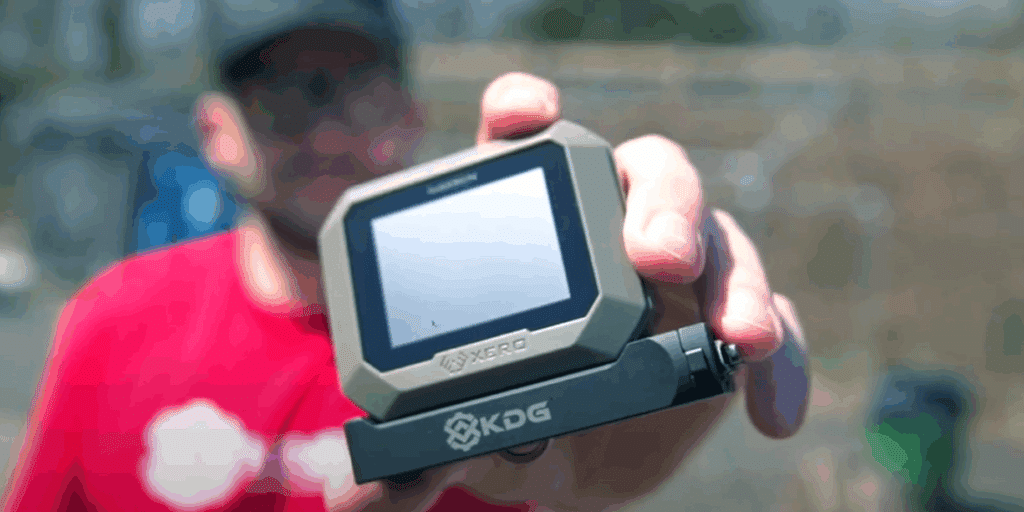
- Attach your Garmin device to the mount and confirm it’s secure and properly aligned.
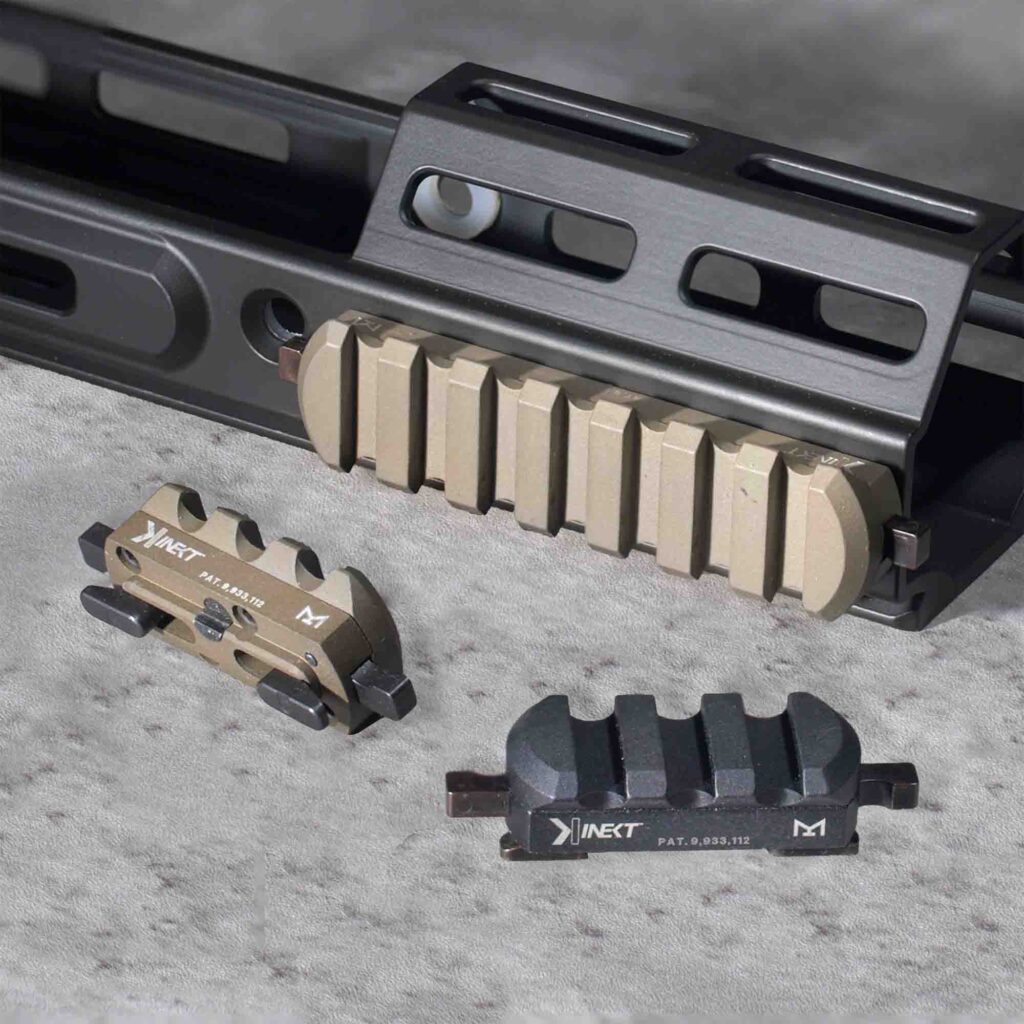
The KDG Kinect™ Advantage: Tool-Less Installation Perfected
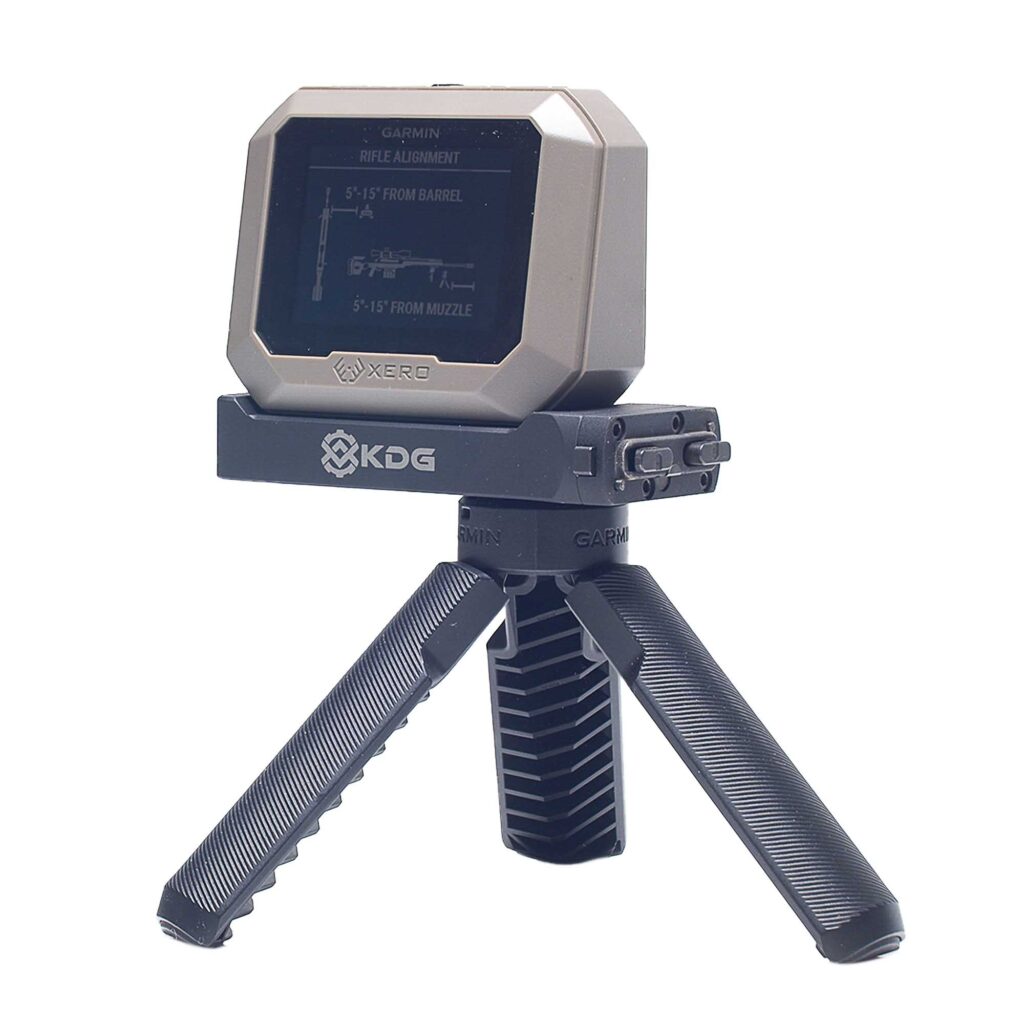
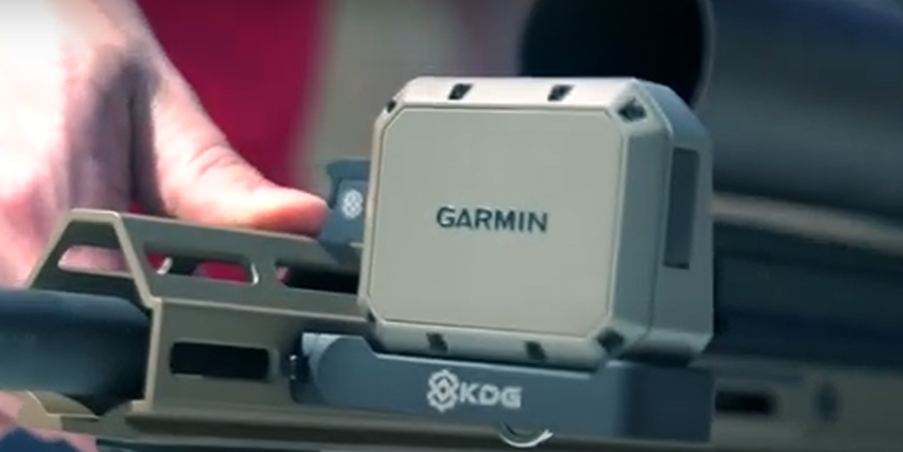
While the standard M-LOK installation is secure, Kinetic Development Group has taken user-friendliness to the next level with their patented Kinect™ M-LOK system, which is featured on their MLOK Garmin XERO C1 Mount. This system makes installation and removal incredibly fast and entirely tool-less.
Here’s how simple it is with the KDG Kinect™:
- Select Your Spot: Identify the M-LOK slots where you want to place your Garmin mount.
- Depress and Insert: Depress the two spring-loaded deployment buttons on the base of the Kinect™ mount. This retracts the M-LOK lugs.
- Press and Go: Press the mount onto the chosen M-LOK slot.
- Confirm Lock-Up: The mount will provide an audible and tactile “click” as the lugs deploy and lock securely into the handguard. That’s it – no tools, no guessing torque.
This revolutionary approach means your MLOK Garmin Mount can be attached or detached in seconds, offering unparalleled convenience without compromising an ounce of stability. This is particularly beneficial for devices like chronographs that you might not need attached for every shooting session.
Pro Tips for a Rock-Solid MLOK Garmin Mount Setup
- Device First: Always ensure your Garmin device is securely fastened to the mount itself according to its specific attachment mechanism before mounting to the rifle.
- Periodic Checks: Especially with standard screwed-on mounts, it’s good practice to check the tightness of the screws periodically, particularly after a high volume of fire. For Kinect™, a quick visual check to ensure it’s still seated is usually sufficient.
- Consider Loctite (for standard mounts): If using a traditional M-LOK mount with screws in a high-recoil application, a small drop of non-permanent (blue) thread locker like Loctite 242 or 243 on the screw threads can add extra security against loosening. (This is not necessary for tool-less systems like Kinect™).
Confidence in Your Setup
Properly installing your MLOK Garmin Mount is a critical step in ensuring your valuable electronics perform as expected and stay firmly attached to your firearm. While standard M-LOK offers excellent security, innovative solutions like the KDG Kinect™ system provide game-changing ease of use and speed. By understanding the process and choosing quality components, you can be confident in your setup every time you head to the range.
