
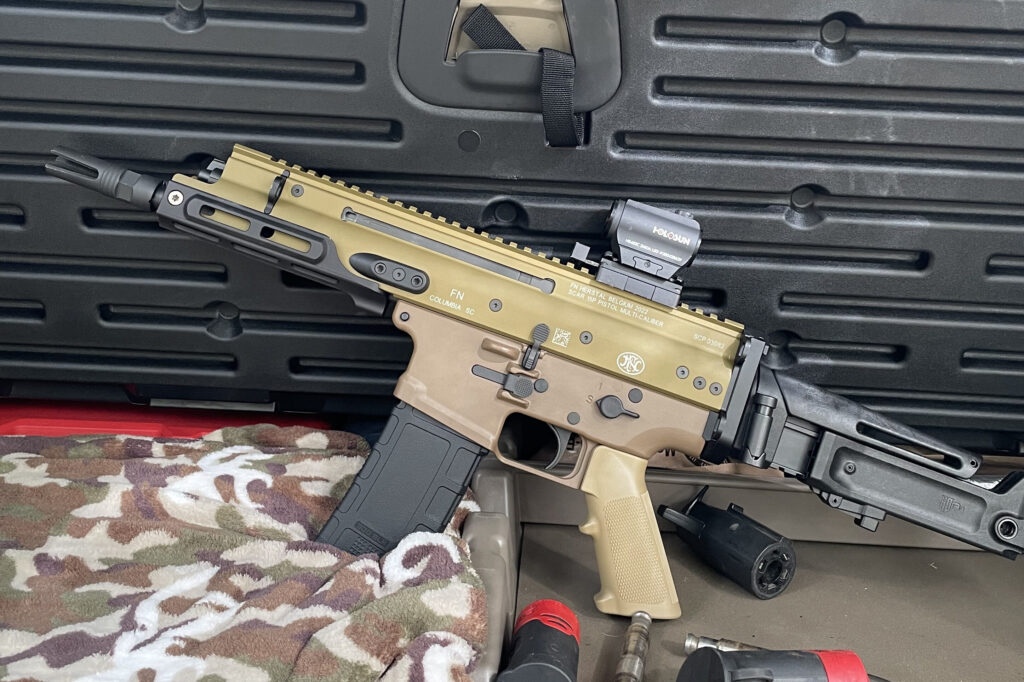
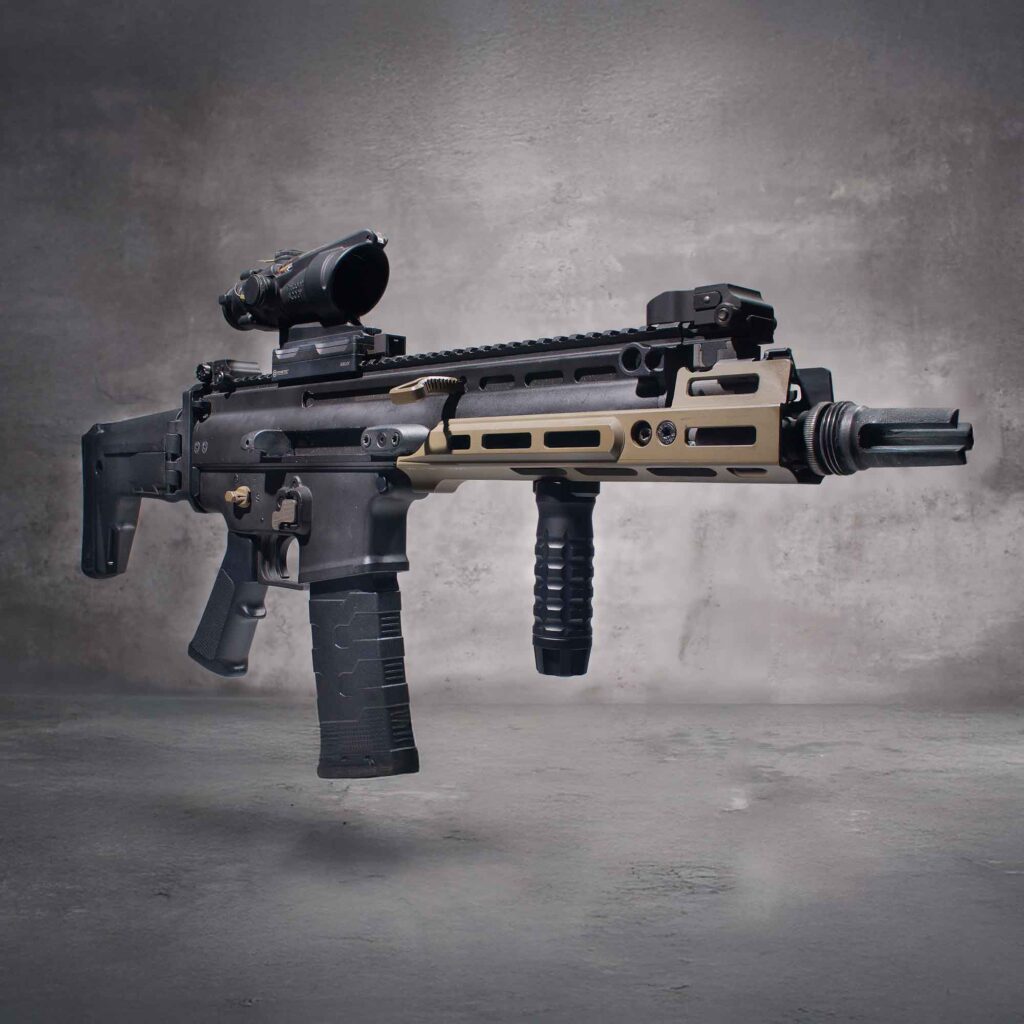
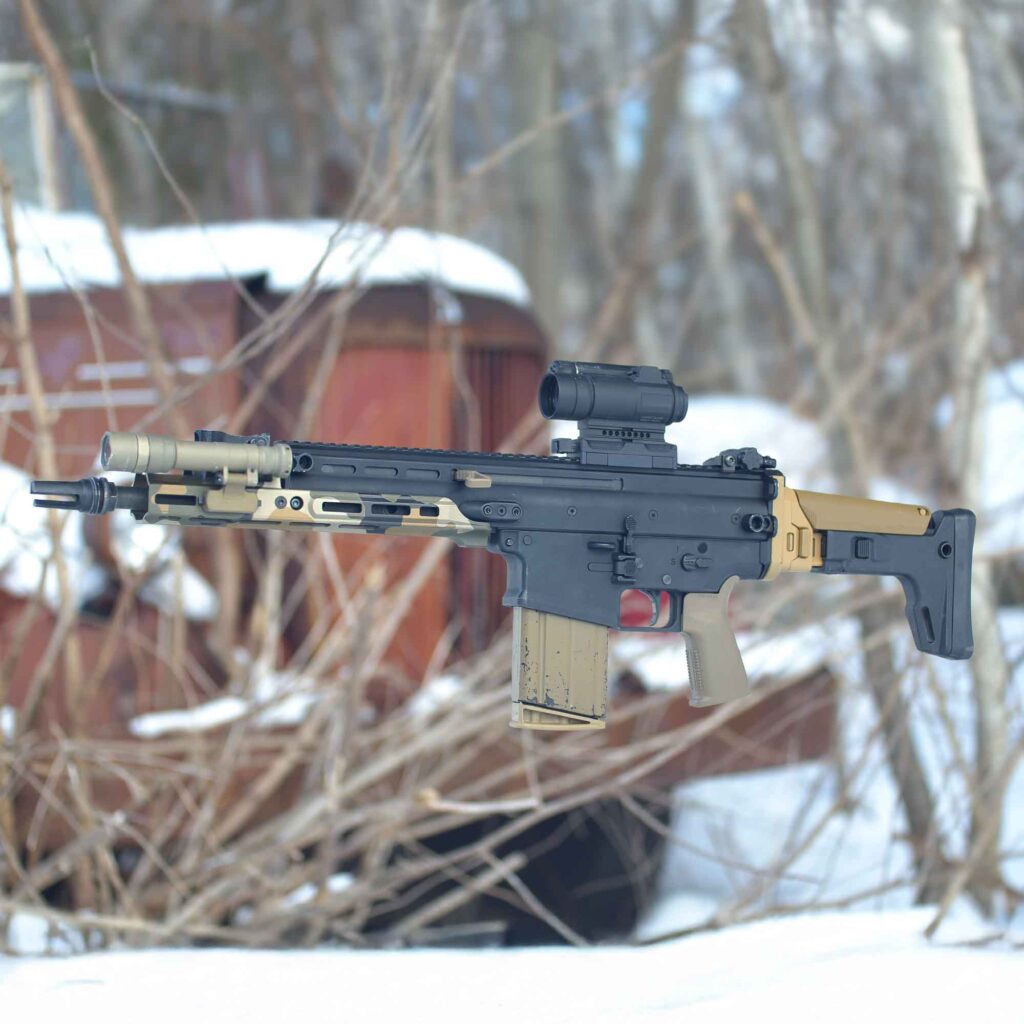
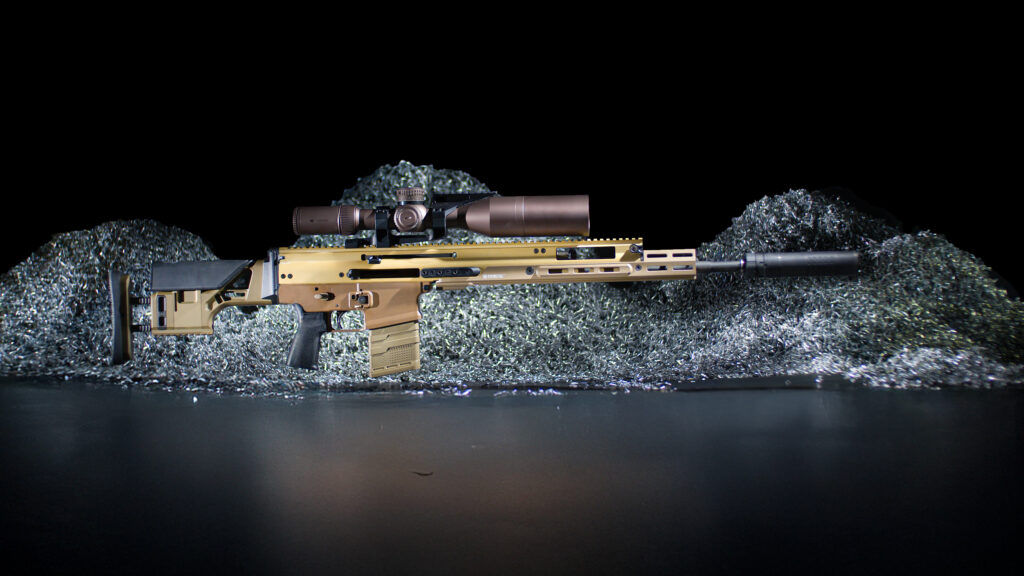


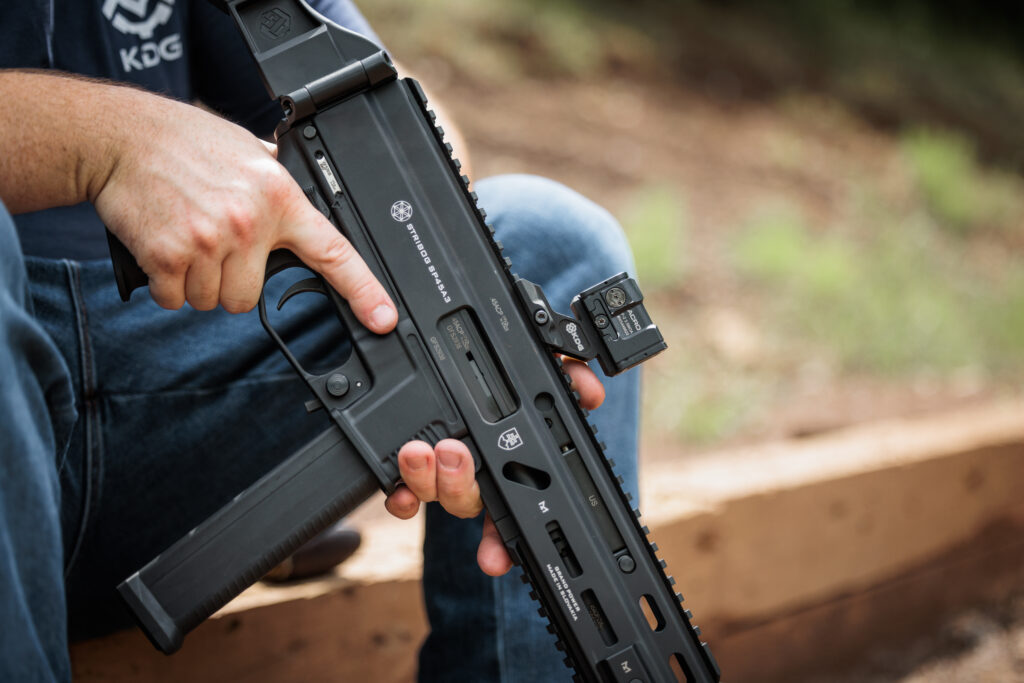
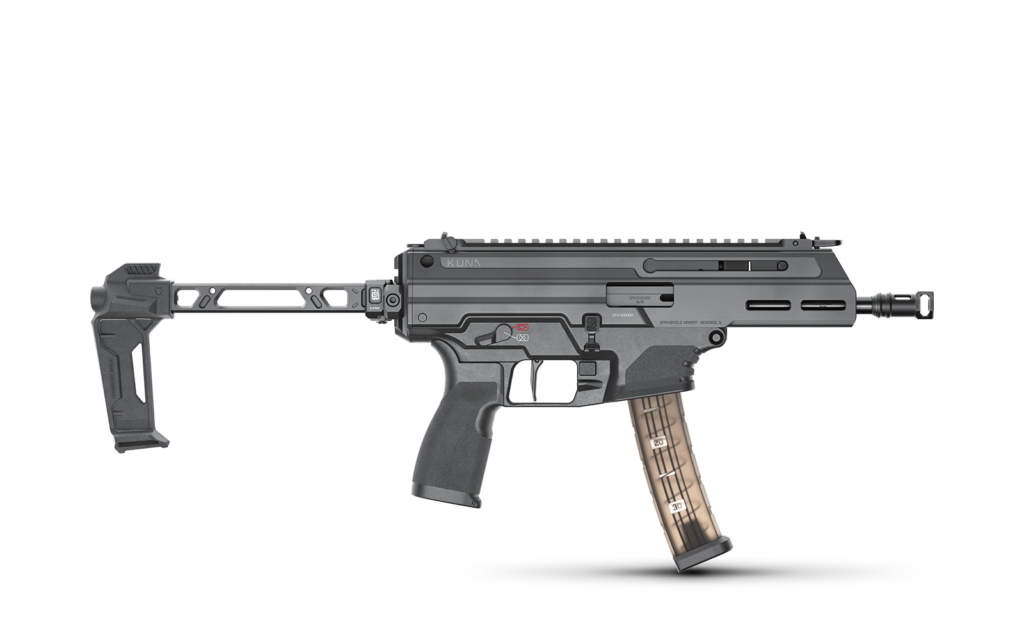

Whether you are adding the 3.25” or 6″ rail extension, the process is identical. This guide will walk you through the necessary safety precautions, components, and installation steps.
1. Safety First
- Clear the Firearm: Remove the magazine and ensure the chamber is empty.
- Secure the Area: Remove all ammunition and magazines from your workspace to maintain a safe environment.
2. Pre-Installation Preparation
- Remove Muzzle Device: If your Stribog has a suppressor or muzzle device, unscrew and remove it. This provides the necessary clearance for the rail extension.
3. Components & Tools
Ensure you have all the parts included in the KDG hardware pack:
- Rail Extension: Either the 3.25” or 6” variant.
- Bridge: The central mounting component.
- MkII Clamp Plates (2): Used to secure the bridge.
- Hardware: Qty 6 8-32 x ⅜” T20 screws.
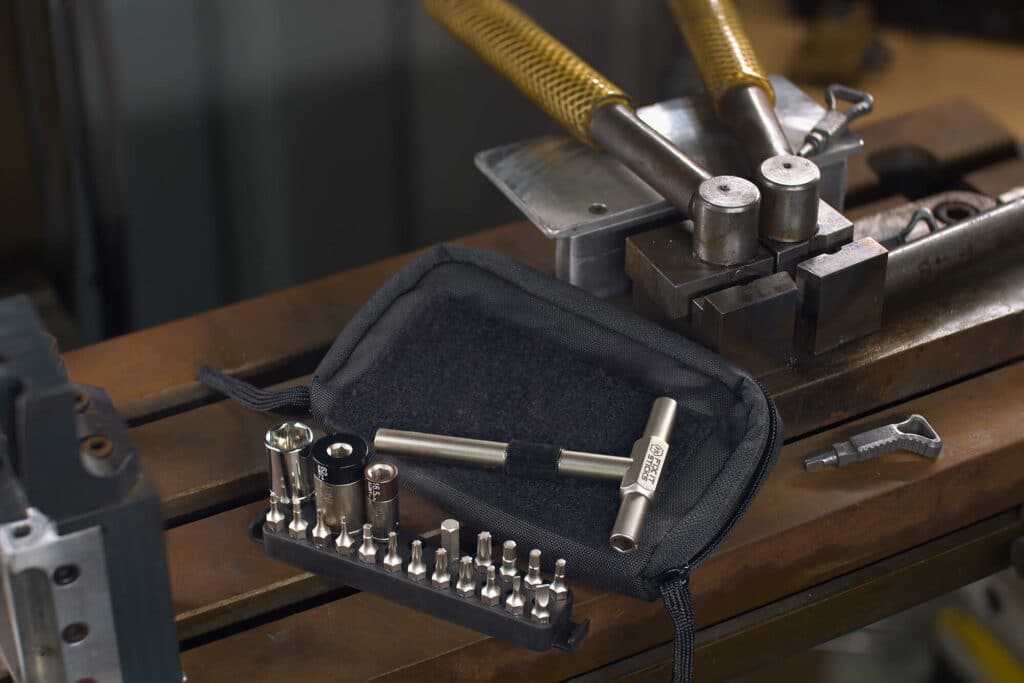
- Required Tool: T20 Torx driver.
4. Installation Steps
Step 1: Install the Bridge
- Slide the Bridge onto the front of the Stribog receiver.
- Align the bridge with the factory M-LOK slots.
Step 2: Attach Clamp Plates
- Place a Clamp Plate over the M-LOK slot on one side.
- Loosely thread the screws into the plate using the T20 driver. Repeat this on the other side.
- Once all screws are in, tighten them in a star pattern to ensure even pressure.
- Torque Spec: Tighten to 40 inch-pounds.
Step 3: Install the Rail Extension
- Slide the Rail Extension over the bridge and barrel.
- Install the screws. Thread them in loosely.
- Once all screws are seated, go back and tighten them all to 40 inch-pounds.
Step 4: Reinstall Muzzle Device
- Thread your suppressor or muzzle device back onto the barrel.
Conclusion
Your KDG 10mm / 45ACP Stribog Rail Extension is now secure and ready for use. If you have any further technical questions, you can reach out to Kinetic Development Group at info@kineticdg.com.


